WARNING: Cancer and Reproductive Harm - www.P65Warnings.ca.gov.
Lifetime Warranty
This item is backed by our limited lifetime warranty. In the event that this item should fail due to manufacturing defects during intended use, we will replace the part free of charge. This warranty covers the cost of the part only.
Returns: Parts with electrical components cannot be returned once installed.
FREE Shipping is standard on Orders shipped to the lower 48 States (Contiguous United States). Standard shipping charges apply to Hawaii, Alaska and US Territories. Shipping is not available to Canada.
Expedited is available on checkout to the United States, excluding Alaska, Hawaii and US Territories as well as P.O. Boxes and APO/FPO/DPO addresses. Final shipping costs are available at checkout.
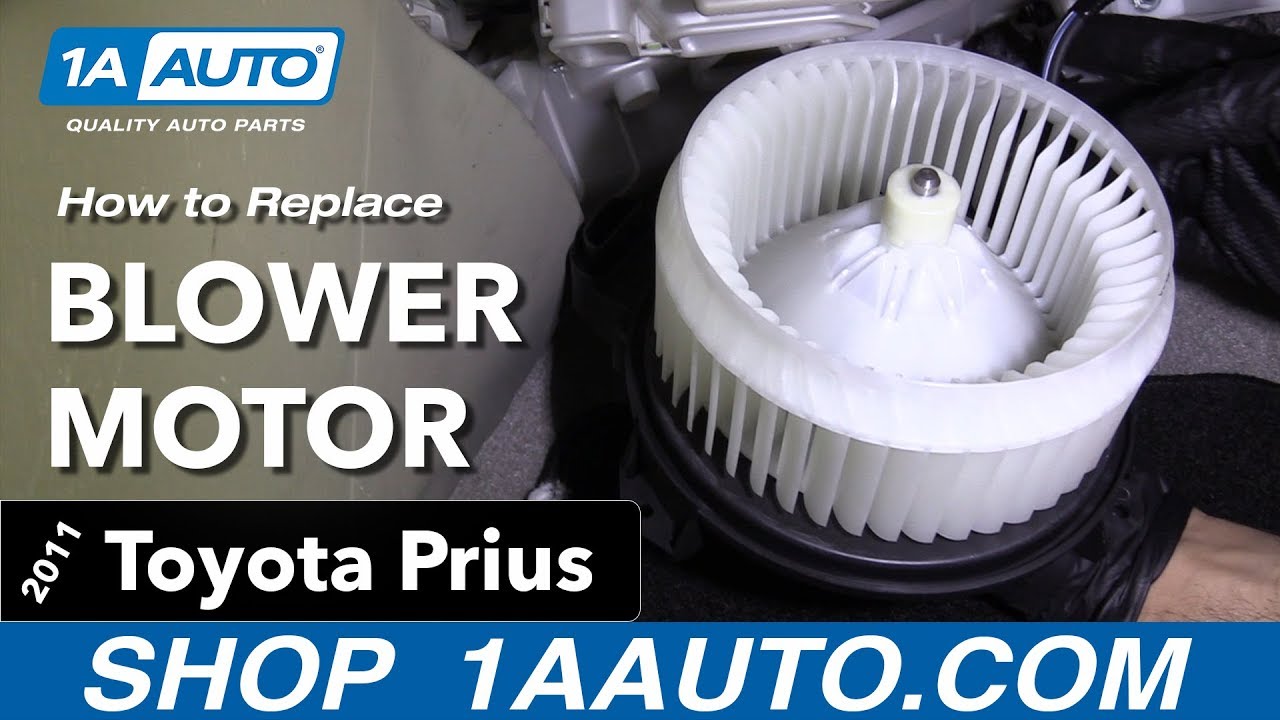
How to Replace Blower Motor 2010-15 Toyota Prius
Created on:
Tools used
Socket Extensions
8mm Socket
Ratchet
1. Removing the Blower Motor
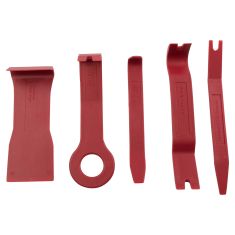
Pry out the plastic trim panel underneath the glove box with a trim tool
Disconnect the wiring harness
Remove the three 8mm bolts from the blower motor
Remove the blower motor assembly
2. Installing the Blower Motor
Insert the blower motor into place
Tighten the three 8mm bolts to the blower motor
Connect the wiring harness
Press the plastic trim into place
Hi, I’m Mike from 1A Auto. We’ve been selling auto parts for over 30 years!
To get to the blower motor, we're going to go underneath the dashboard. There's a black plastic trim panel here. We'll need to remove this. We'll use our plastic trim tools. You can get these from 1AAuto.com. Push in on it and pull down at the same time to unclip it. Pull out that tab back there. We'll have access to the blower motor that's under here. Unplug the electrical connector by pushing in the lock. Pulling down the connector. There's three screws holding it into the heater box. This one's kind of obscured by this metal bracket. Gently bend this metal bracket down. Just get it out of the way. Not too far, just enough so I can get a ratchet in there.
These are 8mm. You could also use a flat-bladed screwdriver or a T25 Torx but this one's going to be easier to get this ratchet in here. The little self-tapping screws come loose. That's the hardest one to get to. There's one that's in the back. The angle. Get the last one here. That's pretty much going to fall out of place. Maneuver around this bracket with electrical connectors. There's the blower motor.
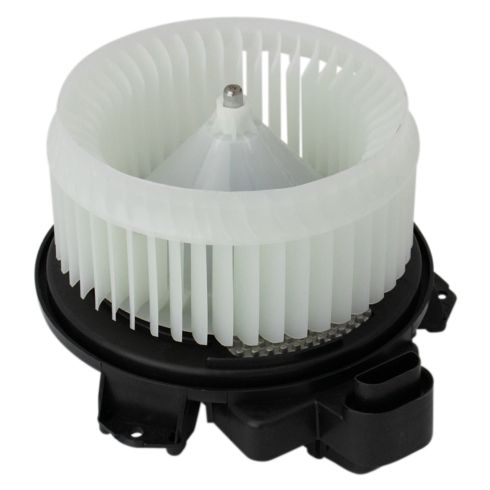
Here's our blower motor assembly we pulled from our vehicle. It has the blower motor resistor integrated into it. This is the brand new one from 1AAuto.com. It has the same exact style with the blower motor resistor integrated into it. Single plug connector, three mounting holes. This'll work great and fit great in our vehicle.
Install the new blower motor. Line up this opening, the opening in the heater box. Maneuver it into place. Get this screw caught here, because it's easy to reach. Put the last one into the back here. Tighten it up a little bit. Don't have to be too hard, because it's going into plastic. Plug this connector back in. Get a little click when it locks into place. And of course, bend this bracket back up into place. Good enough. Take the ratchet out of here. Take our plastic trim panel. So this pin needs to go in the back here, and then lift this up into place. It snap into place. Blower motor is replaced
Thanks for watching. Visit us at 1AAuto.com for quality auto parts, fast and free shipping, and the best customer service in the industry.
HMA80111
In Stock
Product Reviews
Loading reviews
4.43/ 5.07
7 reviews
5 Stars
4 Stars
3 Stars
2 Stars
1 Star
6
0
0
0
1
Exactly what I needed, fast delivery too!
Derek
March 19, 2021
This part was an identical plug and play for our Prius V. Several mechanics failed to diagnose the problem, but the Internet forums are rich with information. 1aAuto has great parts at great prices, and very helpful videos that are easy to follow, short in length, and give the end user the confidence to do the job. Took less than 30 minutes from start to finish, we again have reliable heat and A/C in the car.
Sung
January 30, 2022
Easy to install and perfect fit.
Perfect!
David
February 2, 2022
Perfect! Part fit exact and this was my first time ordering from here and I was very pleased! Videos are the best to install the parts.
Rusted - Not happy
[{"url": "https://wac.edgecastcdn.net/001A39/prod/media/pNISJll75W64CYGsite/0445b630d86eadccaf0be732620a9790_1652490324927_0.jpeg", "caption": "Rusted metal piece that spins the basket."}, {"url": "https://wac.edgecastcdn.net/001A39/prod/media/pNISJll75W64CYGsite/57bfd77a33381b8283507b788d760754_1652490668396_0.jpeg", "caption": "Rusted center metal piece."}]
MICHAEL
May 13, 2022
Fast shipping, but the center metal piece that the basket is attached to and spins the basket (not sure what it is called) is rusted. Wasn't expecting that. Not sure if it will affect the functionality, but a new part should not be rusted.
Marc
October 10, 2022
Correct part, easy install
April
December 11, 2022
Works like a dream and better priced than AutoZone! Saving me through the cold winter. I installed it all by myself. Thank you!!
A+ service for 1A Auto
Dalton
May 11, 2024
I saved closed to $100 but ordering for 1A Auto. Once I got the part, their videos made installation a breeze.
Customer Q&A
No questions have been asked about this item.
Customer service
877-844-3393
Monday - Friday 8:00am - 9:30pm ET Saturday - Sunday 8:00am - 4:30pm ET
Enter Vehicle Year Make Model
Specify your vehicle's year, make and model to guarantee fit.
Year
Make
Model
Options
Drivetrain
This part doesn’t fit a . Select from parts that fit.