Replaces


Frequently bought together
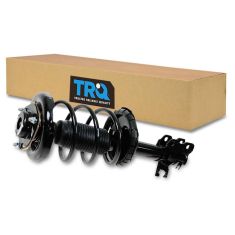
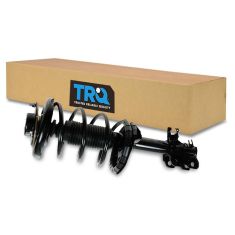
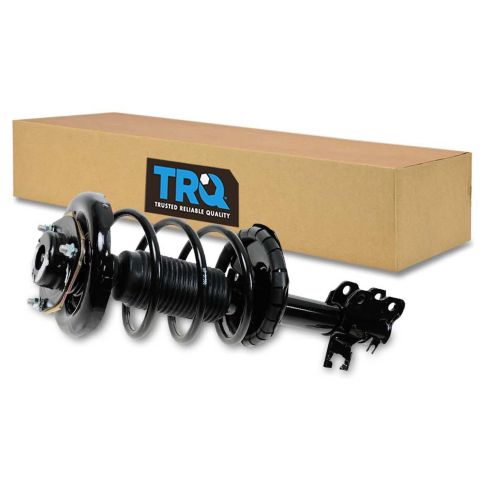
Part Details
Replacing struts used to require specialized tools to compress, remove, and transfer the old spring and mount. Our Pre-assembled, complete strut & spring assemblies come with all new parts and make the job much quicker and easier for the do-it-yourself mechanic.
Strut & spring assembly contains:
Install Tip: To keep your vehicle operating safely and as designed:
Attention California Customers:
 WARNING: This product can expose you to chemicals including Chromium (Hexavalent Compounds), which is known to the State of California to cause cancer, and birth defects or other reproductive harm. For more information, go to www.P65Warnings.ca.gov
Lifetime Warranty
This item is backed by our limited lifetime warranty. In the event that this item should fail due to manufacturing defects during intended use, we will replace the part free of charge. This warranty covers the cost of the part only.
FREE Shipping is standard on orders shipped to the lower 48 States (Contiguous United States). Standard shipping charges apply to Hawaii and Alaska.
Shipping is not available to a P.O. Box, APO/FPO/DPO addresses, US Territories, or Canada for this item.
Expedited is available on checkout to the United States, excluding Alaska, Hawaii.
Final shipping costs are available at checkout.
Created on:
Tools used
Brought to you by 1AAuto.com, your source for quality replacement parts and the best service on the Internet.
Hi, I'm Don from 1A Auto. I hope this how-to video helps you out, and next time you need parts for your vehicle, think of 1AAuto.com. Thanks.
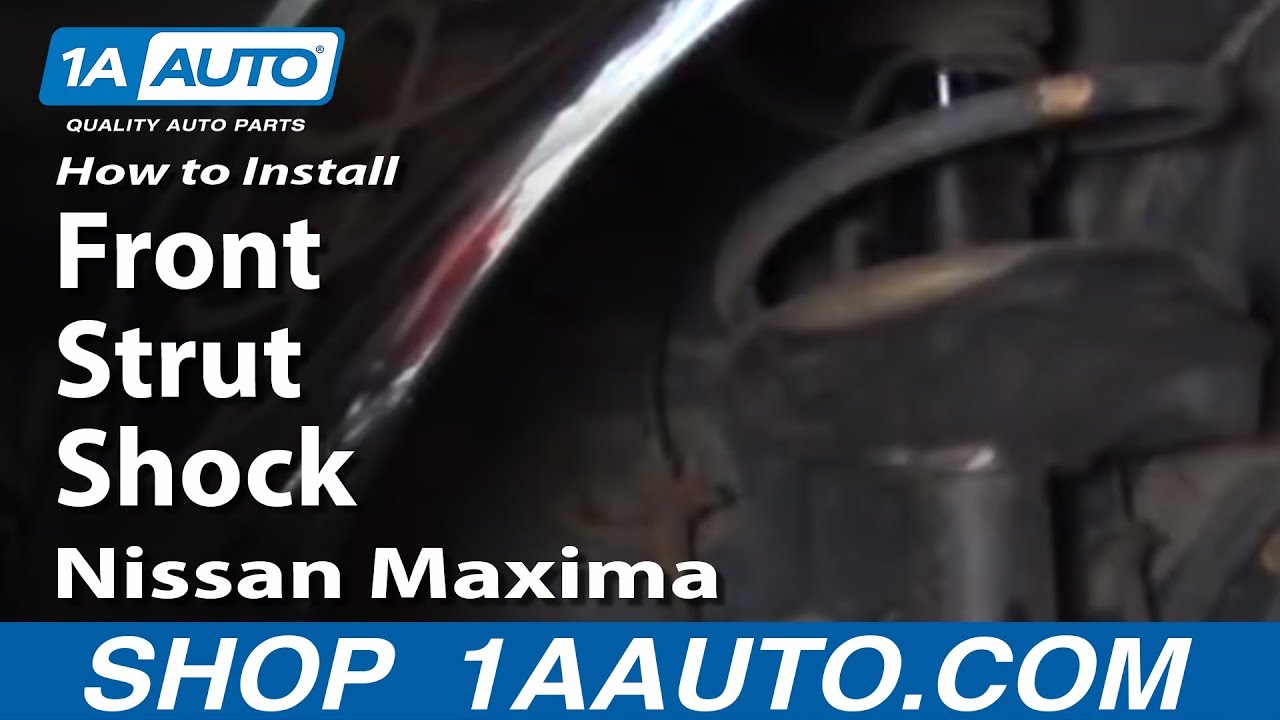
In this video, we're going to show you how to remove and reinstall a front strut. We're going to show you the right front strut, and the left front strut is the same procedure. We do recommend you always replace struts in pairs. This is on a 2003 Maxima. Pretty much, it's the same procedure for any Maxima or even Altima, Infiniti I30; it's the same procedure. There may be some minor differences in how the ABS sensors and cables attach to this. Here's what you'll need to complete this job. You'll need a set of new struts from 1Aauto.com. We sell a nice set of loaded struts with the spring and everything; it makes the job fairly easy, actually. You'll need jack and jack stands; and 14, 19, and 21 mm sockets. You'll need a ratchet and you'll also need a breaker bar and maybe even a pipe for some extra leverage; a screwdriver; pliers; hammer; and a torque wrench.
We'll start off by removing the wheel. You're going to want a 21 mm socket and ratchet or a breaker bar or your tire iron, and you'll probably want to start with the wheel on the ground. Loosen the lug nuts. Then raise and secure the vehicle with jack stands, and then remove the wheel and the tire.
I'm going to remove the 19 mm bolt with a 21 mm nut. There are two of them at the bottom of the strut. You can always use a pipe over your breaker bar to give you extra leverage. Now that we've shown you how to get them out by hand, we're just going to use the impact wrench to zip them off a little quicker. Now, remove the bolts. Notice that the suspension is not supported; the vehicle is supported on the body and not the suspension.
We're going to push the ABS sensor out of the back, and we're going to slide the ABS sensor up on the other side. Take needle nose pliers, and remove the clip for the brake line. Push that down, and slide it out. We'll pry the strut from the spindle and set it off to the side.
There are three strut mount nuts. They're 14 mm. penetrating oil helps loosen them. I'm going to fast-forward, and you can see Don's able to get the nuts off by hand first, and then he just resorts to the impact wrench just to, again, speed things up a little bit. The third one's about to come out. I'm supporting the strut from below so it doesn't fall. Take a strut out.
I'm aligning the top of the strut mount. The F is going to face forward, and you can do that with a screwdriver, and the same way we took it out, it's going to go back in. I'm supporting the strut from below with my left hand and feeding it up through the three holes, and I'm just starting to feed the nuts on. Now, Don's just going to put the new nuts on, and you'll notice that we actually put the same strut back in. There was nothing wrong with the strut. We just replaced the top strut mount. Before we tighten the nuts up top, we're going to make sure that we get our bolts down here on the spindle. Fast-forward as we put both those nuts on and then tighten them preliminarily. We torque the upper strut mount nuts to 25 foot-pounds. I'm tightening up the lower strut nuts to 110 foot-pounds.
Slide the ABS sensor on the left side back into place and on the right side. Now, I'm going to be pulling the brake line through and then up, and once that's seated, I'm putting the clip back on from the back. Tap it. It might require a little bit of tapping to fully seat it. Just put the wheel and tire back on. Tighten the lug nuts preliminarily. Then put it down on the ground and torque the lug nuts to 100 foot-pounds and definitely recommended that you get a front end alignment after this repair.
We hope this video helps you out. Brought to you by www.1AAuto.com, your source for quality replacement parts and the best service on the Internet. Please feel free to call us toll-free, 888-844-3393. We're the company that's here for you on the Internet and in person.

SCA57556