WARNING: This product can expose you to chemicals including Lead and Lead Compounds, which are known to the State of California to cause cancer, and birth defects or other reproductive harm. For more information, go to www.P65Warnings.ca.gov.
Lifetime Warranty
This item is backed by our limited lifetime warranty. In the event that this item should fail due to manufacturing defects during intended use, we will replace the part free of charge. This warranty covers the cost of the part only.
Returns: Parts with electrical components cannot be returned once installed.
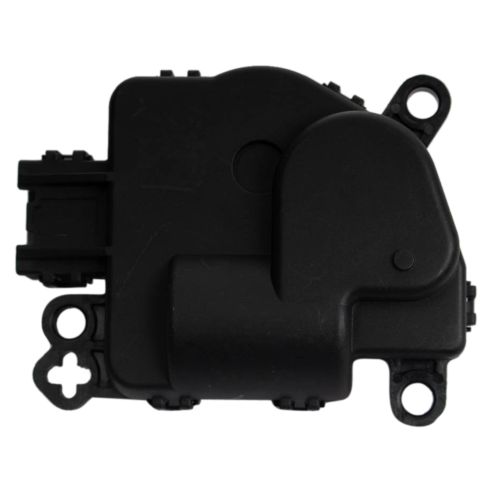
How to Replace Mode Door Actuator 2008-12 Ford Escape
Created on:
Tools used
8mm Socket
Ratchet
1. Replacing the Mode Door Actuator
The door mode actuator is located in the space above the driver foot well
Disconnect the electrical connector
Remove the two 8 mm bolts securing the actuator to the under dash panel
2. Installing the Mode Door Actuator
Install the mode door actuator
You may need to adjust the gears the actuator fits into
Replace the two 8 mm bolts
Replace the electrical connector
Don't replace the electrical connector before securing the actuator, this could result in damage.
Turn on the vehicle power and adjust the fan modes to test the actuator
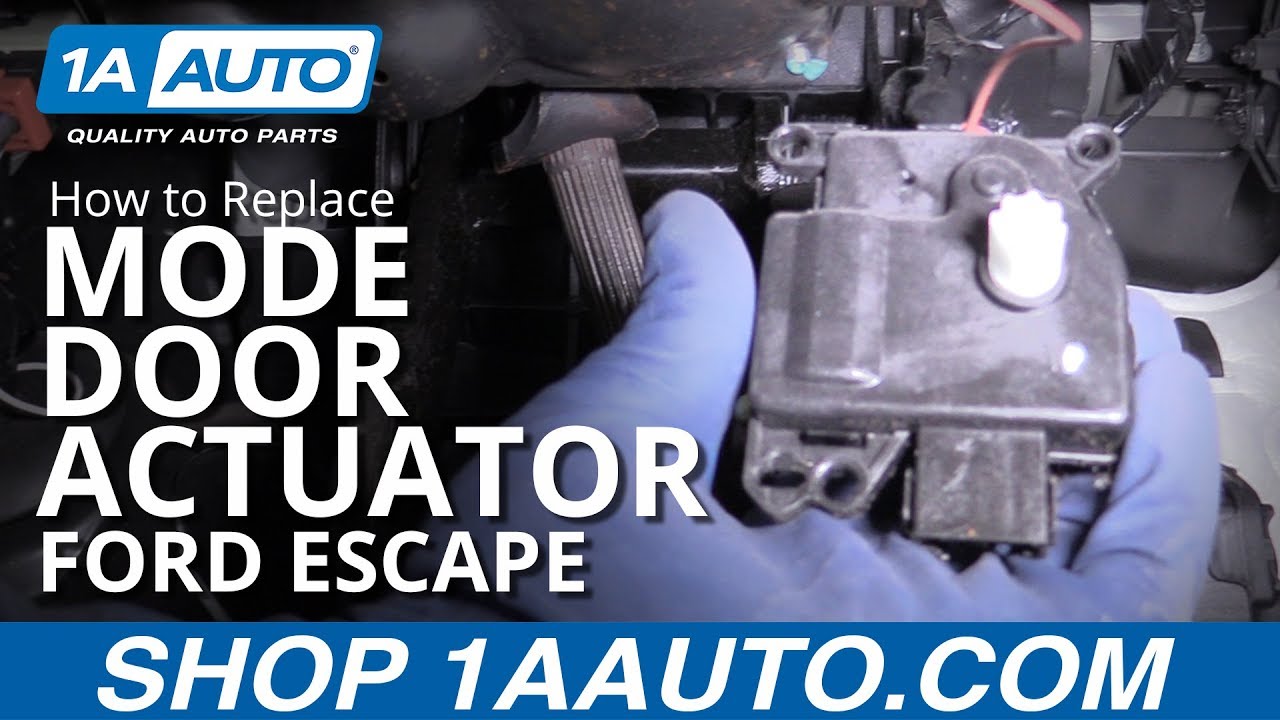
What's up guys? I'm Andy from 1A Auto. In this video I'm going to show you how to replace the mode door actuator on this 2012 Ford Escape. You might have a situation where your vehicle is stuck in defrost mode or stuck in floor mode or even stuck on the heater mode. This could be your problem, I'll show you how to do it. If you need parts for your vehicle, click the link in the description and head over to 1aauto.com.
Okay, I'm going to disconnect this connector right here, just pull down on this little red tab and slide it out. And we'll disconnect the connector just like that. I need to take this bolt out right here, just use a 8 millimeter socket and ratchet and then there's one more bolt up here, kind of hard to see. Use the same ratchet, 8 millimeter socket. Pull that bolt out. Just grab the actuator and slide it out.
All right, so I'm back underneath here. I have to slide this into position. So you might have to twist this a little bit. All right, that's good. So if the cam was in a different position, you may even have to get a little screwdriver or something and turn the gears and stuff behind it, the little key there. All right, so I was able to get that in and then we'll take the bolts, get the bolts started. Get that one started and then get this other one started further up. It's kind of hard to see. And I'll take my 8 millimeter socket and ratchet and tighten these down. Just snug, not too tight, it is plastic.
Now that those bolts are secured, and the actuators in there. You want to make sure you never plug this in while the actuator is out, you could break the actuator, at least in some cases. So once that's hooked up, we can plug it in. Lock the lock. All right, so now I'm just going to turn the key on while we're looking at the actuator. I'm going to change the mode and we can watch it move. And it's working properly which is good.
Thanks for watching. Visit 1aauto.com, your place for DIY auto repairs, for great parts, great service and more content.
HCA40165
In Stock
Product Reviews
Loading reviews
There are no reviews for this item.
Customer Q&A
No questions have been asked about this item.
Customer service
877-844-3393
Monday - Friday 8:00am - 9:30pm ET Saturday - Sunday 8:00am - 4:30pm ET
Lincoln is a registered trademark of Ford Motor Company. 1A Auto is not affiliated with or sponsored by Lincoln or Ford Motor Company.See all trademarks.
Enter Vehicle Year Make Model
Specify your vehicle's year, make and model to guarantee fit.
Year
Make
Model
Options
Drivetrain
This part doesn’t fit a . Select from parts that fit.