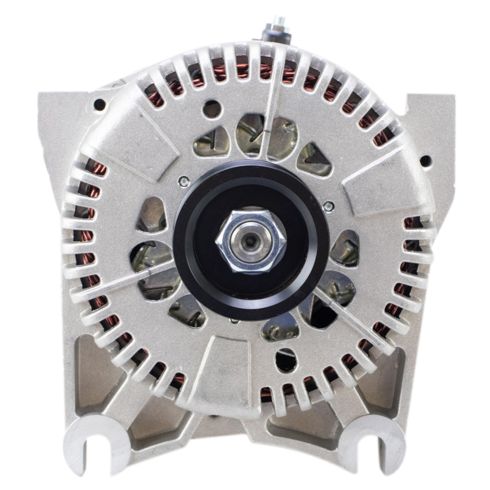
Drive End To Pulley 1st Groove Distance: 39.5 mm 1.57 in
Rotation Direction: Clockwise (Right)
Pulley Groove Quantity: 6
Brushless: No
Product Features
Engineered to match exact vehicle specifications
Upgraded Service Life: Pressure-Fit High-Capacity Diodes for improved heat dissipation
Improved Reliability: Double insulated rotors and stators to reduce signal degradation
Item Condition:New
Attention California Customers:
WARNING: This product can expose you to chemicals including Lead and Lead Compounds, which are known to the State of California to cause cancer, and birth defects or other reproductive harm. For more information, go to www.P65Warnings.ca.gov.
Lifetime Warranty
This item is backed by our limited lifetime warranty. In the event that this item should fail due to manufacturing defects during intended use, we will replace the part free of charge. This warranty covers the cost of the part only.
Returns: Parts with electrical components cannot be returned once installed.
FREE Shipping is standard on orders shipped to the lower 48 States (Contiguous United States). Standard shipping charges apply to Hawaii and Alaska.
Shipping is not available to a P.O. Box, APO/FPO/DPO addresses, US Territories, or Canada for this item.
Expedited is available on checkout to the United States, excluding Alaska, Hawaii.
Final shipping costs are available at checkout.
How to Replace 130 Amp Alternator 2002-05 Mercury Mountaineer
Created on:
Tools used
Flat Blade Screwdriver
1/2 Inch Ratchet
8mm Socket
Drain Pan
10mm Socket
Slip-Joint Pliers
Assistant
11mm Socket
1. Disconnecting the Battery
Disconnect the negative battery cable with an 8mm socket and ratchet
2. Disconnecting the Radiator Hose
Remove the two 11mm nuts from the engine cover
Pull the engine cover up and off
Unclip the hose from the engine cover
Have a drain pan ready
Loosen the radiator hose clamp with pliers
Pull off the radiator hose
3. Removing the Serpentine Belt
Attach a 1/2" ratchet to the serpentine belt tensioner
Turn the tensioner to loosen the belt
Have an assistant pull the belt off the alternator
Slowly release the tensioner
4. Removing the Alternator
Disconnect the alternator wiring harness
Pull back the alternator wire boot
Remove the 10mm nut from the alternator wire
Remove the four 10mm bolts from the alternator bracket
Loosen the two 10mm bolts from the bottom of the alternator
Lift the alternator up and out
5. Installing the Alternator
Put the alternator into place
Line up the alternator bracket
Start the four 10mm bolts into the alternator bracket by hand
Tighten the two 10mm bolts into the bottom of the alternator
Tighten the four 10mm bolts into the alternator bracket
Connect the alternator wiring harness
Put the alternator wire into place
Push on the alternator wire boot
6. Installing the Serpentine Belt
Attach a 1/2" ratchet to the serpentine belt tensioner
Turn the tensioner to loosen the belt
Have an assistant pull the belt onto the alternator
Slowly release the tensioner
7. Installing the Radiator Hose
Push on the radiator hose
Slide the radiator hose clamp on with pliers
Press on the engine cover
Fasten the two 11mm nuts onto the engine cover
Clip the hose into the engine cover
8. Connecting the Battery
Connect the negative battery cable with an 8mm socket and ratchet
Brought to you by 1AAuto.com, your source for quality replacement parts and the best service on the Internet.
Hi, I'm Mike from 1A Auto. I hope this how-to video helps you out, and next time you need parts for your vehicle, think of 1AAuto.com. Thanks.
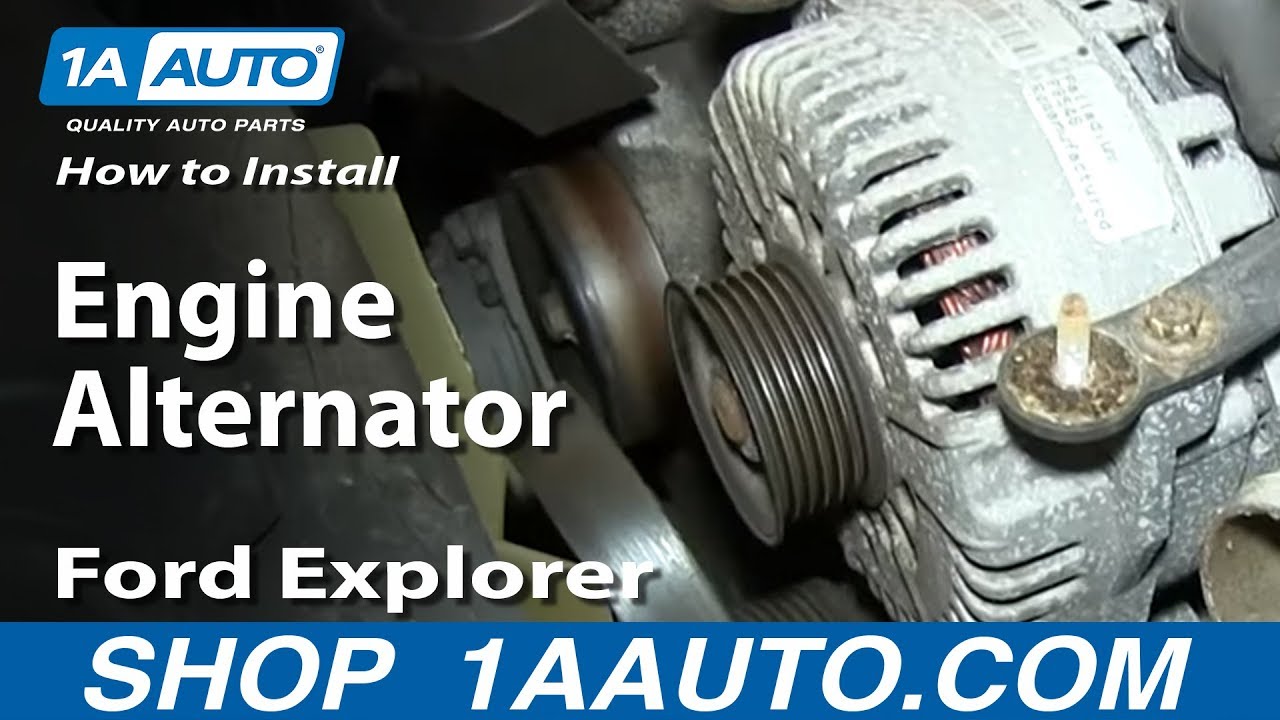
In this video, we're going to show you how to replace the alternator on this 2003 Mercury Mountaineer with the 4.6 liter V8 engine and the 130-amp alternator. The items you'll need for this are a new alternator from 1AAuto.com; flat blade screwdriver; 1/2" socket bar or ratchet; and an 8mm, 10mm, and 11mm socket; and a pair of pliers.
Start off by loosening up this 8mm bolt for your negative battery cable and pulling the negative battery cable free. Then, remove these two 11mm nuts. Lift the engine cover up and off. Then open up the clip on the back and pull the hose free.
Using a pair of pliers, just push the teeth together on this hose clamp and slide it back. Then twist that hose free. You may get some coolant coming out here so you want to have a drip pan underneath. Now it helps to have an assistant here because you now have to remove the belt from the alternator. Using a 1/2" ratchet or socket bar, just reach up here and stick it into the tensioner. If you don't have an assistant, you can just remove the belt from down here, but then you're going to have to go through the process of putting the belt on all the pulleys again. Just loosen it up with a piece of pipe for some extra leverage, and have your assistant just pull it off the alternator and carefully release the tensioner. Then lift up on this tab on this harness and disconnect it. Pull back this boot and then remove this 10mm nut. You just pull the wire off and set those aside. Then remove these four 10mm bolts and loosen these two 10mm bolts down here on the bottom of the alternator. We'll fast forward as Mike Does that. Now the alternator will lift up and out.
On the left, is the old alternator. On the right, is the new one from 1A Auto. You can see they're identical and they'll fit exactly the same. Take your new alternator and we're just going to put our old one back in because it worked perfectly fine. Just put it back in. Set it down onto those lower bolts. Line up the bracket and replace those four 10mm bolts. Then you want to just get them started by hand first. Then you'll want to tighten up the two lower bolts. Then after you tighten the two lower bolts, tighten up the top bolts. Reconnect this harness. Put this wire back in place and replace that 10mm nut and tighten it up.
We're ready to put the belt back on. Just take a check, look down, and make sure that the belt is still around the crank pulley way down here. Remember your belt diagram is here so just check it. Now again, if you have an assistant, have them hold the belt while you go down below and loosen up the tensioner. If your belt does fall off, then you can refer to our serpentine belt video for this same vehicle and see how to put it back in place. Once you loosen the tensioner, have your assistant put it back onto the alternator. Then slowly release the tension on the tensioner and remove your ratchet.
Take this hose and push it back into place. Then using your pair of pliers, just slide that hose clamp back up in place. If it doesn't pop open on its own, use a flat blade screwdriver to just hit the tabs separately. Take your cover, push it back down into place. Make sure those clips push back in. Then replace those two 11mm nuts and tighten them up. Then push that hose back into the clip and close the clip. Reconnect your negative battery cable and tighten it back up. Then you're all set.
We hope this video helps you out. Brought to you by www.1AAuto.com, your source for quality replacement parts and the best service on the Internet. Please feel free to call us toll-free, 888-844-3393. We're the company that's here for you on the Internet and in person.
ALA94451
In Stock
Product Reviews
Loading reviews
5.00/ 5.01
1review
5 Stars
4 Stars
3 Stars
2 Stars
1 Star
1
0
0
0
0
Alternator 2003 Lincoln Aviator
Ed
April 7, 2024
Looks exactly like OEM. Fit perfect. Now let's wait on performance and longevity. Thanks 1A
Customer Q&A
Are all parts included to replace original alternator?October 28, 2023
John D
10
Yes, all the necessary parts for replacement are included.
October 31, 2023
Emma F
10
Yes
November 2, 2023
Arthur S
10
Yes
November 17, 2023
Christy W
10
Yes. Not sure what else you would need if you're only replacing the alternator. It definitely comes with that!
November 19, 2023
Danielle L
Customer service
877-844-3393
Monday - Friday 8:00am - 9:30pm ET Saturday - Sunday 8:00am - 4:30pm ET
Ford is a registered trademark of Ford Motor Company. 1A Auto is not affiliated with or sponsored by Ford or Ford Motor Company.See all trademarks.
Enter Vehicle Year Make Model
Specify your vehicle's year, make and model to guarantee fit.
Year
Make
Model
Options
Drivetrain
This part doesn’t fit a . Select from parts that fit.