

★★★★★
April 3, 2024
Great

Replaces





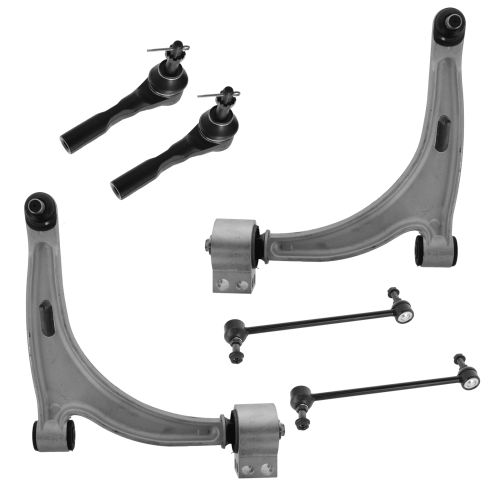


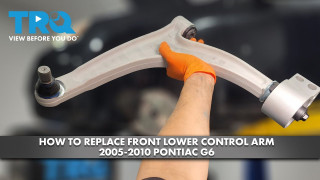
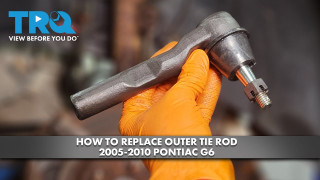
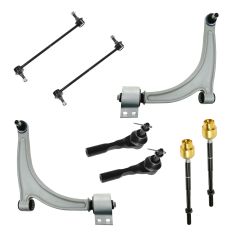
8 Piece Steering & Suspension Kit
$229.95
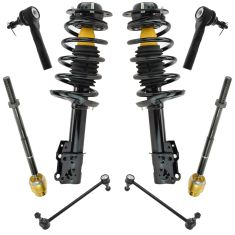
8 Piece Steering & Suspension Kit
$242.95
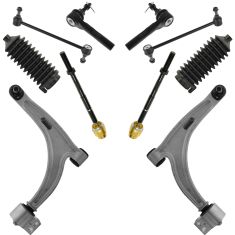
10 Piece Steering & Suspension Kit
$244.95
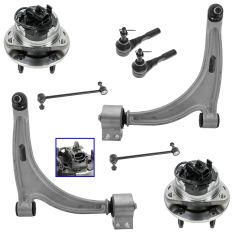
8 Piece Steering, Suspension, & Drivetrain Kit
$319.95
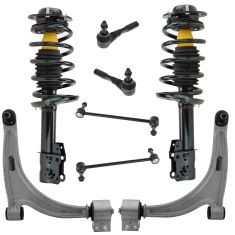
8 Piece Steering & Suspension Kit
$384.95
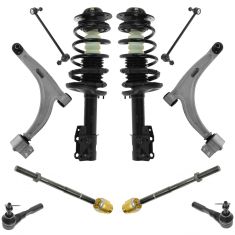
10 Piece Steering & Suspension Kit
$404.95
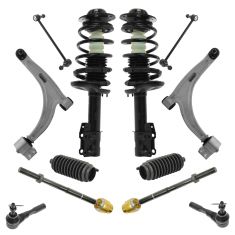
12 Piece Steering & Suspension Kit
$409.95
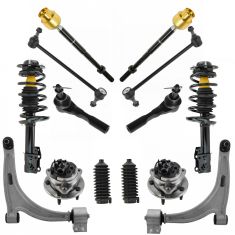
14 Piece Steering, Suspension, & Drivetrain Kit
$529.95
Part Details
Specifications
About TRQ:
TRQ is a trusted brand dedicated to making every repair a success story by combining premium parts with easy installation. Each TRQ part is engineered by a team of automotive experts to meet or exceed OEM standards, delivering enhanced performance and maximum longevity. With rigorous in-house testing, the brand ensures superior fit and function across every product line. TRQ also provides customers with best-in-class, step-by-step installation videos—so you can complete repairs with confidence, whether you're a first-time DIYer or an industry professional.
Product Features
TRQ suspension kits are manufactured using premium raw materials and coatings for extended service life. Each TRQ suspension component is designed to be a direct, maintenance-free replacement to the stock unit. To extend the life of your steering and suspension components, TRQ recommends replacing components in pairs, sets, or kits. All products are fit and road-tested in our Massachusetts R&D facility to ensure we deliver on our promise of Trusted Reliable Quality.
Install Tip: When replacing steering components, have a professional alignment performed afterwards. This ensures proper tracking and even tire wear.
Our steering and suspension components are pre-greased and sealed for long life and do not require the extra maintenance typically required by greaseable versions.
Attention California Customers:
 WARNING: This product can expose you to chemicals including Lead and Lead Compounds, which are known to the State of California to cause cancer, and birth defects or other reproductive harm. For more information, go to www.P65Warnings.ca.gov.
This part fits 4 vehicles spanning 2004-2010.
| Year | Make | Model | Description |
|---|---|---|---|
| 2004-2005 | Chevrolet | Malibu | Chevrolet Malibu with New Body Style with 300mm Front Sway Bar Links without RPO Code FE5 (Performance Ride Handling Suspension) Front 6 Piece Steering & Suspension Kit TRQ PSA56248 |
| 2006-2009 | Chevrolet | Malibu | Chevrolet Malibu with 300mm Front Sway Bar Links without RPO Code FE5 (Performance Ride Handling Suspension) Front 6 Piece Steering & Suspension Kit TRQ PSA56248 |
| 2005-2010 | Pontiac | G6 | Pontiac G6 with 300mm Front Sway Bar Links Front 6 Piece Steering & Suspension Kit TRQ PSA56248 |
| 2007-2009 | Saturn | Aura | Saturn Aura with 300mm Front Sway Bar Links without RPO Code FE5 (Performance Ride Handling Suspension) Front 6 Piece Steering & Suspension Kit TRQ PSA56248 |
| Brand Label | Part Number |
|---|---|
| Dorman | 520-163 |
| Dorman | 520-164 |
| ACDelco | 45D3393 |
| ACDelco | 45D3394 |
| MOOG Chassis Products | K620179 |
| Dorman - OE Solutions | 520-163 |
| MAS Industries | CB90204 |
| Raybestos Chassis | 507-1394 |
| MOOG Chassis Products | CK620179 |
| Centric Parts | 623.62015 |
| Mevotech | MS50123 |
| Raybestos Chassis | 507-1393 |
| Mevotech | GS50122 |
| Falcon Steering Systems | FCA1151 |
| MasterPro | 5CB50443 |
| MOOG Chassis Products | CK621201 |
| Ingalls Engineering | CAK620179 |
| Precision Driveline | 5CB50082 |
| MOOG Chassis Products | ES800086 |
| SYD | 1503008 |
| General Motors | 22730775 |
| MOOG Chassis Products | CK620180 |
| Precision Driveline | 5CB50083 |
| MOOG Chassis Products | CK621200 |
| MasterPro | 5CB50442 |
| Precision Driveline | CB50082 |
| Dorman - OE Solutions | 520-164 |
| Precision Driveline | CB50083 |
| Centric Parts | 623.62014 |
| MOOG Chassis Products | K620180 |
| Falcon Steering Systems | FCA1150 |
| Mevotech | GS50123 |
| SYD | 1503009 |
| NAPA Premium | 2605874 |
| MOOG Chassis Products | RK620179 |
| Mevotech | CMS50123 |
| General Motors | 15292911 |
| Mevotech | MS50122 |
| Mcquay-Norris | FA4867 |
| Centric Parts | 622.62015 |
| General Motors | 88966974 |
| NAPA Premium | 2605873 |
| SYD | 1503062 |
| Centric Parts | 622.62014 |
| MAS Industries | CB90203 |
| General Motors | 8896675 |
| MOOG Chassis Products | K80252 |
| NAPA | 260-5873 |
| General Motors | 22730776 |
| MOOG Chassis Products | RK620180 |
| NAPA | 260-5874 |
| SYD | 1503063 |
| MAS Industries | CB90204PR |
| MAS Industries | CB90203PR |
| Mevotech | CMS50122 |
| Mcquay-Norris | FA4868 |
| General Motors | 15292910 |
| DIY Solutions | SUS06658 |
| DIY Solutions | SUS07656 |
| DIY Solutions | SUS05484 |
| DIY Solutions | SUS05485 |
| General Motors | 20784686 |
| General Motors | 15944090 |
| General Motors | 22687089 |
| Falcon Automotive | CA1151 |
| Mevotech | MK80252 |
| Mevotech | MES800086 |
| Carquest | CA781B |
| Carquest | CA780B |
| Dorman - Premium | CB90203PR |
| Dorman - Premium | CB90204PR |
| Hollander | 512-01416L |
| Hollander | 512-01415R |
| Mevotech Supreme | GS50122 |
| Mevotech Supreme | CMS50122 |
| Mevotech Supreme | MS50122 |
| Mevotech Supreme | CMS50123 |
| Mevotech Supreme | MES800086 |
| Mevotech Supreme | MS50123 |
| Mevotech Supreme | GS50123 |
| GMC | 22730775 |
| GMC | 22730776 |
This item may be interchangeable with parts from other brands with the above part numbers. This information is provided only for reference and does not guarantee that the item you are purchasing is identical to parts with part numbers from the brands listed above. To confirm that this item fits your vehicle, use the above "Check Vehicle Fit" option.
Lifetime Warranty
This item is backed by our limited lifetime warranty. In the event that this item should fail due to manufacturing defects during intended use, we will replace the part free of charge. This warranty covers the cost of the part only.
FREE Shipping is standard on orders shipped to the lower 48 States (Contiguous United States). Standard shipping charges apply to Hawaii and Alaska.
Shipping is not available to a P.O. Box, APO/FPO/DPO addresses, US Territories, or Canada for this item.
Expedited is available on checkout to the United States, excluding Alaska, Hawaii.
Final shipping costs are available at checkout.
Created on:
Tools used
Brought to you by 1AAuto.com, your source for quality replacement parts and the best service on the Internet.
Hi, I'm Don from 1A Auto. I hope this how-to video helps you out, and the next time you need a part for your vehicle, think of 1AAuto.com. Thanks.
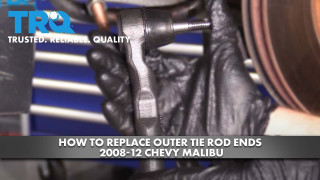
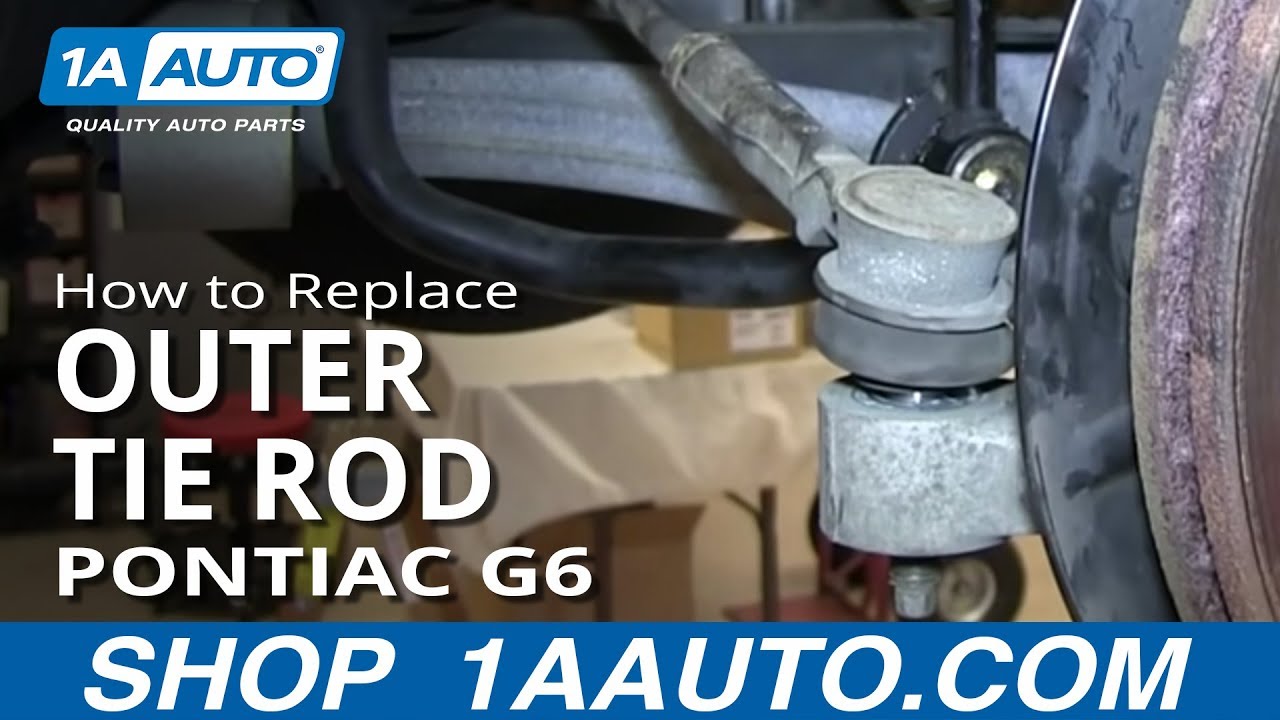
In this video, we're going to show you how to replace an outer tire rod on this 2007 Pontiac G6. It's pretty much the same as any 2005 to 2010 G6, as well as a Saturn Aura. We show you the right-hand or passenger side, but the left-hand driver side is the same procedure. You'll need a new tie rod or tie rods from www.1AAuto.com, jack and jack stands, 18mm and 19mm sockets with a socket wrench, maybe even a breaker bar or a pipe for leverage, tape measure, 18mm wrench, large adjustable or a 13/16 wrench, hammer, and a torque wrench.
Depending on what wheels you have, start out be removing the lug caps, and then we'll cover if applicable. Then, if you don't have the benefit of air tools, you're going to want to loosen the lug nuts with the vehicle on the ground. Then raise and support the vehicle. I'll remove the lug nuts, wheel, and tire.
Use a tape measure to get a general idea of a total length. You can use a reference point of the outer part of the boot, and then the outer part of the tie rod end, and just remember that number. On the end of the tie rod is an 18mm, so I'm using the socket and socket wrench to remove that nut. I'll fast-forward as I take off that nut.
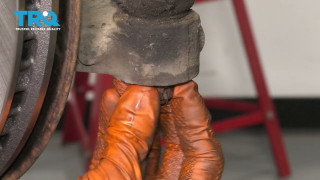
Locate the nut at the end of the outer tire rod. We're going to go ahead and just loosen it just a little bit. I'm using a 13/16 wrench. You can use the metric equivalent. With a hammer, go ahead and give the end of that spindle a whack and pull the outer tie rod out. Then you can go ahead and unscrew it. I'll fast-forward through that. Be as careful as you can to not turn the inner tie rod.
Here, we're going to reinstall. You'll notice we are reinstalling the old one. There's nothing wrong with the tie rods on this vehicle. We just are doing this to show you how to do it. Tie rods from 1A Auto are going to be an exact match to the original. You may want to just measure the length. There could be a slight difference in length, and you would want to make sure you align it well.
Go ahead and put that 18mm nut back on the outer tire rod. I'm using a small pair of vice grips to hold the other part of the ball joint so that it doesn't spin as I tighten up that 18mm nut. There might be other ways that you would find easier to do it, but that's the one that I use. Then once I get it through, I'll be able to put the vice grip on the end that's coming through the nut. You can see here that once I take that socket off, I'll have plenty of room to put that on, and then use an open-ended wrench.
Here, I'm using that vice grip on the bottom, and I'm going to use an open-ended wrench to finish up tightening it up. I'll fast-forward through this. Now tighten up the nut on the inner tie rod that we just slightly loosened. Make sure that's snug up against the back portion of that outer tie rod. I'm just verifying that the tire rod is in somewhat of a right position, and it will be ready for me to take over to have an alignment done.
Install the wheel, and tighten up on your lug nuts. I'll go ahead and fast-forward through this. In a star pattern, go ahead and torque your lug nuts to roughly 100 foot-pounds. Reinstall your hubcap, and make sure that you line up the notch in the hubcap for where your valve stem is. Then, by hand, use your 19mm socket to tighten up those plastic lug nut covers. I'll fast-forward through that.
We hope this video helps you out. Brought to you by www.1AAuto.com, your source for quality replacement parts and the best service on the Internet. Please feel free to call us toll-free, 888-844-3393. We're the company that's here for you on the Internet and in person.
Tools used
Brought to you by 1AAuto.com, your source for quality replacement parts and the best service on the Internet.
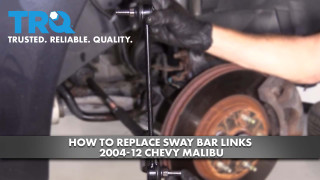
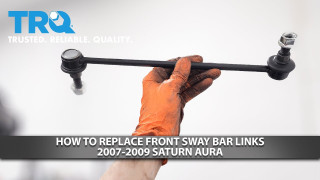
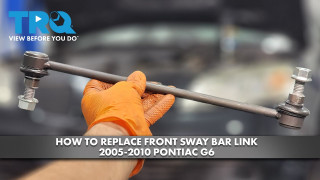
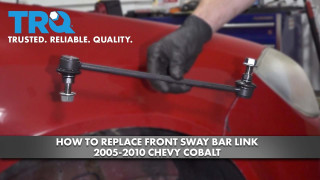
In this video, we're going to show you how to replace a front stabilizer link. The symptom of a bad stabilizer link is if you're hearing a clunking in the front of your car, but when you go around a curve, either left or right, the clunking seems to go away. That's usually a sign that your stabilizer link is starting to loosen up. Tools you'll need are 8mm to 19mm wrenches as well as a hammer.
Turn your wheel all the way to one side or the other. Then you can reach in behind and you can see it here. This is the top of your link. You can reach in behind and grab that with your hand and shake it back and forth and if you can duplicate that clanking or rattling sound then that's what you need to replace.
Start out by using a 19mm socket or a wrench and loosen the plastic covers and then remove the wheel cover. If you don't have the benefit of air tools, you'll want to loosen the lug nuts up while it's on the ground, then raise and support your vehicle and then remove the lug nuts and the wheel.
Right here is our stabilizer link. Use a little bit of penetrating oil on the upper and lower, let that sit for awhile. We've got an 18mm wrench on the bolt and 8mm wrench on the end of the shaft there. It looks like it actually coming loose, there goes that bolt. Get that started. Put this on there and I'm going to put this one on down there and same thing. Here's a close up look. I've got the 18mm wrench on there. The 8mm wrench is just holding that stud in place and I just keep flipping back and forth with the larger wrench, grabbing onto the nut and removing it. I'm just going to speed up the tape here. It takes a little while to get these things apart. It's a tedious task of getting the wrenches in there, holding it with the smaller wrench and then using the small one and then just angling the larger wrench in there as best you can. Eventually it comes apart.
Here's a new link from 1A Auto. Iit's a little bit different but it actually makes it easier to install. You'll need a 15mm wrench to hold this on that side and then a 19mm socket and ratchet to put the bolt on. We're going to put down in. It mounts in just like your original. Start the locking bolt on here and we'll start the locking bolt down here. Up top, I put my 15mm wrench through from the backside and then a 19mm socket and ratchet. I'll just speed it up as I tighten it up with the ratchet and you want to get it nice and tight and probably 40 to 45 foot-pounds. Then continuing on down to the lower, it's the same as taking it apart. You really can't get a wrench in there or a ratchet in there so you just have to use a wrench. I used the 15mm wrench to hold the stud and then a 19mm wrench to tighten up the nut and it just takes a little while and, then, again, tighten it up between 40 to 45 foot-pounds.
Once you have the wheel back in place then you put the lug nuts on by hand and I just use my impact wrench to just tighten them preliminarily. Now with the vehicle on the ground, torque the lug nuts to 100 foot-pounds using a star pattern. Now put your wheel cover back on, there's a hole for the valve stem then use a socket to tighten up the retainers.
We hope this video helps you out. Brought to you by www.1AAuto.com, your source for quality replacement parts and the best service on the Internet. Please feel free to call us toll-free, 888-844-3393. We're the company that's here for you on the Internet and in person.

PSA56248
Great
This kit is what I needed for my Pontiac G6. The car has over 250,000 miles on it and everything was worn out. This kit fit perfectly and works like it is brand new.
The product arrived on time, fit perfectly. Works properly. Would recommend to anyone.
This has to be one of the best on line parts store there is I've ordered from here a few times and is my preferred site has the best prices parts are right when they drive and normally are delivered before the actual date they say normally 3 days on regular delivery
Phone support was very good. Turn around time on shipping was very fast!
Installed all parts on my own. The A1 online videos were extremely helpful in preparing me for what to expect as well as the process. The sway bar links included in the kit, in my opinion, were much easier and installer friendly than the originals I removed. The passenger side lower control arm presented me with a bit of a wrestling match to get it to install but certainly not a problem with the part. I estimate in total to install both sides it took me a half day maybe a bit longer. My rating is based on; delivery, ease of ordering, what appears to be quality products and quality installation videos. I cannot speak to the long-term quality of the product.
I thought the quality of the parts was excellentWrite your review here. It must be at least 50 characters long. Consider whether you would recommend this product and what you like or dislike about it.
The parts Were the right fit and I look forward to getting other parts for my projects in the near future.
I purchased ball joints and tie rod ends and control arms for a 2007 Chevrolet Malibu everything fit perfect also saved me 500 dollars for 2.5 hrs of work thanks I will definitely purchase from you again.
All parts were high quality. Tie rods came with grease fittings -- better than the original ones. The videos from your site always help. I would recommend these parts. Always best prices too.
You would be able to check your VIN and it would tell you if you have the suspension.
This will fit as long as your model is without RPO Code FE5 (Performance Ride Handling Suspension).
