Replaces


Recommended for your 2009 Cadillac STS
Frequently bought together
Install Tip: You may be required to reset the vehicle computer after installation of this part.
Returns: Parts with electrical components cannot be returned once installed.
1 Year Warranty
This item is backed by our 1-year warranty. In the event this item should fail during intended use, we will replace the part free of charge. This warranty covers the cost of the part only.
Returns: Parts with electrical components cannot be returned once installed.
FREE Shipping is standard on Orders shipped to the lower 48 States (Contiguous United States). Standard shipping charges apply to Hawaii, Alaska and US Territories. Shipping is not available to Canada.
Expedited is available on checkout to the United States, excluding Alaska, Hawaii and US Territories as well as P.O. Boxes and APO/FPO/DPO addresses. Final shipping costs are available at checkout.
Created on:
Tools used
Brought to you by 1AAuto.com, your source for quality replacement parts and the best service on the Internet.
Hi, I'm Mike from 1A Auto. I hope this how-to video helps you out, and next time you need parts for your vehicle, think of 1AAuto.com. Thanks.
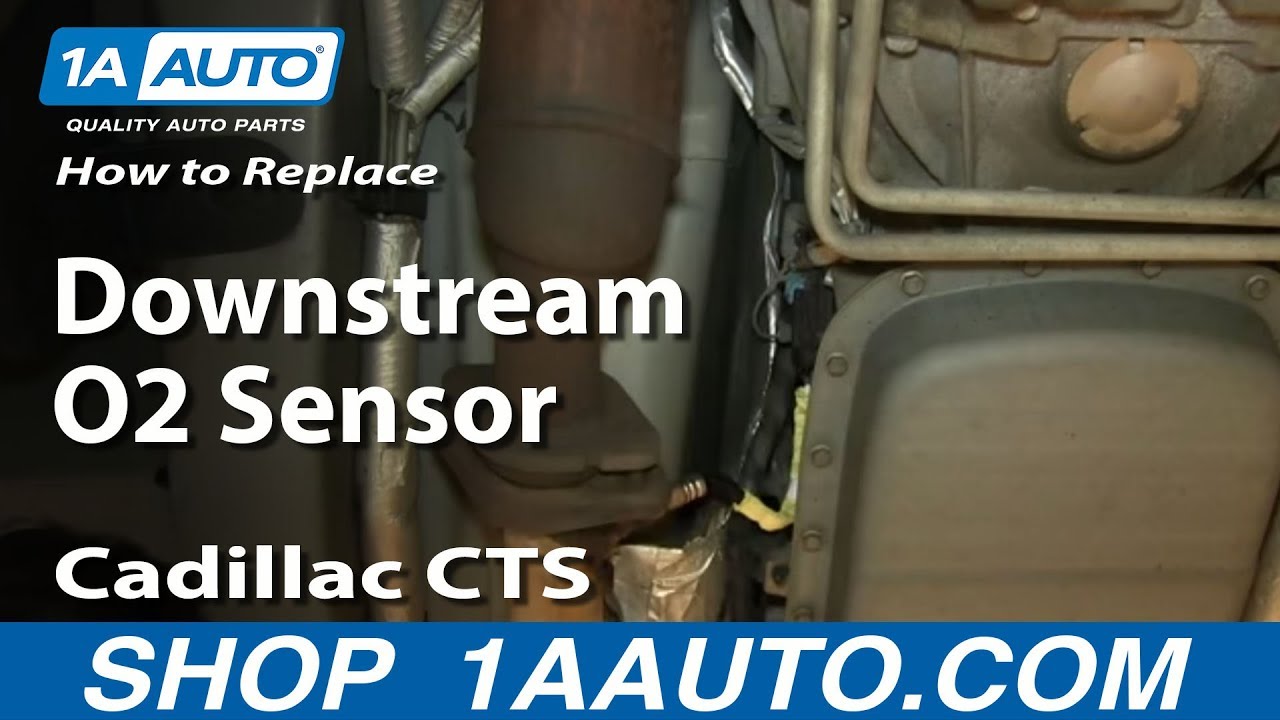
In this video, we're going to show you how to replace the downstream, or number 2 oxygen sensors on this Cadillac CTS, with a 2.8 liter. You'll need new oxygen sensors from 1AAuto.com, a 7/8"� wrench, and a jack and jack stands.
You'll want to lift your vehicle up, and there are arrows right on the side. That's where you'll want to place your jack, and then the jack stand to support it.
The right side is bank 2. The rear sensor, you can see here behind the catalytic converter. That would be bank 2, sensor 2, and then the front catalytic, or upstream catalytic would be bank 2, sensor one. Then, there is bank one, sensor two, and bank one, sensor one is the upstream.
If you want to replace one of the O2 sensors, you'll need to unplug it. They usually have a safety latch which you pull out, and then there's a tab that you push up and disconnect.
The downstream, or 2nd sensors on each side are pretty easy to reach with a 7/8 wrench, and you can see it just takes a good couple pulls, and then the sensor breaks loose. Twist it right out.
The new sensor will usually come with some anti-seize that you want to place on the threads,. Then twist it right in until it's seated. Then, use your 7/8"� wrench and tighten it up nice and firm. Then, just reconnect the harness, line it up, and make sure you push it in place until you hear the tab click on, and then set the safety pin as well.
Thanks for tuning in. We hope this video helped you out. Next time you need parts for your car, please visit 1AAuto.com. Also, check out our other helpful how-to, as well as, diagnosis videos.
Tools used
Hi, I'm Mike from 1A Auto. We've been selling auto parts for over 30 years. We're dedicated to delivering quality auto parts, expert customer service, fast and free shipping, all backed by our 100% satisfaction guarantee. Visit us at 1AAuto.com, your trusted source for quality auto parts.
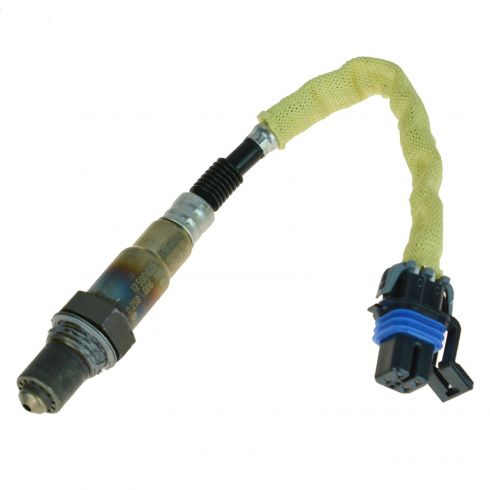
In this video I have a couple of oxygen sensors with me. While there are some aesthetic differences here, the wire lengths are a little different, the actual body and tip of the sensor are a little different, the threads and gasket are the same, and on the other end the connections are actually the same. I can plug these into either position on our vehicle. But if I had to ask you which one's upstream and which one's downstream, you probably can't tell just from looking at them. That's true of most oxygen sensors. The way you determine whether or not an O2 sensor is upstream or downstream is all done visually.
Your oxygen sensor position can be determined relative to your catalytic convertor. As the name suggests, upstream sensors will be located upstream or ahead of, in front of, above, closer to the engine than your catalytic convertors. This means that they see the exhaust gasses first. They then go through the catalytic convertor and to the downstream oxygen sensor, which will either be located in the catalytic convertor like our vehicle here, or after the catalytic convertor to monitor the gasses coming out of the cat and make sure that it's being efficient relative to the readings of the upstream O2 sensor.
The other determination you need to make is bank one versus bank two. Determining which bank is which can be done by looking at a picture of your vehicle's firing order. Whichever bank contains cylinder one is going to be bank one, and the other one, regardless of whether or not cylinder two is in it, is going to be bank two by default. These banks are true of V engines like V8s, V6s, and flat engines like Porsches and Subarus that have individual banks.
On inline four-cylinder engines, as long as they have one exhaust manifold like a Jeep four-liter or a four-cylinder Honda engine, you'll only have one bank with an upstream and downstream O2 sensor. There will be no bank two on the engine.
On our vehicle here, this is the passenger side, which we've already determined from the firing order is bank one. We have our upstream sensor here closest to the engine ahead of the cat. Then we have our downstream or sensor two here inside of the catalytic convertor. This could also be located somewhere after the cat. Here I have my two sensors for the vehicle. While they are aesthetically different, we can now tell this is my upstream sensor because it looks just like the upstream sensor I have up there. This is my downstream sensor. Now that we know which one's which, we can order the right part, correct the problem, and fix you up right.
Thanks for watching. Visit us at 1AAuto.com for quality auto parts, fast and free shipping, and the best customer service in the industry.
Tools used
Brought to you by 1AAuto.com, your source for quality replacement parts and the best service on the Internet.
Hi, I'm Mike from 1A Auto. I hope this how-to video helps you out, and next time you need parts for your vehicle, think of 1AAuto.com. Thanks.
In this video we're going to be working on our 2006 Cadillac CTS 2.8-liter V6. We're going to be showing you how to remove, replace, or reinstall your rear O2 or downstream O2 sensors. If you find this video helpful, please click subscribe. We have a bunch more information on this vehicle, as well as any other makes and models. Also, if you'd like to put these parts on your vehicle, the link can be found on our description.
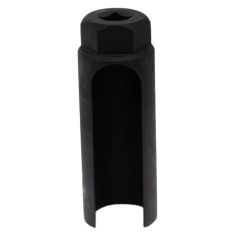
Here are the items you'll need for this repair: O2 sensor socket, 22mm wrench, torque wrench, jack and jack stands
We're going to use a lift to make this easier to show you guys at home, but you should be able to do this in the driveway with a jack and jack stands. Locate the O2 sensor connector on the transmission. This is going to be on the left side of the tranny, for the driver side O2 sensor, and the right side, for the passenger. This process is the same for either.
Remove the safety on the connector. Lift up and release the electrical connector for the O2 sensor. Using a 22mm wrench remove the O2 sensor from the exhaust. Disconnect the O2 sensor on the passenger side, and remove it the same way as the other.
Reinstall the O2 sensors into the bungs. Use an oxygen sensor socket. Torque the O2 sensors to 40 foot-pounds. Reconnect the connector at the side of the transmission. Snap the safety back into place. Repeat this step on the opposite side.
Thanks for tuning in. We hope this video helped you out. Next time you need parts for your car, please visit 1AAuto.com. Also check out our other helpful how-to and diagnosis videos.

213-2823