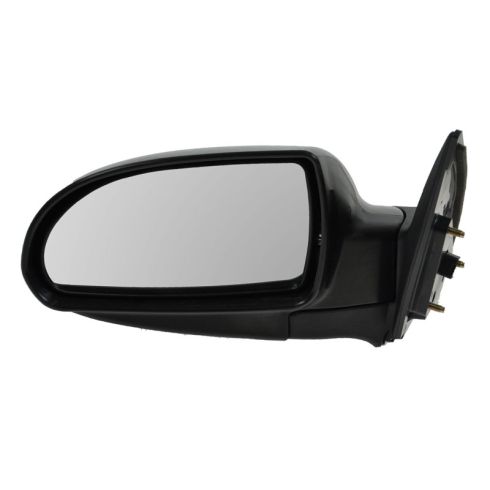
Hey, friends. It's Len here at 1A Auto. Today I'm working on a 2008 Hyundai Elantra, and I want to show you how to remove the right front mirror. It's going to be a very simple job. I want to be the guy that shows you how to do it. If you need any parts or instructional videos, you can always check us out at 1AAuto.com. Thanks.
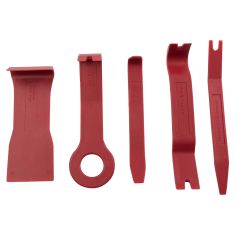
So here we go. We've got the door open. I'm going to take my plastic trim tool. It's very important I go plastic; I don't want to mess up my paint. So I'm going to come right along the top right here. I'm going to pry this out with a little tug. There we are. There we go. So we can see inside here. There's an electrical connector. There's a little tab right there. I'm going to try to give that a push with my small pocket screwdriver like this, pop it right out. Now we've removed our tweeter speaker.
It's time to relieve this electrical connector right here. There's a little tab right there. All I'm going to do is push in on it, give this a little tug, pull it out. We always check our electrical connectors, make sure there's no funny colors. No rust or rainbow colors. Any of that's bad in there. Looks pretty great to me.
Now we're at our last and final step almost here. We're going to take this off. There's three of them, 10mm. Set that aside where I can find it. This one I'm going to loosen up, but I'm going to leave on a little bit. Number two, looks exactly the same as the first. Now we're on our last one. I'm going to make sure I hold my mirror. Took off that last nut; I'd show you it, but I don't want to release the mirror. Just going to give it a little wiggle, and there we are. Now we've removed our mirror assembly.
So we're going to take our mirror, just going to put it through the backside, or I guess it would be the front side. I'm on the back side. I'm going to take my 10mm nuts, holding the mirror of course. Once I get this bottomed out, I don't have to hold the mirror so much anymore because I know it won't fall out, and I'm going to do the other two. Grab my tool, tighten down these 10mm nuts. There we are. We'll take our electrical connector, see if I can get it in there. There we are, give her a little tug. Going nowhere.
We'll grab our tweeter speaker, and we'll plug it in and get it back together. I've got my little piece of anti-vibration stuff that fell off when I was doing this. Just put it right up on there. We have our connector, got our little push tabs, let's finish this up. Let's see if I can get this in here. I heard a click. Get these tabs all lined up with their corresponding holes and we can give it a bonk. Bonk. Bonk, bonk. Feels good. Love it.
Thanks for watching. Visit 1AAuto.com for quality auto parts shipped to your door, the place for DIY auto repair. And if you enjoy this video, please click the subscribe button.