Replaces
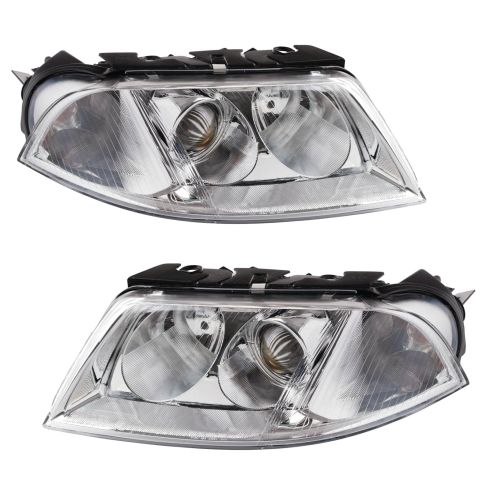
Part Details
Specifications
Product Features
Assemblies may include halogen or incandescent test bulbs that should be replaced before installation.
Attention California Customers:
 WARNING: This product can expose you to chemicals including Chromium (Hexavalent Compounds), which is known to the State of California to cause cancer, and birth defects or other reproductive harm. For more information, go to www.P65Warnings.ca.gov
Lifetime Warranty
This item is backed by our limited lifetime warranty. In the event that this item should fail due to manufacturing defects during intended use, we will replace the part free of charge. This warranty covers the cost of the part only.

Created on:
Tools used
Brought to you by 1AAuto.com- your source for quality replacement parts and the best service on the internet.
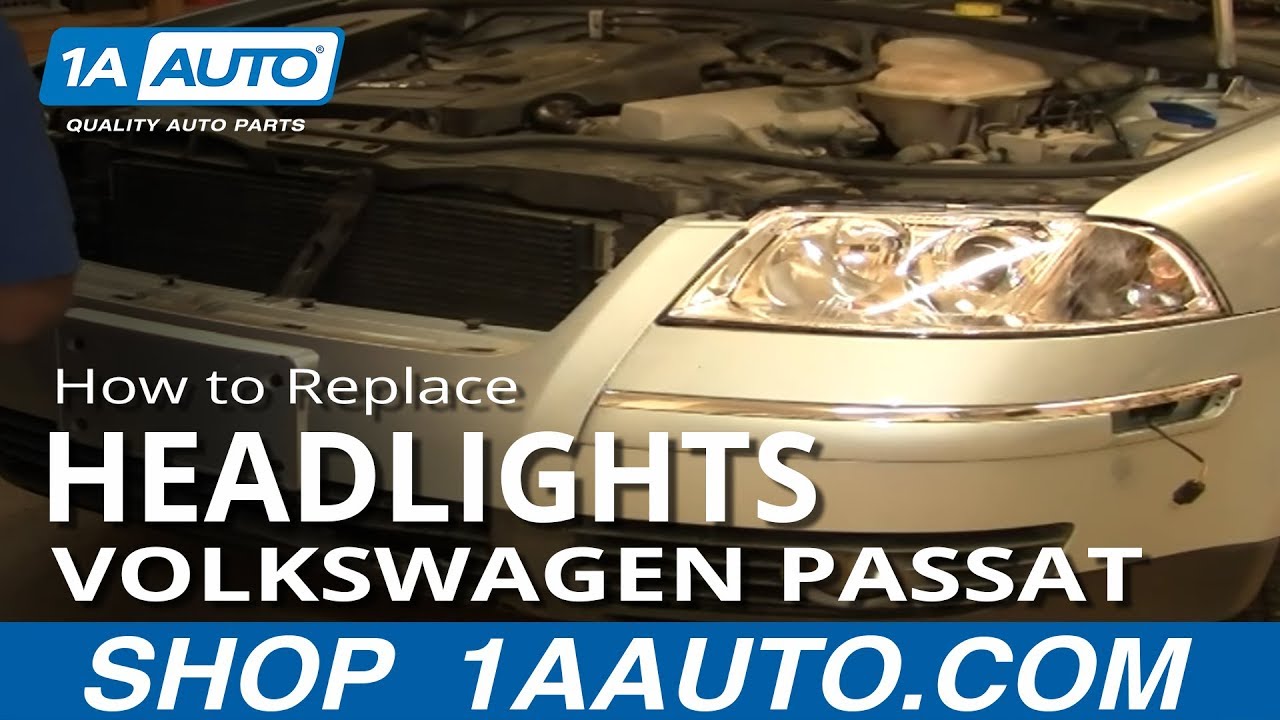
Hi, I'm Mike from 1AAuto. I hope this how-to video helps you out and next time you need parts for your vehicle think of 1AAuto.com. In this video we're going to show you how to service headlights on this 2003 Passat wagon, pretty much the same as any '01 to '03 Passat. The outer bulbs are the low-beams are pretty easy to replace if you're just looking to replace a bulb. The inner ones you probably are going to need to remove the headlight. We show you both replacing the bulbs as well as changing your entire assembly because they cloud and fade or get broken. Tools you'll need to replace your entire assemblies are flat blade screwdrivers both medium and larger size. T25 and T30 torque drivers, eight and ten millimeter sockets with the ratchet and extension and a Phillips screwdriver.
If you're looking to just change a bulb, on the passenger side you can actually remove these three screws here. Then the duct comes out, I'll show you that later as well as this panel pulls off and you can access the back of your headlight. On the driver's side you reach under here and pull on a couple tabs. This comes up and off. Back in here on the outer lamp you remove this rubber boot. Then turn this counter-clockwise and this comes out. That bulb actually just pulls straight out and goes back in. The new one would go back in. When you put it back in make sure it's seated. Turn it clockwise and lock in place. Put the rubber boot back over. Here you have a little door that pulls out. Then you can pull up; show you better in this light that's removed. Inside there, might be on the other side, is a light you that turn counter clockwise, comes out. Bulb pulled straight out of there. Replacement goes in. Most likely removing the whole headlight is the only way you're going to actually get to it. There's also another small bulb up in there that's the same thing.
In order to remove your headlight you're actually going to need to remove the bumper cover. That's not actually that big of a project. It's just a few fasteners. You've got a T25 screw that's right up in here. On the right side you've got three screws right inside the wheel well there, there and there. Then up underneath you've got three flat blade screws, one there, one there and there should be another one here but it's missing on this vehicle. As well as again on this side the three screws in the wheel well and the one up top. You need a T25 torque driver with the socket with the ratchet. Fast forward here as I remove the three screws that are in the wheel well and then the one that's up underneath. I used the extension to get to that one as well as remove them from the other side.
Now using a flat blade screwdriver I take the fasteners out from underneath. They're pretty simple, they actually only turn about half a turn and then pull down and out. Each parking light push the part in. Careful to insert a screwdriver in the back here and pry out; you want to push in the front of the light and use the screwdriver to pry it forward and then pull it out, disconnect it and obviously repeat for the other side.
As we open up the hood then there're two more T30 screws right on the top, on each side of the top of the grill. Fast forward here as I remove those two screws or bolts at the top and then you'll see I go to each side and pull on this bumper cover and unlock it on each side. Next you want to remove this handle and right in here, just use a metal clip, put a screwdriver down in there and pry that clip up. Put the tip up there, take your screwdriver put it in and pry the handle apart and pull it off. I just reached in with my screwdriver pry up one side, pulled and pry up the other side and pull that right out.
Down here on the side you'll see a little tab. Pry back on that tab and lift your grill straight up, on each side. That should pop out. Sometimes you'll get one of the clips by just reaching down here, prying the clip out. These clips should just pull right up and out. This one kind of got hung up a little bit. I had to go in there on the back side and pry that. With the grill off there are four more T30 screws right underneath to remove. Now with all of those removed the bumper cover slides forward and comes out. You want to be careful there are your fog lights. If you have fog lights reach down in to the tab here, press firmly and disconnect. Then do the other side. There are two T30 bolts on each side that you want to remove; one here and then one right in down here. Then I'll lift panel up a little bit. Speed up the film here a little bit as we just remove those two bolts.
The other side headlight, which we'll show you there are four screws to hold it in place, two very easy to see. You remove this rubber grommet and you'll see one right down in there. You'll need an extension to get to that one. Then you'll need an extension to get to the fourth one which is right there between the radiator support and the duct. That duct comes off fairly easily. Pull off the back cover and then there are three screws that hold the duct in place. Then the duct will come up and out. Now speed up here as I remove the three Phillips screws and then pull that duct up and out of place.
Be sure you want to disconnect it right here, press on the tab, press on the tab with one hand and pull it off with the other. Fast forward again as I remove those four bolts that I showed you earlier that hold the headlight in. I'm using a ten millimeter socket with a ratchet and extension. The assembly comes out. A new assembly from 1aauto, you can see it's very nice, clear better than the original one. The headlights actually float inside the housing. Just for some security during shipping the manufacturer wire ties them together to keep them in place so you remove the dust covers. Cut three wire ties, one large that are easy and then two smaller ones that are kind of inside the compartment. Remove the wire ties and you are ready to install the lights.
Once you have it in place what you want to do is start all four of the bolts in. Then as you're tightening them up try and hold the light into the best position possible. Tighten those bolts up. You want to tighten them nice and firm. They don't have to be too tight, though. With the headlight secured back in place I'm going to speed up here as we put the T30 bolts back in that hold that front brace. Then put the air duct back in place, put the three Phillips screws that hold that in place in. Then put that vanity panel back up, clip that back on.
With that all back in place you want to reconnect your fog lights first. Put your part harnesses up and through. What you do is, lift that cover and put that in place. There are slots here that go on the tabs here. You want to rough lift it up in place and slide each side on. Put that up in place. Once you have it in place then you want to put the four T30 bolts that are at the bottom of the grill back in place and tighten them up firmly.
Now we'll take the grill and these four spots at the bottom and these two tabs here and the tab at the top. You want to kind of put it into place and line it up. You can tell the tabs are going in, help them. Again we'll fast forward here as we put those two T30 bolts back in at the top.
To reinstall this, what we you actually need to do is unbolt your last mechanism at the three 10 millimeter bolts, here, here and here. Let your light mechanism move back here, as you take your handle kind of squeeze the forks just a little bit and insert it. Then you can kind of look back through here. You need to make sure that clip is up. We'll open the larger screwdriver and separate the fork. Separate the fork by twisting the screwdriver and then work the handle on there and push the foot down and lock it in place. You can tell it's in place when this moves around.
We'll kick it into high gear as I re-bolt that latch mechanism back on to the radiator support. Speed up through the rest of the video just in the interest of keeping it somewhat short. We put the fasteners on the bottom and then tighten up the four screws that are in the wheel well for the inner fender and the bumper cover. Then the park lights go back in. Make sure you plug them back in. Force them in further in front. Then the back side goes in; and then slides the tabs back into place.
Adjusting these lights the right down to the exact point of the holes right here. Here and here. You can use a Phillips screwdriver to move these adjusters as you can see on this vehicle. There's also an adjustment point inside this trap door here as well as you can move these nuts up and down. You would loosen the fasteners then move these nuts up and down to aim your lights as well.
We hope this helps you out, brought to you by www.1AAuto.com your source for quality replacement parts and the best service on the internet. Please feel free to call us toll free 888-844-3393. We're the company that serves you on the internet and in person.