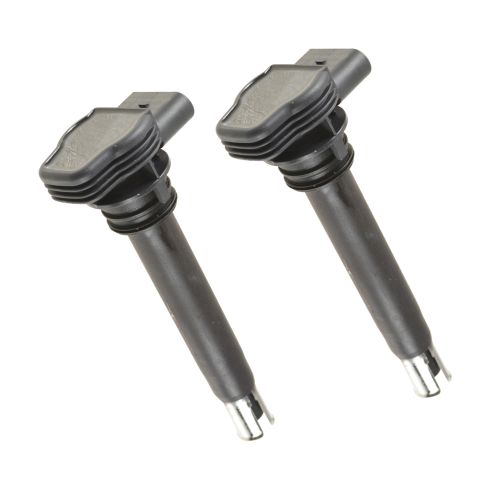
Genuine original equipment part (OEM) that was factory installed on your vehicle by the manufacturer.
Item Condition:New
1 Year Warranty
This item is backed by our 1-year warranty. In the event this item should fail during intended use, we will replace the part free of charge. This warranty covers the cost of the part only.
Returns: Parts with electrical components cannot be returned once installed.
FREE Shipping is standard on Orders shipped to the lower 48 States (Contiguous United States). Standard shipping charges apply to Hawaii, Alaska and US Territories. Shipping is not available to Canada.
Expedited is available on checkout to the United States, excluding Alaska, Hawaii and US Territories as well as P.O. Boxes and APO/FPO/DPO addresses. Final shipping costs are available at checkout.
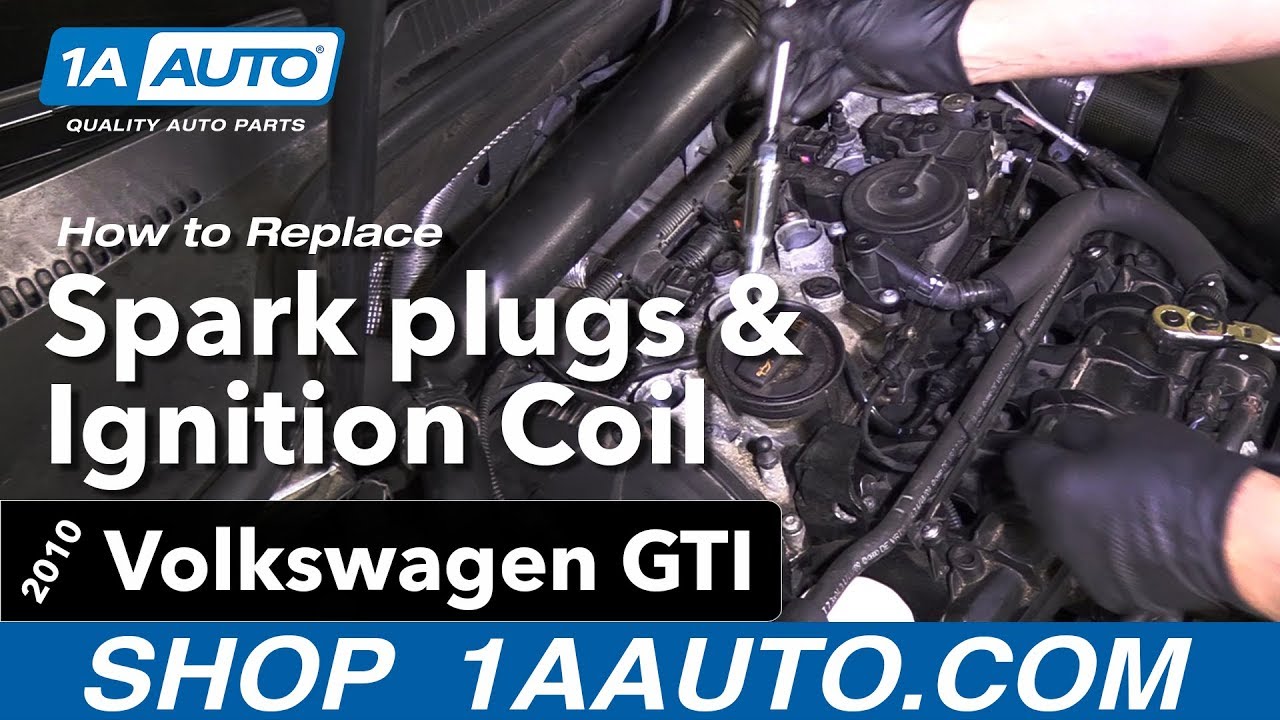
How to Replace Spark Plugs Ignition Coils 2006-14 Volkswagen GTI
Created on:
Tools used
Torque Wrench
5/8 Inch Spark Plug Socket
Ratchet
1. Removing the Engine Cover
Open the hood
Remove plastic cover from the top of the engine
2. Removing the Ignition Coils
Disconnect electrical connector from coils
Pull straight up on the coil to remove it
3. Replacing the Spark Plugs
Use your 5/8 spark plug socket with a ratchet and an extension to remove the spark plugs
Reinstall the new spark plugs from 1A Auto.com
Start threading them on by hand, do not use your ratchet
Use the torque wrench and torque them down to 25 newton meters, or 18 ft-lbs
4. Installing New Ignition Coils
Slide the new coil pack down the spark plug tube until it clicks in place
Use the tabs at the back to align it
Reconnect the electrical connector
5. Reinstalling the Engine Cover
Reinstall the plastic engine cover
Close the hood
Hi, I’m Mike from 1A Auto. We’ve been selling auto parts for over 30 years!
We're going to pull this cover off. Just snaps right up.
And to pull off the coils, we're going to take these little clips one at a time. Raise these little locks on here. You just pull it back a little bit, using a flat blade screwdriver. We're going to go to each one, push it down. We're going to pull this coil out. It's the same procedure for the other three. You're going to grab in the front and lift in the back. Just work it right out. Just pull up evenly so you don't break it.
I'm going to pull one plug out at a time. We're going to use a 5/8 spark plug socket. You want to make sure you use a spark plug socket. We're taping ours to our extension so the socket won't fall in. It's a little loose sometimes, and this spark plug socket has a rubber grommet that holds the spark plug in place so that it'll come up when it's loose and easier installation. And there's the spark plug.
This is our old spark plug, and this is our new plug from 1Aauto.com. You can put these in your car. It's pre-gapped going easily, help your engine run better, smoother, better fuel economy, and you'll be good to go, ready to rock and roll.
This is our old coil. This is our new coil from 1aauto.com. As you can see, the coil designs are very similar. There is some slight differences. This coil has some improvements. As you can see, this is for better cooling, whereas this one does not have that. You can see the connectors are the same. These will work great and fit great in your vehicle.
We're going to reinstall our new spark plug with our socket and extension. We're going to start with number one. We're doing these one at a time. Take the old one out, and put the new one in. That way it's easier to not mess anything up. You won't forget what you're doing. Now we're going to move on to number two. Take number two out. You're going to repeat this for the other two. Start them by hand, twist them down, and we'll torque them after. Now we're going to torque these one at a time to 25 newton meters or 18 foot pounds. Once you hear the click, that's when you stop.
Installing the coil, you're going to line it up with the hole, slide it down. You want it to set on the spark plug. You're going to use those two tabs to line up at back and those will push down, get it to seat, and you'll do the same for the other three. Now I'm going to install the connectors. Kind of want to get them lined up, all of them. I'm going to push them down until they lock in place.
We're going to install the cover. It's going to install on these little tabs right there. Just line it up, push down
Thanks for watching. Visit us at 1AAuto.com for quality auto parts, fast and free shipping, and the best customer service in the industry.
VWERK00006
In Stock
Product Reviews
Loading reviews
There are no reviews for this item.
Customer Q&A
No questions have been asked about this item.
Customer service
877-844-3393
Monday - Friday 8:00am - 9:30pm ET Saturday - Sunday 8:00am - 4:30pm ET
Volkswagen is a registered trademark of Volkswagen AG. 1A Auto is not affiliated with or sponsored by Volkswagen or Volkswagen AG.See all trademarks.
Enter Vehicle Year Make Model
Specify your vehicle's year, make and model to guarantee fit.
Year
Make
Model
Options
Drivetrain
This part doesn’t fit a . Select from parts that fit.