Replaces







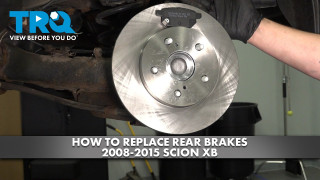
Part Details
Specifications
About TRQ:
TRQ is a trusted brand dedicated to making every repair a success story by combining premium parts with easy installation. Each TRQ part is engineered by a team of automotive experts to meet or exceed OEM standards, delivering enhanced performance and maximum longevity. With rigorous in-house testing, the brand ensures superior fit and function across every product line. TRQ also provides customers with best-in-class, step-by-step installation videos—so you can complete repairs with confidence, whether you're a first-time DIYer or an industry professional.
Product Features
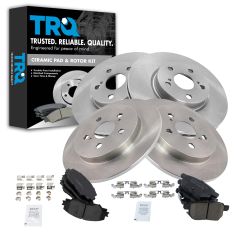
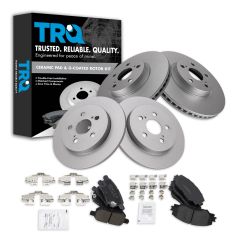
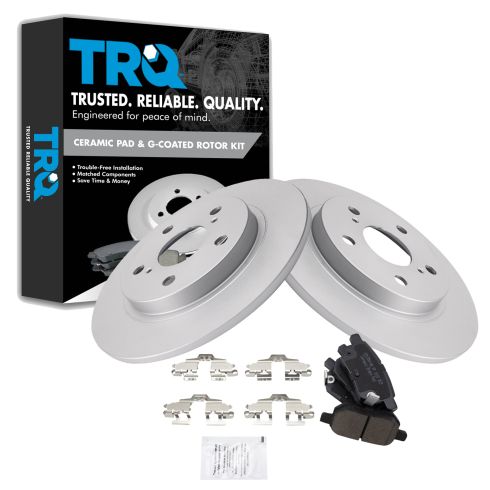
TRQ brake kits are designed to restore your brake system to like-new performance. TRQ brake pads are positive molded, thermal scorched, chamfered, and utilize a multi-layer shim for enhanced performance and service life. TRQ G-coated rotors have long-lasting rust prevention, perfect for wheels with large openings that expose the rotor and rotor hat during daily drives. All products are fit and road-tested in our Massachusetts R&D facility to ensure we deliver on our promise of Trusted Reliable Quality.
Attention California Customers:
 WARNING: This product can expose you to chemicals including Lead and Lead Compounds, which are known to the State of California to cause cancer, and birth defects or other reproductive harm. For more information, go to www.P65Warnings.ca.gov.
This part fits 5 vehicles spanning 2008-2018.
| Year | Make | Model | Description |
|---|---|---|---|
| 2009-2010 | Pontiac | Vibe | Pontiac Vibe Base Model L4 2.4L Rear Ceramic Premium G-Coated Brake Pad & Rotor Kit TRQ BKA24313 |
| 2016 | Scion | iM | Scion iM Rear Ceramic Premium G-Coated Brake Pad & Rotor Kit TRQ BKA24313 |
| 2008-2015 | Scion | xB | Scion xB Rear Ceramic Premium G-Coated Brake Pad & Rotor Kit TRQ BKA24313 |
| 2017-2018 | Toyota | Corolla iM | Toyota Corolla iM Rear Ceramic Premium G-Coated Brake Pad & Rotor Kit TRQ BKA24313 |
| 2009-2013 | Toyota | Matrix | Toyota Matrix S Front Wheel Drive Rear Ceramic Premium G-Coated Brake Pad & Rotor Kit TRQ BKA24313 |
| Brand Label | Part Number |
|---|---|
| Toyota | 446602260 |
| Scion | 446612130 |
| Raybestos Brakes | EHT1354H |
| Toyota | 446652170 |
| Pontiac | 19184919 |
| Raybestos Brakes | MGD1354CH |
| Toyota | 446602210 |
| Scion | 446652150 |
| Toyota | 446647110 |
| Toyota | 446652140 |
| Toyota | 446602310 |
| Scion | 446612150 |
| Raybestos Brakes | SGD1354C |
| FMSI | CD1354 |
| Scion | 446621020 |
| Raybestos Brakes | 980632R |
| Hollander | 533-50231 |
| Hollander | 533-0154 |
| Bendix | PRT5853 |
| DuraGo | BR900346 |
| Raybestos Brakes | 980632P |
| Raybestos Brakes | 980632FZN |
| Hollander | 533-50186 |
| Raybestos Brakes | 980632 |
| Wagner | BD126546 |
| Aimco | 31508 |
This item may be interchangeable with parts from other brands with the above part numbers. This information is provided only for reference and does not guarantee that the item you are purchasing is identical to parts with part numbers from the brands listed above. To confirm that this item fits your vehicle, use the above "Check Vehicle Fit" option.
Lifetime Warranty
This item is backed by our limited lifetime warranty. In the event that this item should fail due to manufacturing defects during intended use, we will replace the part free of charge. This warranty covers the cost of the part only.
FREE Shipping is standard on orders shipped to the lower 48 States (Contiguous United States). Standard shipping charges apply to Hawaii and Alaska.
Shipping is not available to a P.O. Box, APO/FPO/DPO addresses, US Territories, or Canada for this item.
Expedited is available on checkout to the United States, excluding Alaska, Hawaii.
Final shipping costs are available at checkout.
Created on:
Tools used
Hi, I’m Mike from 1A Auto. We’ve been selling auto parts for over 30 years!
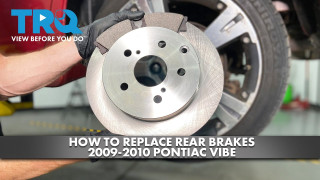
To remove the hubcap, these things that look like lug nuts are actually little plastic caps, and they screw onto the real lug nuts. That's what holds the hubcap on. We're going to take our 21 millimeter socket and just loosen them by hand. They shouldn't be on there too tight. If you have to, you could use a small ratchet, but these ones are coming free with my hand. So loosen these up. You should be able to pull the hubcap right off. With the vehicle still on the ground, take our 21 millimeter socket and a breaker bar and loosen all the lug nuts. With the lug nuts loosened, we can raise and support the vehicle with a jack and jack stands. We're going to use our two post lift. With the vehicle in the air remove the rest of the lug nuts. They should be pretty loose. I can use my hand and remove the tire and wheel. I'll hold on to the wheel as I take the last lug nut off so it doesn't come falling off on me. Put these lug nuts aside. Take our wheel off.
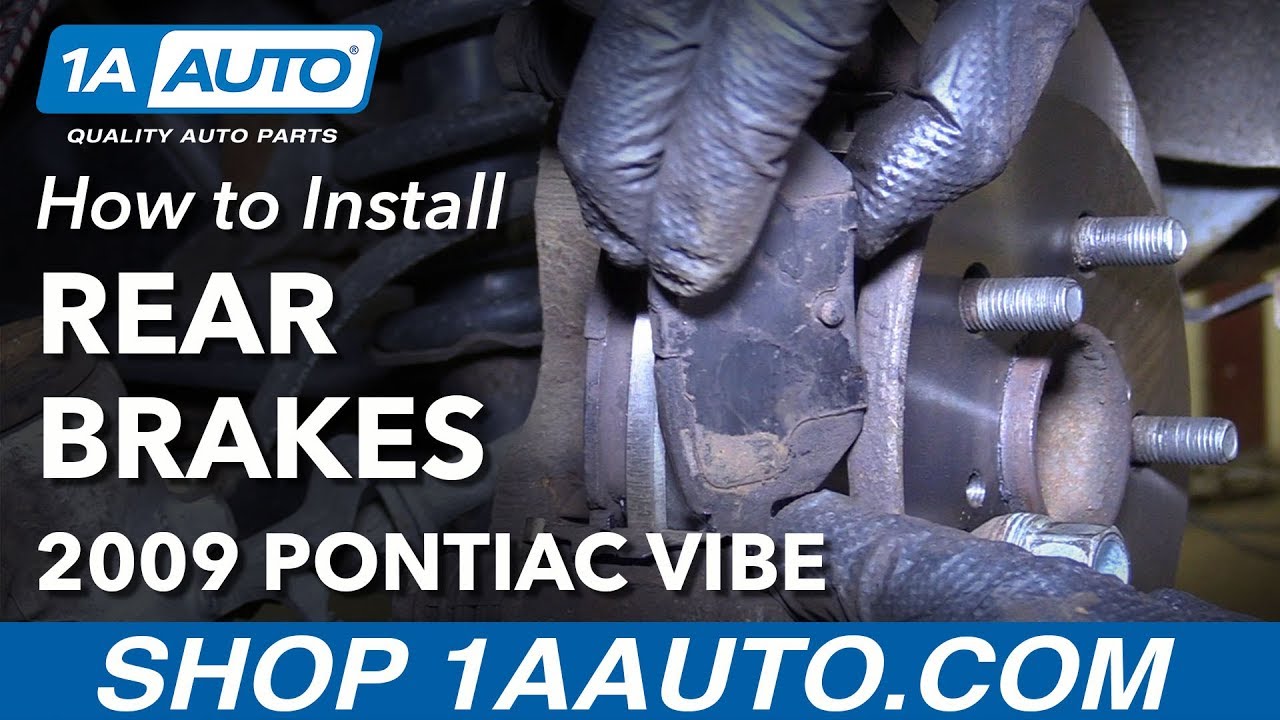
Rear caliper has the parking brake integrated into it, so I won't really be able to grab this. Kind of compress the piston, because it basically threads out and it's part of your parking brake. These are 14 millimeter caliper bolts. We need to remove those and take the caliper off. Using a 14 millimeter box wrench, get the bottom one broken free and break the top one free. Lift the caliper up and off.
I will hang this with a bungee cord from the spring to so it doesn't dangle on the e-brake cable or the brake hose. Use a small pry bar or a large flat bladed screwdriver and pop the pads out. There are two bolts holding the caliper bracket on: one here and one here at 14 millimeter. We need to use a 14 millimeter socket and a breaker bar to loosen those. Probably in there pretty tight. Since that's so tight, I'm going to use a dead blow mallet to hit this. With those freed up, I'm going to switch to a ratchet to make removal a little quicker. I'm going to hold on to the bracket as I remove the top one so the bracket doesn't fall. Pull the bracket out and the rotor is so loose it's ready to come right off. If this rotor is frozen in place you could spray some rust penetrant here on the hub and you could thread some eight millimeter bolts in here evenly and push this off. Luckily for us it came right off.
In our car here unfortunately the dust shield has rusted away, so I just kind of took the bits that were left and pushed them out of the way so they don't touch the rotor. On this particular style of caliper, because the e-brake cable and parking brake is integrated into it, the piston is part of the adjuster, so it actually threads and locks so it can't go back all the way in. So when you pull the e-brake inside the car or the parking brake, it pushes the piston out and locks the pads. There is a special tool for this. You can get them and it will help you spin this in. Or you can use some needle nose pliers and very carefully I'm going to turn this clockwise. It's going to spin down and retract. It's probably going to take you longer using pliers but it'll work.
If this doesn't want to spin in easily in a particular direction, sometimes the opposite side may be counterclockwise and vice-versa. Just make sure that you're not forcing it. I'm just going to move the bungee cord out of the way. There should be a direction that this turns easily and one direction it will not turn. So if it doesn't turn one way, try the other way. Clean our caliper hardware and the stainless steel brackets. Just clean them with a little brake parts cleaner and a wire brush. Repeat that for both sides.
Install our new brake rotor. I'm going to put it on backwards first so I can clean the outside of it with brake parts cleaner. And I'll flip it over. I'll actually take one of our lug nuts, hold it in place, and just spray down with some brake parts cleaner.
Reinstall the caliper bracket. Capture the top one first, and then the bottom one. Tighten up the bracket bolts. Make sure those are nice and tight. Pads that we took out are in good shape. We just want to show you how to remove them, so we're just going to clean and reuse them. This would be the same with our brand new pads. Just want to make sure that this surface is nice and clean with brake parts cleaner. We'll put a little bit of caliper grease on here and pop them in place. Push those clips over. Pop those in place.
There's these little locating tabs on the brake pads. Just like this on the outside one there's one on the inside here. It needs to line up into one of these openings here. So I'm just going to have to turn this just a little more, get it to line up to basically vertical like that. Now when this sits down it should sit right in place. Yeah, that lines up nice.
Reinstall the bolts. I'm just going to tighten these up. Tighten the bottom one. Remove the lug nut.
Reinstall the wheel. Do the same for the other side. Tighten the lug nuts and torque them when the vehicle's on the ground and then we're going to pump our brake pedal. The vehicle on the ground tighten your lug nuts to spec. Go the cross pattern. Go line up the valve stem opening with the valve stem in the wheel. Should fit right in place. Take the 21 millimeter socket and just thread these on. Just do them hand tight because they're just plastic. You don't want to break them. To push the calipers back out since we compressed them I'm going to gently press on the brake pedal. Don't mash it to the floor. Just kind of gently press it, build up the pressure, and you'll feel it get harder as the brake caliper piston move out to meet the pads. That feels good.
Thanks for watching. Visit us at 1AAuto.com for quality auto parts, fast and free shipping, and the best customer service in the industry

BKA24313