
★★★★★
August 10, 2025
Look sharp appear well built.

Replaces






About TRQ:
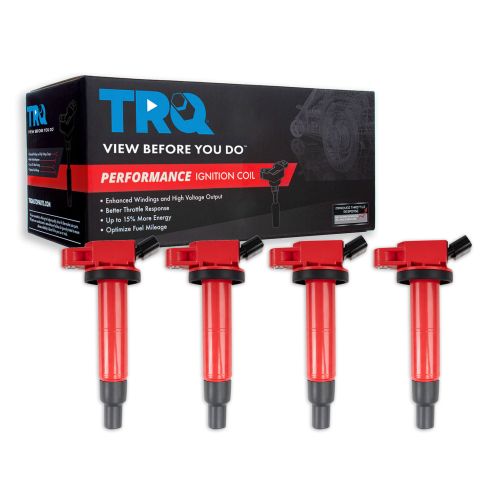
TRQ is a trusted brand dedicated to making every repair a success story by combining premium parts with easy installation. Each TRQ part is engineered by a team of automotive experts to meet or exceed OEM standards, delivering enhanced performance and maximum longevity. With rigorous in-house testing, the brand ensures superior fit and function across every product line. TRQ also provides customers with best-in-class, step-by-step installation videos—so you can complete repairs with confidence, whether you're a first-time DIYer or an industry professional.
Product Features
Returns: Parts with electrical components cannot be returned once installed.
Attention California Customers:
 WARNING: This product can expose you to chemicals including Lead and Lead Compounds, which are known to the State of California to cause cancer, and birth defects or other reproductive harm. For more information, go to www.P65Warnings.ca.gov.
This part fits 18 vehicles spanning 2001-2015.
| Year | Make | Model | Description |
|---|---|---|---|
| 2010-2012 | Lexus | HS250h | Lexus HS250h L4 2.4L 4 Piece Ignition Coil Set TRQ Performance ICA33917 |
| 2009-2010 | Pontiac | Vibe | Pontiac Vibe L4 2.4L 4 Piece Ignition Coil Set TRQ Performance ICA33917 |
| 2005-2010 | Scion | tC | Scion tC L4 2.4L 4 Piece Ignition Coil Set TRQ Performance ICA33917 |
| 2012-2015 | Scion | xB | Scion xB L4 2.4L 4 Piece Ignition Coil Set TRQ Performance ICA33917 |
| 2002-2005 | Toyota | Camry | Toyota Camry L4 2.4L 4 Piece Ignition Coil Set TRQ Performance ICA33917 |
| 2007-2008 | Toyota | Camry | Toyota Camry L4 2.4L Full Hybrid EV-Gas (FHEV) Japan Built Models (1st VIN Digit J) 4 Piece Ignition Coil Set TRQ Performance ICA33917 |
| 2007 | Toyota | Camry | Toyota Camry L4 2.4L Gas Engine 4 Piece Ignition Coil Set TRQ Performance ICA33917 |
| 2009-2011 | Toyota | Camry | Toyota Camry L4 2.4L Japan Built Models (1st VIN Digit J) 4 Piece Ignition Coil Set TRQ Performance ICA33917 |
| 2009-2010 | Toyota | Corolla | Toyota Corolla L4 2.4L 4 Piece Ignition Coil Set TRQ Performance ICA33917 |
| 2001-2005 | Toyota | Highlander | Toyota Highlander L4 2.4L 4 Piece Ignition Coil Set TRQ Performance ICA33917 |
| 2006 | Toyota | Highlander | Toyota Highlander L4 2.4L To 9/30/05 Production Date 4 Piece Ignition Coil Set TRQ Performance ICA33917 |
| 2007 | Toyota | Highlander | Toyota Highlander L4 2.4L 4 Piece Ignition Coil Set TRQ Performance ICA33917 |
| 2009-2010 | Toyota | Matrix | Toyota Matrix L4 2.4L 4 Piece Ignition Coil Set TRQ Performance ICA33917 |
| 2013 | Toyota | Matrix | Toyota Matrix L4 2.4L 4 Piece Ignition Coil Set TRQ Performance ICA33917 |
| 2001-2003 | Toyota | Rav4 | Toyota Rav4 L4 2.0L 4 Piece Ignition Coil Set TRQ Performance ICA33917 |
| 2004-2008 | Toyota | Rav4 | Toyota Rav4 L4 2.4L 4 Piece Ignition Coil Set TRQ Performance ICA33917 |
| 2002-2006 | Toyota | Solara | Toyota Solara L4 2.4L 4 Piece Ignition Coil Set TRQ Performance ICA33917 |
| 2007 | Toyota | Solara | Toyota Solara L4 2.4L To 5/31/06 Production Date 4 Piece Ignition Coil Set TRQ Performance ICA33917 |
| Brand Label | Part Number |
|---|---|
| Standard Ignition | UF-333 |
| Delphi | GN10313 |
| AutoZone | C1330 |
| Standard Motor Products | UF333 |
| Toyota | 9091902244 |
| Toyota | 90919-02244 |
This item may be interchangeable with parts from other brands with the above part numbers. This information is provided only for reference and does not guarantee that the item you are purchasing is identical to parts with part numbers from the brands listed above. To confirm that this item fits your vehicle, use the above "Check Vehicle Fit" option.
Lifetime Warranty
This item is backed by our limited lifetime warranty. In the event that this item should fail due to manufacturing defects during intended use, we will replace the part free of charge. This warranty covers the cost of the part only.
Returns: Parts with electrical components cannot be returned once installed.
FREE Shipping is standard on orders shipped to the lower 48 States (Contiguous United States). Standard shipping charges apply to Hawaii and Alaska.
Shipping is not available to a P.O. Box, APO/FPO/DPO addresses, US Territories, or Canada for this item.
Expedited is available on checkout to the United States, excluding Alaska, Hawaii.
Final shipping costs are available at checkout.
Created on:
Tools used
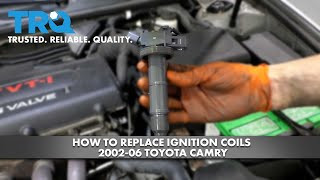
Hi, I’m Mike from 1A Auto. We’ve been selling auto parts for over 30 years!
Disconnect the negative battery terminal, it's a 10 millimeter nut.
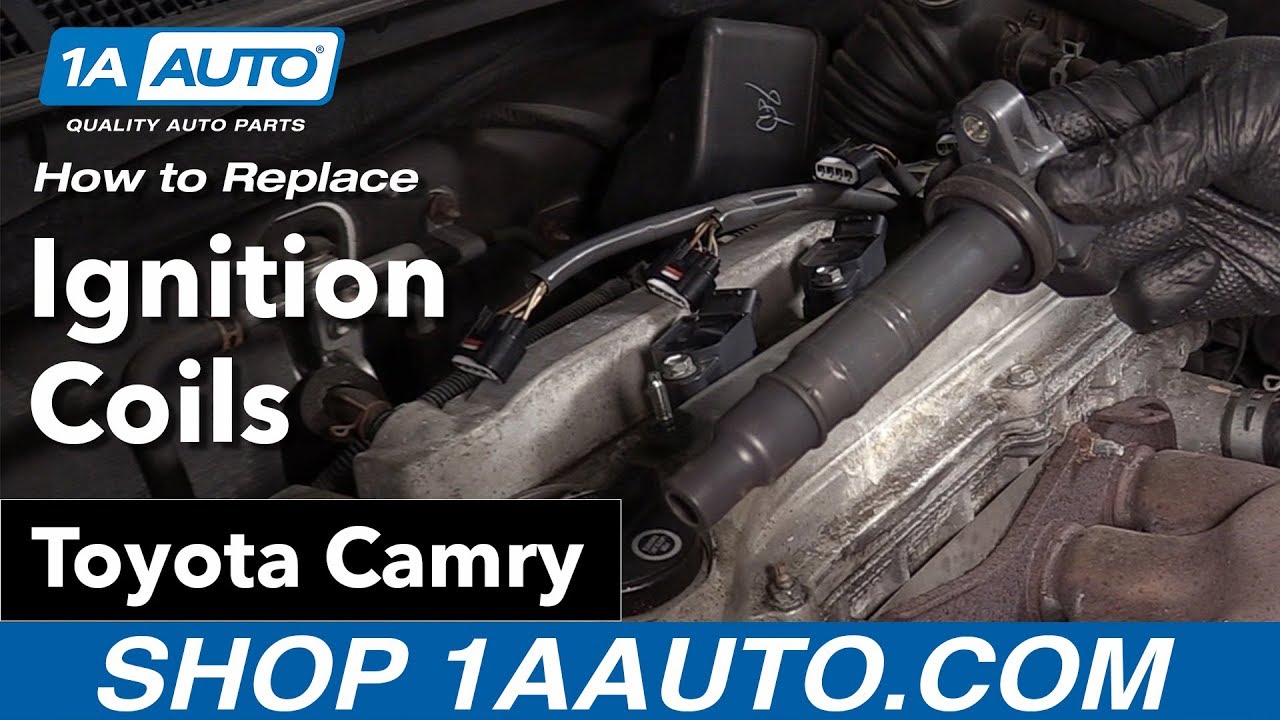
Remove the plastic engine cover, two 10 millimeter nuts on the top. Cover should just slip off, let me put that aside. These are your four ignition coil packs, right on top of the engine. To remove them, well this tab is broken, but if the tab is not broken you push the tab in, pull it out. Push the lock in and pull it off.
To remove the coil pack, loosen the 10 millimeter bolt that's holding it into the head. This procedure's the same for the other three coils. Pull it straight up, and it'll come right off the spark plug. Repeat the procedure for the other three coils.
Install the new coil, and put it down over the spark plug. Until that gets tight, I'm just going to stop. Reconnect the modular connectors. Reinstall the plastic engine cover. The spark plugs and coils have been changed.
Thanks for watching. Visit us at 1AAuto.com for quality auto parts, fast and free shipping, and the best customer service in the industry.
Tools used
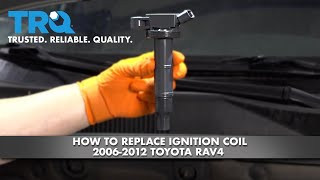
What's up guys? I'm Andy from 1A Auto. In this video I'm going to show you how to replace the coils on this 2010 Toyota Rav4. If you need this part or other parts for your vehicle, click the link in the description and head over to one 1AAuto.com.
Just want to pull this cover off. Just grab underneath the cover, slide up and that up there and there is these retainers that hold it in and just push on little grommets, right on those locations. This is where your coils are. There's four of them on this particular engine. So I'm going to show you how to do this one. Just disconnect the connector right here. Just push down on the lock tab and slide it out. Just like that. Take a 10 millimeter socket extension and a ratchet. Loosen up this bolt right here. Take that bolt out and you can grab the coil. Sometimes you just twist it a little bit and slide it out.
Now the seal got stuck on there, so you want take the seal off. Put it back on the coil and there's the coil. Here's the old part. Here's the new coil from 1AAuto.com. As you can see, the shape is the same. The mounting position is the same. Connector is the same. The other end is the same. Very similar design. Get yours at 1AAauto.com and you'll be ready to rock and roll.
I'm going to take the coil. I'm just going to take a little bit of dielectric grease. Just put a little bit in there, it's always a good idea. You don't necessarily have to, but it helps. And take the coil, slide that in position. And that's good. Got 10 millimeter bolt, get that started. I'll just take a 10 millimeter socket and a ratchet and just snug this down. It's good. Take the connector, line it up, and lock it in place. And then, I'm going to do the same with the other ones. Take this cover and we want to align these little tabs up with these little pins right there. There's three of them. Just push it down and then you're good to go.
Thanks for watching. Visit 1AAuto.com for quality auto parts shipped to your door. The place for DIY auto repair. And if you enjoy this video, please click the subscribe button.
Tools used
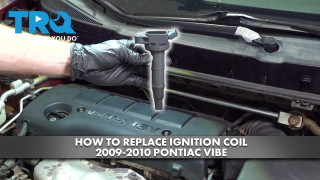
Hi, I’m Mike from 1A Auto. We’ve been selling auto parts for over 30 years!
Open the hood. We have to pull the release inside the car. It's just inside right around your left knee on the driver's side. Need to release the secondary, or safety release. Just kind of feel around for it. This one is right here. Squeeze up.
Going to remove these two top nuts that hold on the appearance cover. They are 10 millimeter, so I'm using a 10 millimeter socket ratchet and extension. Should just thread of real easily. So there's our appearance cover, it's got some foam inside. That's just for noise, just keeps the noise down from the valve train.
Here are your four coil packs. One for each cylinder. They're held in to the valve cover with a 10 millimeter bolt, one for each. Push down on the lock and remove the connector. These can be brittle, sometimes they break. The lock does. This procedure will be the same for the other three. Use a ratchet, extension, and 10 millimeter socket to remove this 10 millimeter bolt. Put this bolt aside.
Now we need to remove the coil. Might have to wiggle it because there is a seal in here and just break it free. Once it's free, it should come right up. There's our coil pack.
It does have some oil on it because our valves cover gasket has been leaking. Reinstall the coil. Line up the opening with the amounting bolt hole. Move the harness out of the way so it doesn't get pinched. Push right over the spark plug and reinstall the bolt. Once it gets tight I'm just going to stop. Put the connector back in.
Now I can reinstall the plastic engine cover. I wiped it down with a rag and cleaned some of the dirt off of it. Make it look a little nicer. Get lined up over those studs. Sit right down reinstall the nuts. Actually just do these hand tight. They don't need to be super tight. Job is complete.
Thanks for watching. Visit us at 1AAuto.com for quality auto parts, fast and free shipping, and the best customer service in the industry.
Look sharp appear well built.
Installed these closer 2 years ago and had no problems whatsoever excellent quality definitely recommend
Failed in less than a month! I was driving down the highway and my car engine start vibrating dangerously and all my lights on the dashboard lit up. Luckily I was able to get home and swapped the old ones back and my car is now running back to normal. Risked my life over this! I want my money back! Do not buy this.
Worked amazing and fixed my misfire very pleased thanks
This coil set fit perfectly in my 2008 Toyota rav4 limited 4cylinder. Had no problem installing these after new plugs were installed. Shipping was great. Quick and securely packaged.
Works great.
Excellent fit and better throttle response
I thought they were great coils but I had a misfire yesterday I'd like to replace the ones that are bad

ICA33917
Not that I could tell.
