
★★★★★
August 4, 2025
The part was needed. Very satisfied ! Thank u

Replaces







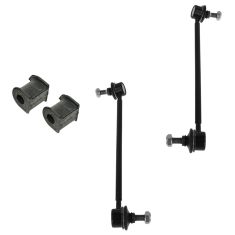
4 Piece Suspension Kit
$38.95
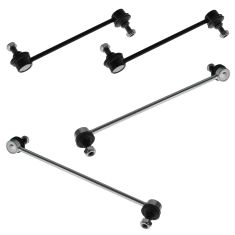
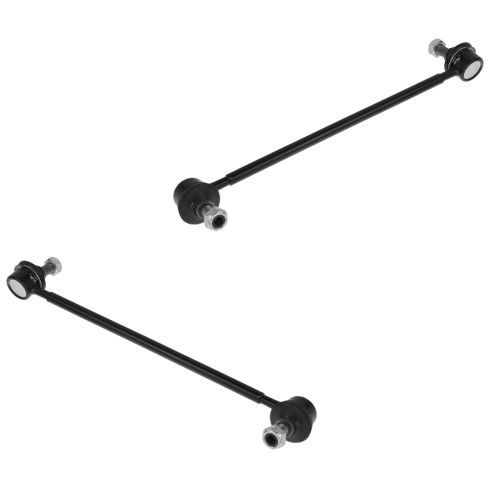
4 Piece Sway Bar Link Set
$48.95
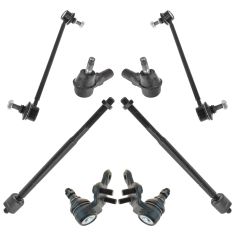
8 Piece Steering & Suspension Kit
$84.95
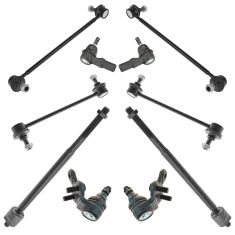
10 Piece Steering & Suspension Kit
$104.95
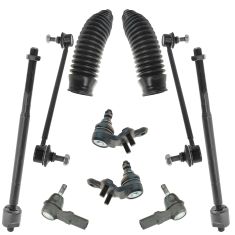
10 Piece Steering & Suspension Kit
$104.95
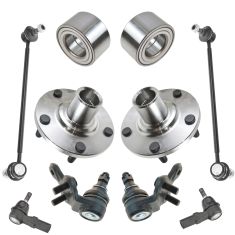
8 Piece Steering, Suspension, & Drivetrain Kit
$139.95
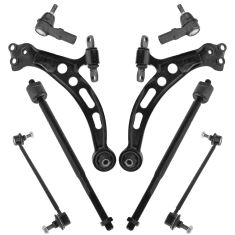
8 Piece Steering & Suspension Kit
$184.95
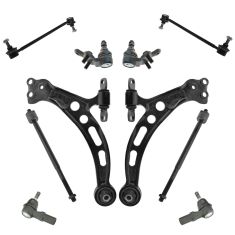
10 Piece Steering & Suspension Kit
$209.95
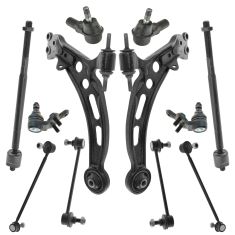
12 Piece Steering & Suspension Kit
$219.95
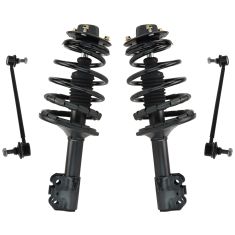
4 Piece Suspension Kit
$234.95
Part Details
Specifications
About TRQ:
TRQ is a trusted brand dedicated to making every repair a success story by combining premium parts with easy installation. Each TRQ part is engineered by a team of automotive experts to meet or exceed OEM standards, delivering enhanced performance and maximum longevity. With rigorous in-house testing, the brand ensures superior fit and function across every product line. TRQ also provides customers with best-in-class, step-by-step installation videos—so you can complete repairs with confidence, whether you're a first-time DIYer or an industry professional.
Our steering and suspension components are pre-greased and sealed for long life and do not require the extra maintenance typically required by greaseable versions.
Attention California Customers:
 WARNING: This product can expose you to chemicals including Lead and Lead Compounds, which are known to the State of California to cause cancer, and birth defects or other reproductive harm. For more information, go to www.P65Warnings.ca.gov.
This part fits 8 vehicles spanning 1997-2004.
| Year | Make | Model | Description |
|---|---|---|---|
| 1997-2001 | Lexus | ES300 | Lexus ES300 Front Driver & Passenger Side 2 Piece Sway Bar Link Set TRQ PSA55618 |
| 1999-2003 | Lexus | RX300 | Lexus RX300 Front Driver & Passenger Side 2 Piece Sway Bar Link Set TRQ PSA55618 |
| 1997-2004 | Toyota | Avalon | Toyota Avalon Front Driver & Passenger Side 2 Piece Sway Bar Link Set TRQ PSA55618 |
| 1997-2000 | Toyota | Camry | Toyota Camry Front Driver & Passenger Side 2 Piece Sway Bar Link Set TRQ PSA55618 |
| 2001 | Toyota | Camry | Toyota Camry V6 3.0L Front Driver & Passenger Side 2 Piece Sway Bar Link Set TRQ PSA55618 |
| 2001 | Toyota | Camry | Toyota Camry L4 2.2L To 6/30/01 Production Date Front Driver & Passenger Side 2 Piece Sway Bar Link Set TRQ PSA55618 |
| 1999-2002 | Toyota | Solara | Toyota Solara Front Driver & Passenger Side 2 Piece Sway Bar Link Set TRQ PSA55618 |
| 2003 | Toyota | Solara | Toyota Solara To 5/31/03 Production Date Front Driver & Passenger Side 2 Piece Sway Bar Link Set TRQ PSA55618 |
| Brand Label | Part Number |
|---|---|
| MOOG Chassis Products | K90311 |
| MOOG Chassis Products | K90312 |
| DIY Solutions | SUS00732 |
| DIY Solutions | SUS06648 |
| DIY Solutions | SUS06649 |
| Mevotech | MK90311 |
| Mevotech | MK90312 |
| Raybestos Brakes | 545-1257B |
| Parts Master | K90312 |
| Toyota | 48810-06030 |
| Dorman | 531-170 |
| Delphi | TC1540 |
| NAPA Chassis Parts | 2651465 |
| Deeza | LE-L605 |
| NAPA Chassis Parts | 18283 |
| Raybestos Chassis | 545-1257 |
| Raybestos Brakes | 545-1256B |
| TRW | JTS178 |
| TRW | JTS167 |
| NAPA Chassis Parts | 18282 |
| Beck/Arnley | 101-5044 |
| AutoZone | DG5451257 |
| TRW Steering and Suspension Parts | 18282 |
| NAPA Chassis Parts | 265-1466 |
| Import Direct Chassis | LS14010 |
| Centric Parts | 60744065 |
| Centric Parts | 606.44008 |
| MAS Industries | SK90312 |
| Import Direct | LS14010 |
| Firestone | K90311 |
| Import Direct | LS14011 |
| Toyota | 48820-06030 |
| Parts Master | K90311 |
| Raybestos Brakes | 545-1256 |
| Duralast | SL367 |
| NAPA Proformer | 18283 |
| Centric Parts | 60744008 |
| Centric Parts | 606.44065 |
| ACDelco | 46G0256A |
| Quinton Hazell | QLS3372S |
| NAPA Chassis Parts | 2651466 |
| Toyota | 4881033010 |
| Raybestos Brakes | 545-1257 |
| TRW Steering and Suspension Parts | JTS178 |
| Toyota | 4882033020 |
| NAPA Chassis Parts | 265-1465 |
| ACDelco | 45G0257 |
| MAS Industries | SK90311 |
| TRW Steering and Suspension Parts | 18283 |
| Toyota | 4882006030 |
| NAPA Proformer | 18282 |
| Mcquay-Norris | SL368 |
| Dorman | 531-169 |
| Import Direct Chassis | LS14011 |
| Mcquay-Norris | SL367 |
| Firestone | K90312 |
| AutoZone | DG5451256 |
| Duralast | SL368 |
| ACDelco | 45G0256 |
| Falcon Steering Systems | K90311 |
| TRW Steering and Suspension Parts | JTS167 |
| ACDelco | 46G0257A |
| Toyota | 48820-33020 |
| Toyota | 48810-33010 |
| Beck/Arnley | 101-5045 |
| Delphi | TC1541 |
| Quinton Hazell | QLS3370S |
| Dorman - Premium | SK90312XL |
| Dorman - Premium | SK90311XL |
| Mevotech Supreme | MK90312 |
| Mevotech Supreme | MK90311 |
This item may be interchangeable with parts from other brands with the above part numbers. This information is provided only for reference and does not guarantee that the item you are purchasing is identical to parts with part numbers from the brands listed above. To confirm that this item fits your vehicle, use the above "Check Vehicle Fit" option.
Lifetime Warranty
This item is backed by our limited lifetime warranty. In the event that this item should fail due to manufacturing defects during intended use, we will replace the part free of charge. This warranty covers the cost of the part only.
FREE Shipping is standard on orders shipped to the lower 48 States (Contiguous United States). Standard shipping charges apply to Hawaii and Alaska.
Shipping is not available to a P.O. Box, APO/FPO/DPO addresses, US Territories, or Canada for this item.
Expedited is available on checkout to the United States, excluding Alaska, Hawaii.
Final shipping costs are available at checkout.
Created on:
Tools used
Brought to you by 1AAuto.com, your source for quality replacement parts and the best service on the Internet.
Hi, I'm Mike from 1A Auto. I hope this how-to video helps you out, and next time you need parts for your vehicle, think of 1AAuto.com. Thanks!
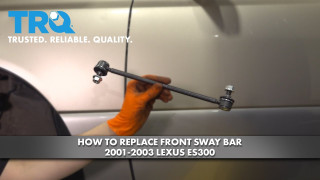
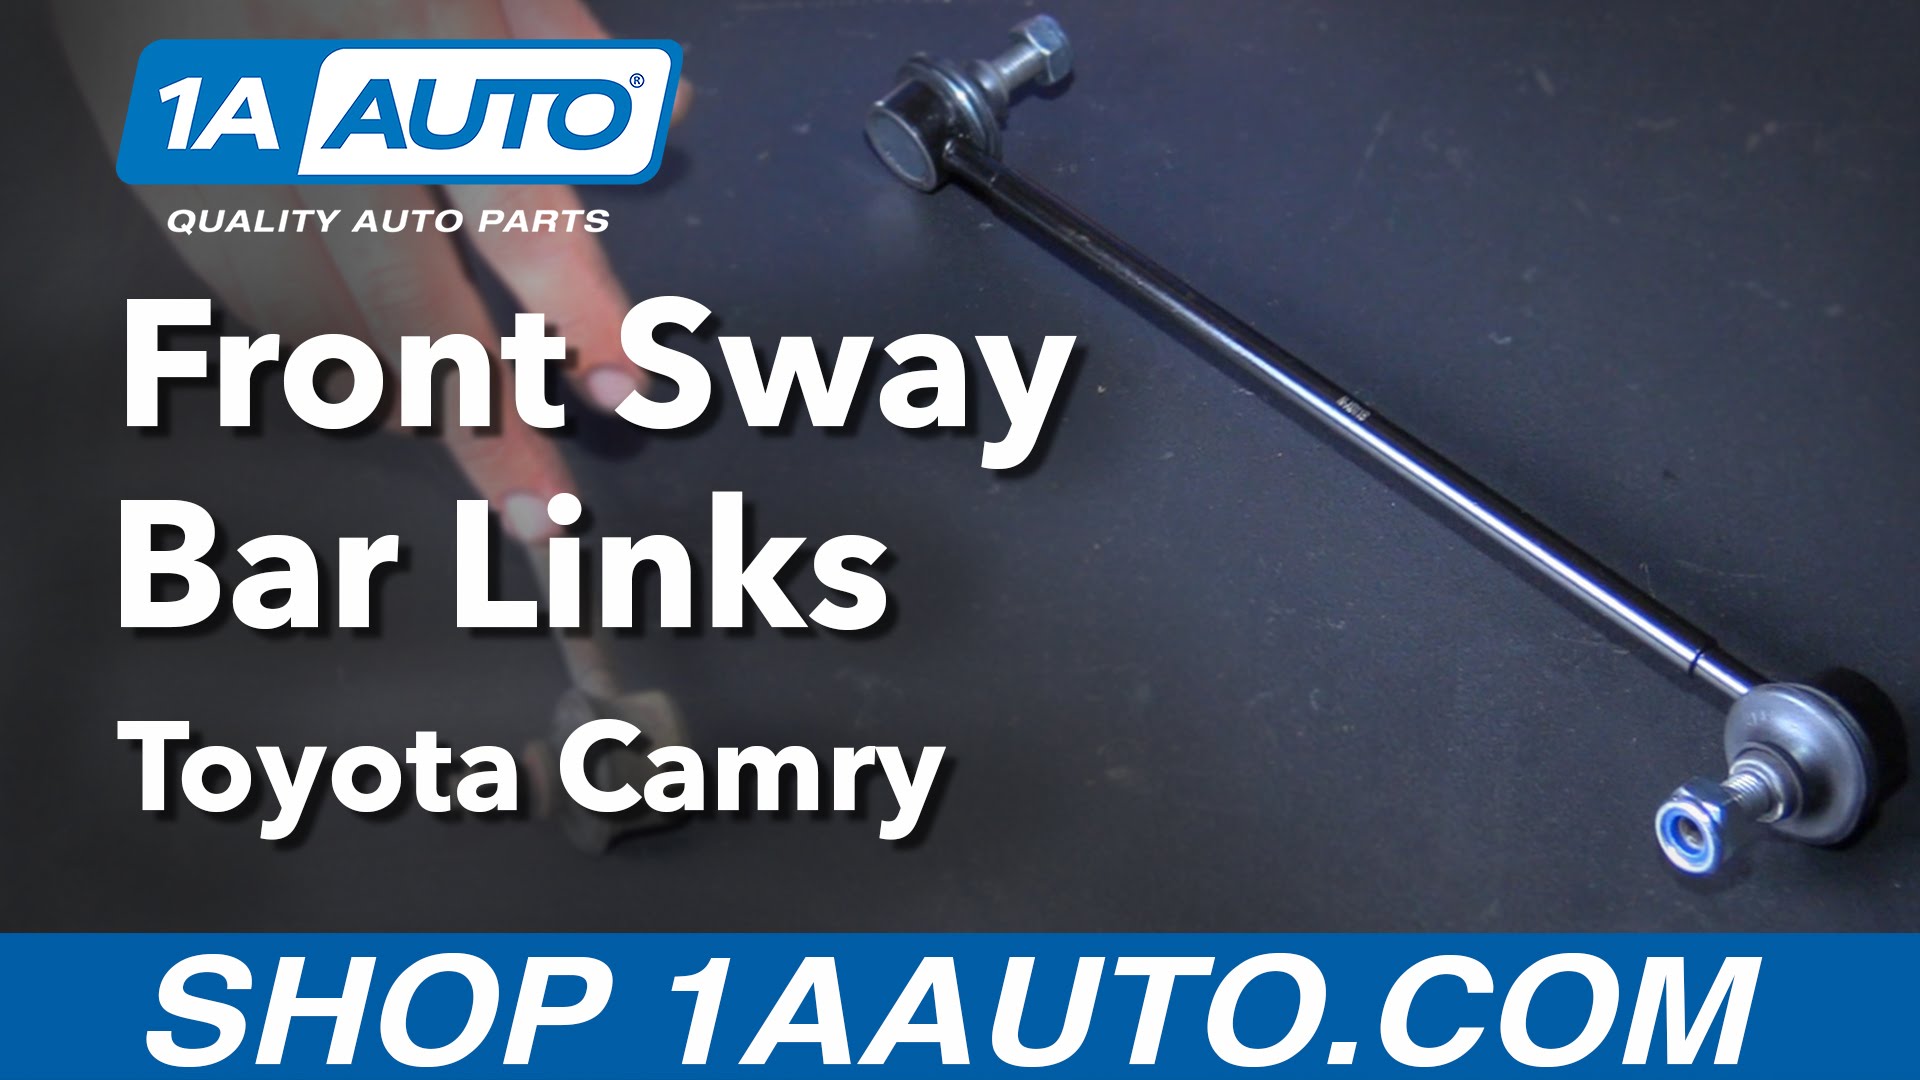
In this video, we are going to be working with our 98 Toyota Camry. We are going to show you how to remove and replace your front sway bar link. We happen to be doing this on the passenger side, but the process is the same as the drivers as well.
You want to replace this part as a pair. These are known to get a little bit of play in them and create a clicking or a popping sound as your vehicle transfers weight left and right and loads and unloads that sway bar. You can check them by placing a pry bar underneath and pushing up on the link and seeing if the joints move smoothly or if you can see a gap where the actually sway bar moves before the joint picks up and starts to pivot with it.
If you like this video, please click subscribe. We have a ton more info on this car, as well as many other makes and models. If you want this part for your vehicle, you can follow the link in the description over to 1A Auto.
Here are the items you'll need for this repair: 14-21mm sockets, ratchet, socket extension, torque wrench, locking pliers, breaker bar, jack, and jack stands.
Break all your lug nuts loose while the vehicle is still on the ground. Going to need a 21 millimeter socket and a breaker bar. Install your jack under the vehicle. Line it up with the pinch weld. Jack the vehicle up high enough that you can get a stand underneath. Making sure you have enough clearance to remove your tire or do whatever you have to do under the vehicle. Install your jack stand onto this uni body frame rail under the vehicle. With the vehicle raised and supported, remove your lug nuts the rest of the way. If you need a little more room to work, you can pull the hub cap off. Remove your wheel from the hub. We've put our vehicle on a lift to make it easier to film for you but this job can be easily done with a jack and jack stands.
To remove the sway bar link, we'll use a small pair of locking jaw plyers to grab on to the back side of the joint here and a 14 millimeter sock and ratchet to remove the nut. We'll push it out of the strut and use the same steps to remove the nut and stud on the bottom side at the sway bar. Remove the stud of the sway bar link from the strut and remove your locking jaw pliers. Remove the sway bar from the vehicle.
Here we have our old part that we removed from our vehicle and our new part from 1A Auto.com. As you can see, these parts are identical, same length, we have the same angle, on the heads of the sway bar here there is a right and left of these. This one happens to be the right. Comes with new nuts, with a nylon lock strip inside of them. What happens to these sway bar links is the inside of this joint is a ball and socket joint, much the same as your tie rod or your ball joint is in the front suspension.
It becomes warn out and allows up and down travel inside of that joint which creates a clicking sound and a little bit of play when that weight transfer gets moved from sway bar to sway bar. You can check these by placing a pry bar underneath them and just wiggling it up and down and they should move nice and fluid together. If you see one has the joint moving up before the stud starts to flex, that's a good indicator that you have a bad sway bar link.
This new part from 1A Auto goes in direct fit just like your original equipment does. It'll get your vehicle handling and transferring weight correctly as well as getting rid of those annoying sounds and fix you up right.
Install the bottom of the sway bar link into the sway bar first. We'll put the nut on a couple of threads. These new nuts are 17 millimeter, so we'll be installing them with a 17 millimeter socket and ratchet. Once you have the bottom threaded on by hand, push the top in and start that nut as well. Now these are at kind of an odd angle at first but as we tighten the nuts up, it's going to straighten out and sit where it's supposed to. Remember to clamp your vise grips onto the back side. Be careful not to tear the boots as these are the new parts, so we want to try not to damage them. Go ahead and tighten the nuts down. Torque the sway bar link nuts to 29 foot-pounds.
Reinstall the wheel and tire. Tighten down the nuts. Put the vehicle onto the ground. Check that they are all seated. If you've removed the tire, only lower the vehicle until the wheel touches the ground. With partial weight of the vehicle on the ground, torque your lug nuts to 76 foot-pounds in a cross pattern. Then, you can remove your jack the rest of the way.
Thanks for tuning in. We hope this video helped you out. Next time you need parts for your car, please visit 1AAuto.com. Also check out our other helpful how-to and diagnosis videos.

PSA55618
The part was needed. Very satisfied ! Thank u
Exact fit, what more is there to say!
Fits great, thank you. One think to note you most likely will have to have another jack to jack up /compreess suspension knuckle/strut thing to get them out and especially back In the hole on strut. Make sure your well prepared. Thanks 1a
Fit perfectly and work just great
Replaced the sway bar links on my 2000 Toyota Camry with the new sway bars that I ordered from 1A Auto. The new ones were a direct fit and installation was easy thanks to the great YouTube video that 1A Auto made for this part. The job was completed about a month ago and everything seems to be working just fine. Would recommend to anyone.
Very easy install. The 1A videos are spot on! 1A Is my go to auto parts store! I need a 1A Autob T-Shirt to show off to the Summit groupies! ??
fit great and got rid of that clunking noise car also handles better TIP: Instead of using vice grips and taking a chance of damaging the rubber boot a hex wrench will fit into the end of the stud to keep it from spinning
came on time all parts 8 have ordered have ordered have been good quality parts
Have had trouble in the past finding these parts. Found them quickly and easily on 1A at a great price. Had them in a reasonable amount of time.
Parts installed exactly as indicated in the A1 Video. I would suggest that the part number or parts package indicate which is right or left. I had to stop working and look up the part number on their website to determine which number was which side.
