
★★★★★
April 23, 2026
PARTS FOR TOYOTA AVALON 1991.
GOOD SERVICES, COSTUMER SERVICES VERY FRENDLY , VERY NICE TO HELP ME TO FIND THE PARTS.

Replaces







Part Details
Specifications
About TRQ:
TRQ is a trusted brand dedicated to making every repair a success story by combining premium parts with easy installation. Each TRQ part is engineered by a team of automotive experts to meet or exceed OEM standards, delivering enhanced performance and maximum longevity. With rigorous in-house testing, the brand ensures superior fit and function across every product line. TRQ also provides customers with best-in-class, step-by-step installation videos—so you can complete repairs with confidence, whether you're a first-time DIYer or an industry professional.
Product Features
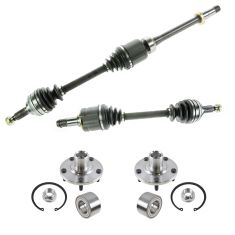
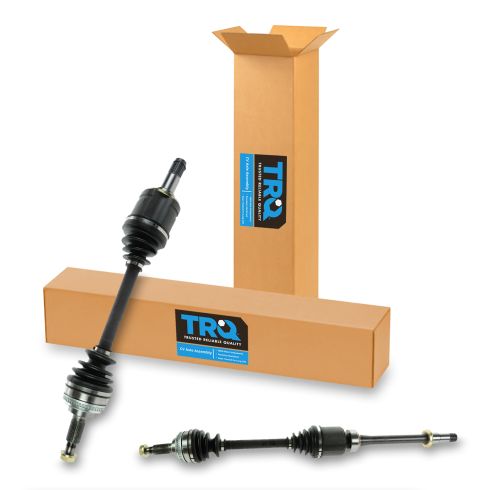
TRQ CV (constant velocity) drive axles are manufactured using premium raw materials designed to restore original performance. TRQ CV drive axles are new, so there is no core charge with your TRQ purchase. TRQ-designed drive axles utilize neoprene boots, moly grease, stainless steel clamps, and heat-treated ball tracks to ensure extended service life. Each TRQ axle is application-specific so each spline and thread will mate properly for a seamless fit. All products are fit and road-tested in our Massachusetts R&D facility to ensure we deliver on our promise of Trusted Reliable Quality.
CV axles are designed to transmit the power from your vehicle's drivetrain to the wheels while being able to flex and pivot to the demands of the steering and suspension systems. If your vehicle is making clicking noises at lower speeds or when making turns, it may be time to replace your CV axles with our 100% brand new assemblies.
Attention California Customers:
 WARNING: This product can expose you to chemicals including Lead and Lead Compounds, which are known to the State of California to cause cancer, and birth defects or other reproductive harm. For more information, go to www.P65Warnings.ca.gov.
This part fits 5 vehicles spanning 1997-2004.
| Year | Make | Model | Description |
|---|---|---|---|
| 1997-2001 | Lexus | ES300 | Lexus ES300 with Plug-In Style Inboard Joint Front Driver & Passenger Side 2 Piece CV Axle Assembly Set TRQ CSA82461 |
| 1997-2004 | Toyota | Avalon | Toyota Avalon with Plug-In Style Inboard Joint Front Driver & Passenger Side 2 Piece CV Axle Assembly Set TRQ CSA82461 |
| 1997-2001 | Toyota | Camry | Toyota Camry V6 3.0L Automatic Transmission with Plug-In Style Inboard Joint Front Driver & Passenger Side 2 Piece CV Axle Assembly Set TRQ CSA82461 |
| 1998-2003 | Toyota | Sienna | Toyota Sienna with Plug-In Style Inboard Joint Front Driver & Passenger Side 2 Piece CV Axle Assembly Set TRQ CSA82461 |
| 1999-2003 | Toyota | Solara | Toyota Solara V6 3.0L Automatic Transmission with Plug-In Style Inboard Joint Front Driver & Passenger Side 2 Piece CV Axle Assembly Set TRQ CSA82461 |
| Brand Label | Part Number |
|---|---|
| Lexus | 4341006170 |
| Lexus | 4342006170 |
| Toyota | 4341008020 |
| Toyota | 4342006170 |
| Toyota | 4342007030 |
| GSP | NCV69544 |
| Toyota | 4342008010 |
| Toyota | 4341008010 |
| GSP | NCV69581 |
| Toyota | 4341007030 |
| Toyota | 4341007031 |
| Toyota | 4341006170 |
| CARDONE | 665169 |
| CARDONE | 665168 |
| CARDONE New | 66-5169 |
| CARDONE New | 66-5168 |
| OEM Part Number | 4341006170 |
| TrakMotive | TO8016 |
| ODM | TO-8-8541A |
| GSP | NCV69545 |
| ODM | TO-8-8540A |
| TrakMotive | TO8015 |
| OEM Part Number | 4342006170 |
This item may be interchangeable with parts from other brands with the above part numbers. This information is provided only for reference and does not guarantee that the item you are purchasing is identical to parts with part numbers from the brands listed above. To confirm that this item fits your vehicle, use the above "Check Vehicle Fit" option.
Lifetime Warranty
This item is backed by our limited lifetime warranty. In the event that this item should fail due to manufacturing defects during intended use, we will replace the part free of charge. This warranty covers the cost of the part only.
FREE Shipping is standard on orders shipped to the lower 48 States (Contiguous United States). Standard shipping charges apply to Hawaii and Alaska.
Shipping is not available to a P.O. Box, APO/FPO/DPO addresses, US Territories, or Canada for this item.
Expedited is available on checkout to the United States, excluding Alaska, Hawaii.
Final shipping costs are available at checkout.
Created on:
Tools used
Brought to you by 1AAuto.com, your source for quality replacement parts and the best service on the Internet.
Hi, I'm Mike from 1A Auto. I hope this how-to video helps you out, and next time you need parts for your vehicle, think of 1AAuto.com. Thanks!
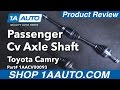
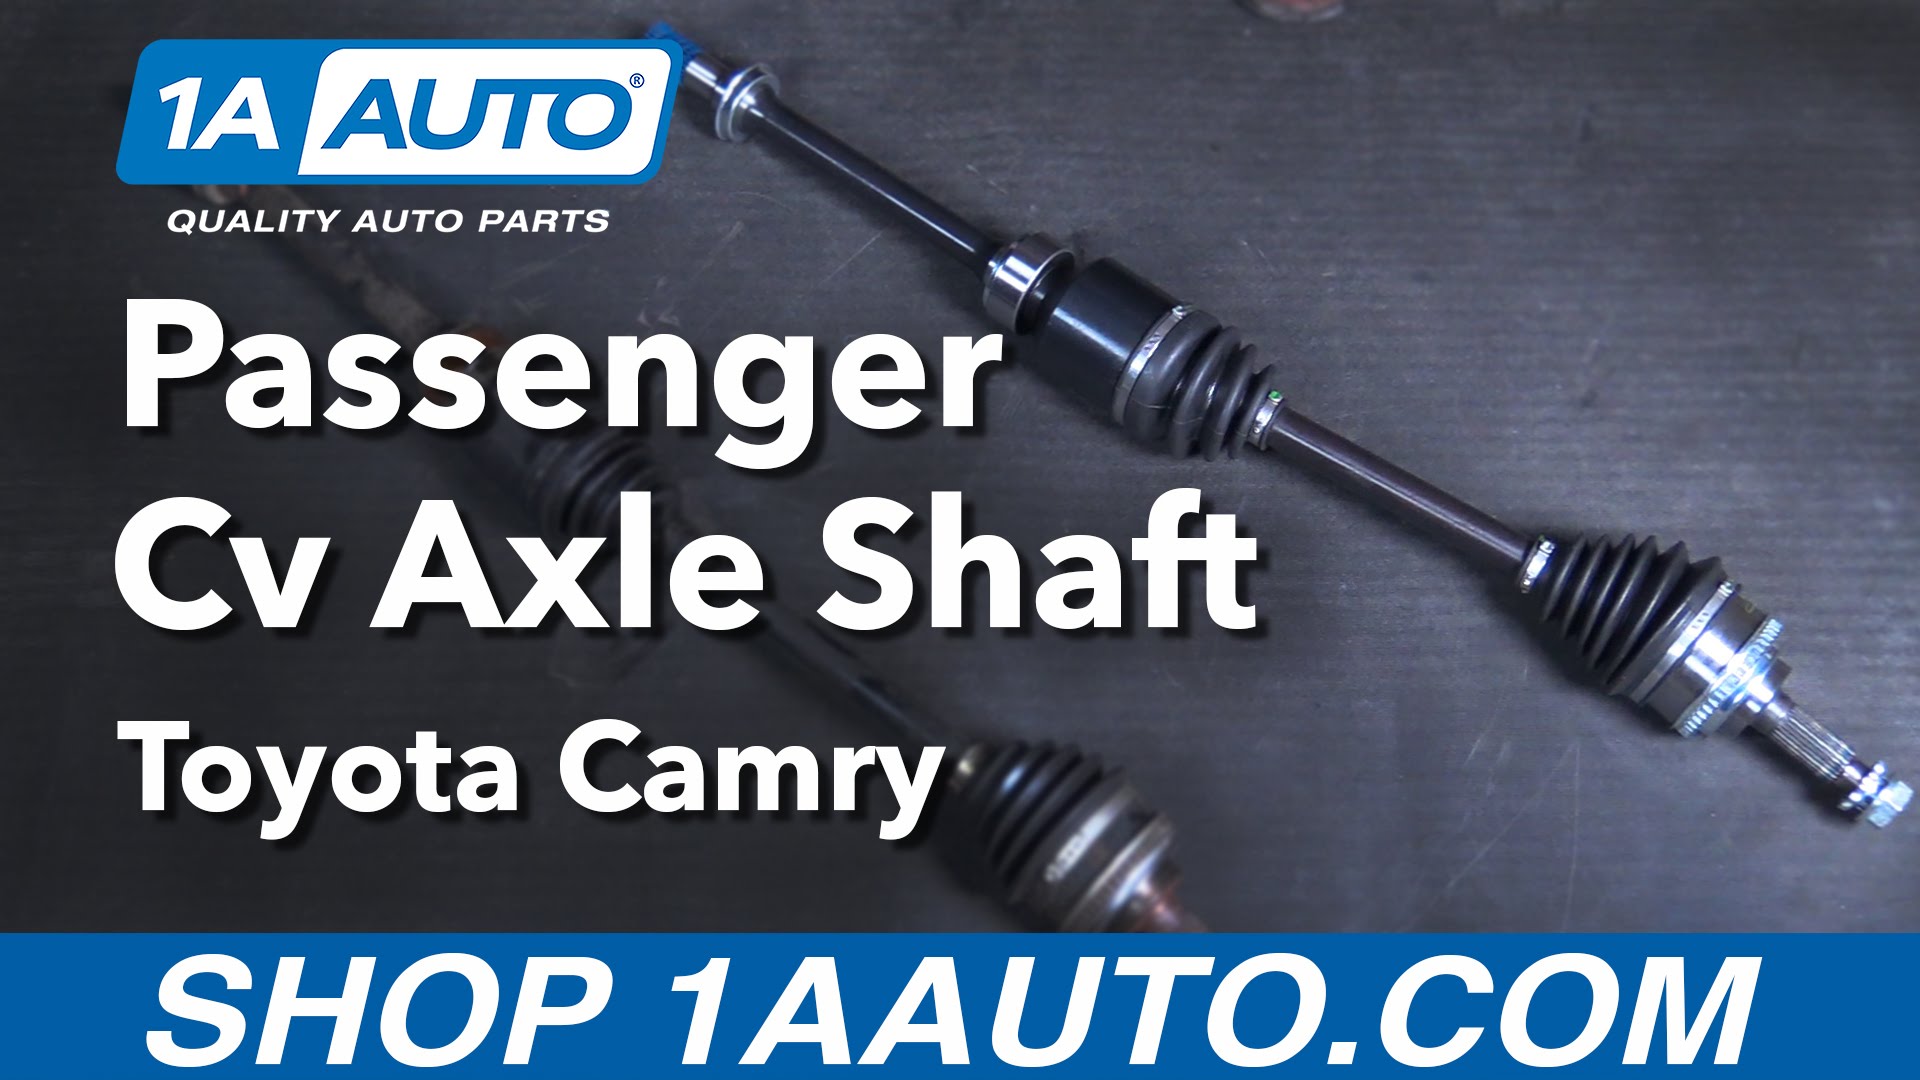
In this video, we're going to be working with our Toyota Camry 2.2-liter inline-4. We're going to show you how to remove and replace your old CV axle on the passenger side.
If you like this video, please click subscribe. We have a ton more information on this car, as well as many other makes and models. If you need this part for your vehicle, follow the link in the description over to 1AAuto.com.
Here are the items you'll need for this repair: 12-32mm sockets, ratchet, socket extension, torque wrench, needle nose lock pliers, flat punch, hammer, breaker bar, drain bucket, jack and jack stands.
Break all of your lug nuts loose while the vehicle is still on the ground. You're going to need a 21mm socket and a breaker bar. Install your jack under the vehicle. Line it up with the pinch weld. Jack the vehicle up high enough that you can get a stand underneath, making sure you have enough clearance to remove your tire or do whatever you have to do under the vehicle.
Stall your jack stand onto this unibody frame rail under the vehicle. With the vehicle raised and supported, remove your lug nuts the rest of the way. If you need a little more room to work, you can pull the hub cap off, remove your wheel from the hub. We've put our vehicle on a lift to make it easier to film for you, but this job can be easily done with a jack and jack stands.
Remove the cotter pin from the end of the CV axle. You have to straighten it out. Grab the end and work it out of the axle. Remove the lock cap. Insert a pry bar between the wheel studs. I'm bracing mine against the lift, but you can brace yours against the ground on the jack and jack stands when you use the 30 millimeter axle socket and a cheater pipe on a breaker bar to break the axle not loose. Once the axle nut is cracked loose, you can remove it almost fully.
We'll leave our prime bar there for when it gets a little tight on the threads to make sure that it doesn't spin. Place a punch in the center hole of the axle and tap it to release it from the splines. Remove the two strut bolts with the 22 millimeter socket. We're going to use a breaker bar to start and then switch to a ratchet and use a wrench to hold the bolts in place.
You can press in on the hub, squiggle it a little to get the bolts out, and then remove the spindle from the strut. This plastic clip will come off with it, just move that away for now. You can now remove the end of the axle from the hub. Remove this 14 millimeter bolt at the bottom of the barring at the end of your axle shaft, and you use a socket and ratchet. Using a pair of pliers, push together these two tabs on the snap ring and remove it from the bearing. Once it's off the bearing and onto the CV axle, use a pry bar on each side to make sure you put even pressure out on the axle.
You may need to use a large punch and hammer to hit the back of the CV axle until the bearing is free of the bracket. Be sure you have a drain bucket underneath the transmission for any fluid that might come out. Move the axle assembly from the vehicle.
Here we have our old CV axle that we removed from our vehicle and our new part from 1AAuto.com. As you can see, these parts are identical with the same splines and threads. We have the same joints, ABS tone ring, and the same axle shaft length. It comes with the new center bearing here, the same threads and dust boot going into the transmission itself. We also get a new nut and a new lock app for the end. Those should be replaced with any CV axle replacement.
CV axles tend to go bed from torn boots, letting all the grease out and drying up the joint inside or the joint inside going bad for another reason. It can bind or pop. You can also hear a clicking noise when you turn the wheel. These bearings also have the potential to go bad as it's another failure point on the vehicle. Due to the length of this shaft, they had to support it in the middle somewhere. If your CV axle is making noise binding or popping out, this new part from 1A Auto is going to go in direct fit just like your original equipment and fix you up right.
Reinstall the CV axle through the bearing bracket and into the transmission being careful not to score the bearings or splines off of anything on the way in. You may have to rotate it a little to line up and push it into place. Reinstall the snap ring around the CV axle. Make sure you line the ears up on the side. Set the snap ring in and compress it with your pliers. Push it back into the channel.
Reinstall the 14 millimeter bearing bolt for the socket and ratchet and torque the 24 foot-pounds. Reinstall the end of the axle into the spindle. Be sure not to pop the joint out on the inboard side while doing this. Line up the spindle into the strut and start your two 22 millimeter bolts.
Start your two 22 millimeter nuts for the strut bolts. Reinstall the plastic retainer for the ABS sensor line and tighten up the two 22 millimeter bolts for the strut with a socket ratchet and lunch. Torque to 256 foot-pounds. Within the axle nut on by hand, make sure it's fully seated. We'll reinstall our wheel and tire.
Reinstall the wheel and tire. Tighten down the nuts. Put the vehicle onto the ground so you can then torque the axle nut. Check that they're all seated. If you've removed the tire, only lower the vehicle until the wheel touches the ground. With partial weight of the vehicle on the ground, torque your lug nuts to 76 foot-pounds in a cross pattern. Then you can remove your jack the rest of the way. Torque the axle nuts to 217 foot-pounds. Install the walk cap over the axle nut and the new cotter pin. Then the cotter pin around the end of the axle. Reinstall your hub cap and you're good to go.
Thanks for tuning in. We hope this video helped you out. Next time you need parts for your car, please visit 1AAuto.com. Also check out our other helpful how-to and diagnosis videos.
Tools used
Here we have our old CV axle that we removed from our vehicle, and our new part from 1AAuto.com. As you can see, these parts are identical with the same splines and threads. We have the same joints, ABS tone ring, and the same axle shaft lengths. It comes with a new center bearing here and the same threads and dust boot going into the transmission itself. We also get a new nut and a new lock cap for the end. Those should be replaced with any CV axle replacement.
CV axles tend to go bad from torn boots letting all the grease out and drying out the joint inside, or the joint inside going bad for another reason. It can bind or pop. You can also hear a clicking noise when you turn the wheel. These bearings also have the potential to go bad, as it's another failure point on the vehicle. Due to the length of this shaft, they had to support it in the middle somewhere. If your CV axle is making noise, binding or popping out, this new part from 1A Auto is going to go in direct fit just like your original equipment and fix you up right.

CSA82461
GOOD SERVICES, COSTUMER SERVICES VERY FRENDLY , VERY NICE TO HELP ME TO FIND THE PARTS.
The parts arrived in perfect shape. The price was very competitive. The videos were very helpful in doing the replacement of the CV axles.
Great parts for a great price.
Always fast, and the quality is all there 98% of the time. Helpful service. Friendly people. Can't beat it really.
Part was exactly as described. Fit my 2000 Toyota Avalon XLS perfect. Car is back up and running. No issues so far.
Awesome
Awesome!
Great purchase just in case I have issues is why I bought this
Too easy to be honest, videos made the install. I would add using a good wire tie on the snap ring before installing, then cutting it in place to complete. Thanks for the great videos.
Arrived a little late but probably cause of the weather. Other than that, great.
Currently, we do not carry this part for your vehicle. We're always updating our inventory so please check back soon!
I bought the pair of toyota axles 2000 a year and a half ago and I have not any problems, 100% recommended and cheap.
Thank you for your inquiry. Yes, according to the information you provided, this part will fit your vehicle. Please let us know if you have any other questions!
Yep
No you do not it pretty much comes with everything except your tools.
No, these are specific for 3.0L engines only.
We have a few different aftermarket companies build these parts specifically for us, as our 1A Auto house brand. They are manufactured to the same OEM specifications as the original part that came with your vehicle and are covered by a lifetime warranty. If you have any further questions, please don't hesitate to ask.
