

★★★★★
April 26, 2022
Works good

Replaces



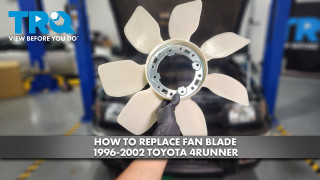

About TRQ:
TRQ is a trusted brand dedicated to making every repair a success story by combining premium parts with easy installation. Each TRQ part is engineered by a team of automotive experts to meet or exceed OEM standards, delivering enhanced performance and maximum longevity. With rigorous in-house testing, the brand ensures superior fit and function across every product line. TRQ also provides customers with best-in-class, step-by-step installation videos—so you can complete repairs with confidence, whether you're a first-time DIYer or an industry professional.
Attention California Customers:
 WARNING: This product can expose you to chemicals including Di(2-ethylhexyl)phthalate (DEHP), which is known to the State of California to cause cancer, and birth defects or other reproductive harm. For more information, go to www.P65Warnings.ca.gov.
This part fits 4 vehicles spanning 1995-2004.
| Year | Make | Model | Description |
|---|---|---|---|
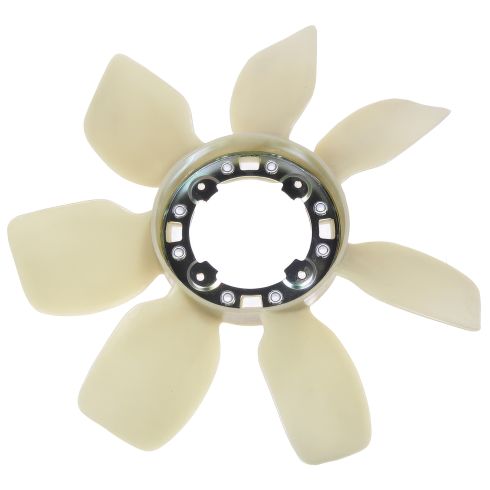
| 1996-2002 | Toyota | 4Runner | Toyota 4Runner V6 3.4L Radiator Cooling Fan Blade TRQ RFA89804 |
| 1995-1998 | Toyota | T100 | Toyota T100 V6 3.4L Radiator Cooling Fan Blade TRQ RFA89804 |
| 1995-2004 | Toyota | Tacoma | Toyota Tacoma V6 3.4L Radiator Cooling Fan Blade TRQ RFA89804 |
| 2000-2004 | Toyota | Tundra | Toyota Tundra V6 3.4L Radiator Cooling Fan Blade TRQ RFA89804 |
| Brand Label | Part Number |
|---|---|
| Toyota | 1636162010 |
| Toyota | 16361-62010 |
| Partslink Numbering System | TO3112103 |
| Hollander | 325-50549 |
This item may be interchangeable with parts from other brands with the above part numbers. This information is provided only for reference and does not guarantee that the item you are purchasing is identical to parts with part numbers from the brands listed above. To confirm that this item fits your vehicle, use the above "Check Vehicle Fit" option.
Lifetime Warranty
This item is backed by our limited lifetime warranty. In the event that this item should fail due to manufacturing defects during intended use, we will replace the part free of charge. This warranty covers the cost of the part only.
FREE Shipping is standard on orders shipped to the lower 48 States (Contiguous United States). Standard shipping charges apply to Hawaii and Alaska.
Shipping is not available to a P.O. Box, APO/FPO/DPO addresses, US Territories, or Canada for this item.
Expedited is available on checkout to the United States, excluding Alaska, Hawaii.
Final shipping costs are available at checkout.
Created on:
Tools used
Brought to you by 1AAuto.com, your source for quality replacement parts and the best service on the Internet.
Hi, I'm Mike Green. I'm one of the owners of 1A Auto. I want to help you save time and money repairing or maintaining your vehicle. I'm going to use my 20-plus years experience restoring and repairing cars and trucks like this to show you the correct way to install parts from 1AAuto.com. The right parts installed correctly: that's going to save you time and money. Thank you and enjoy the video.
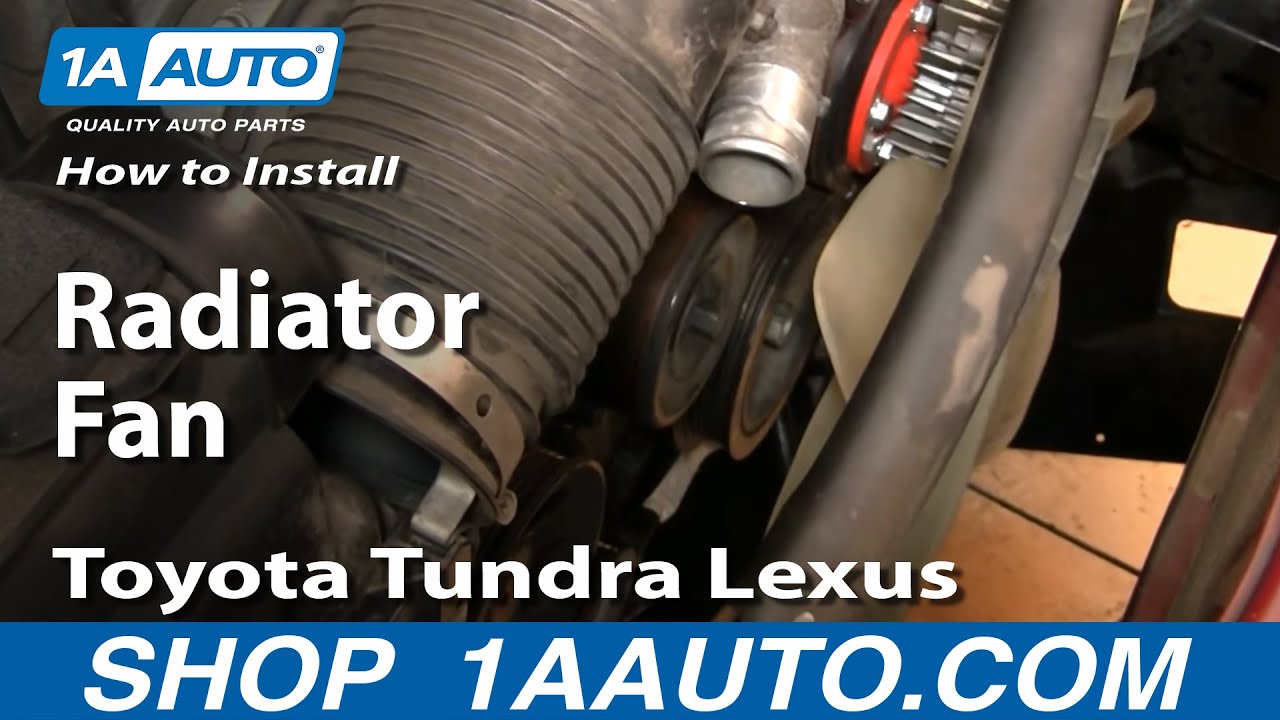
In this video, we're going to show you how to remove the radiator fan if you need to replace either the fan clutch or the fan blade itself. This is a 2002 Tundra with a V-8. The procedure is similar for the V-6. Tools you'll need: 10mm wrench to undo the battery, catch pan, 10mm and 12mm sockets with a ratchet and extension, pliers, and two 12mm wrenches.
Using a 10mm wrench, disconnect your negative battery cable. I'm going to start by removing a series of 12mm bolts and taking off this skid plate. As I'm removing those bolts, a note here, I do drain the radiator down to remove the upper radiator hose. I find that's a whole lot easier, got pretty big hands and arms and without removing that stuff it's difficult to get to the nuts on the radiator fan. Some may find that they don't have to do that. For me, it's a lot easier and it only takes an extra 15 minutes or so.
Once you have that out of the way, your radiator drain is right here. It should just come loose with your fingertips. If not, you can use a pair of pliers and drain your radiator. While the radiator drains, you can start removing some of the top plates, two 10mm nuts hold the little name plate on top and then a 10mm bolt holds that hose clamp. Use a Phillips screwdriver to loosen the clamp from the intake tube to the air filter box as well as the electrical connection on top of the air filter box that you need to disconnect. Then use your screwdriver to loosen the clamp for the throttle body side and then pull that tube up and out of the way.
Use a pair of pliers, and you pinch the clamps and slide them back off the end of the hose. Then the clamps can just stay right on the hose like that. Now twist and pull to remove the hoses from the radiator and the inlet tube. Here we remove the radiator hose clamp on the passenger's side upper fitting and just pull that hose out of the way. Four bolts hold the fan shroud to the radiator. You want to remove the bottom two, so I'm showing you one of the bottom ones. Basically, remove the bottom two and loosen up the top ones until they are just holding on.
This was almost impossible. To get the nuts off of the radiator fan, you use two 12mm wrenches. Hold one nut with one of the wrenches and then undo three of the nuts with the other one. Then once you're down to just one bolt left. You can see down here I actually threaded a bolt on backwards. Then you can put a screwdriver in here and use the screwdriver to hold the assembly while you loosen the last bolt. All the nuts are off. Just shake the fan back and forth while you're pulling.
Need a little explanation here. I shot this footage while I was doing another project and for the other project I removed the radiator totally. Removing the radiator totally is not necessary to get the fan out. What you do have to do is, like I said previously, was to remove almost all of the bolts from the shroud. Then, as you pull the fan off, then you can take those two remaining bolts out of the shroud and then pull the fan and shroud up and out at the same time. Once you feel that it's loose, ease up on the pulling forward because you don't want to have it come forward too fast and hit your A/C condenser too hard.
At this point, there's a series of screws or fasteners that fasten the fan to the fan clutch. You'll need to remove those to remove the blade and then reattach the new one to the clutch. Again, I used footage from a different project to make up this video, so what you'll want to do here is, actually, you see me putting the fan down in there, you want to use the fan and the shroud, put them down in at the same time. Then use the four bolts to hold the shroud, put them into place, and then put the four nuts that hold the fan into place on.
As far as retightening the fan, holding it with your hand and tightening is enough to get it going. Then what I suggest is a rubber doorstop. You can stick it down between the crank pulley and the fan pulley, and that will hold it place. You don't need to get it extremely tight, these bolts should be between 15 and 16 foot-pounds. Here I'm just reaching over and tightening up those four 10mm bolts that hold the fan shroud to the radiator.
Engine, use a pair of pliers to put the clamp back in place. Put the upper radiator hose in place, push it down on the engine side first and then push it onto the radiator. Then, again, a pair of pliers, and put both clamps back into place. Reconnect the overflow tube. We're going to speed through, put the air duct back on, make sure you tighten up those two Phillips screws that hold the big clamps in place as well as put the clamp back on that holds the hose to the top of the air duct and your engine identification panel on the top with the 10mm nuts.
Make sure we hook our sensor back up, there's a hose that may have come off on the valve cover there. Then, down lower, make sure those hoses are back in the clamp and it securely fastens. Be sure the radiator drain pit cock is tight, and then hang your skid plate back up there and start the bolts on.
Now refill your radiator directly with either Toyota or universal coolant. Generally it's going to take two and a half to three gallons. Just put the radiator cap on. We add a little of the antifreeze to the reservoir. Reconnect the battery and tighten it up.
We're running the truck, make sure it's up to operating temperature here, run it a little bit. Check the engine. Obviously what we're checking for is any signs of leaking fluid but what you want to do, let the engine idle a little bit, make sure it's up to operating temperature, take it for a drive for awhile. Then, again, check underneath to make sure there's no dripping fluid anywhere. Let it cool down, remove the radiator cap, check the level of fluid, and fill it appropriately.
We hope this video helps you out. Brought to you by www.1AAuto.com, your source for quality replacement parts and the best service on the Internet. Please feel free to call us toll-free, 888-844-3393. We're the company that's here for you on the Internet and in person.
Works good

RFA89804
