
★★★★★
August 17, 2025
Direct bolt on easy install, car feels smooth
Direct bolt on easy install, car feels smooth

Replaces




About TRQ:
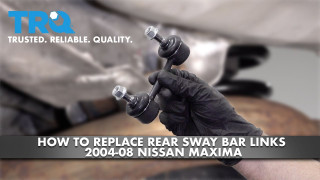
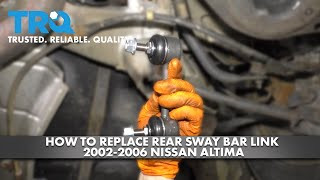
TRQ is a trusted brand dedicated to making every repair a success story by combining premium parts with easy installation. Each TRQ part is engineered by a team of automotive experts to meet or exceed OEM standards, delivering enhanced performance and maximum longevity. With rigorous in-house testing, the brand ensures superior fit and function across every product line. TRQ also provides customers with best-in-class, step-by-step installation videos—so you can complete repairs with confidence, whether you're a first-time DIYer or an industry professional.
Our steering and suspension components are pre-greased and sealed for long life and do not require the extra maintenance typically required by greaseable versions.
Attention California Customers:
 WARNING: This product can expose you to chemicals including Lead and Lead Compounds, which are known to the State of California to cause cancer, and birth defects or other reproductive harm. For more information, go to www.P65Warnings.ca.gov.
This part fits 2 vehicles spanning 2002-2008.
| Year | Make | Model | Description |
|---|---|---|---|
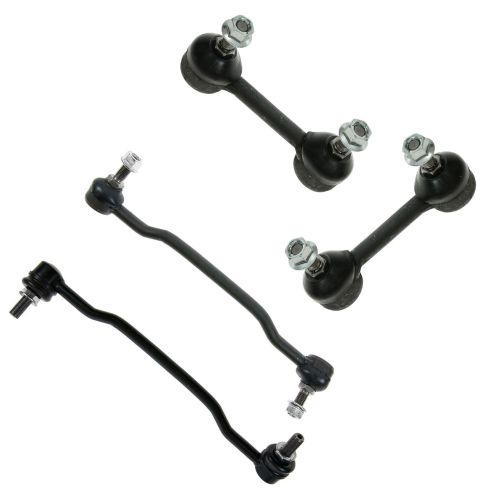
| 2002-2006 | Nissan | Altima | Nissan Altima Front & Rear 4 Piece Sway Bar Link Set TRQ PSA55942 |
| 2004-2008 | Nissan | Maxima | Nissan Maxima Front & Rear 4 Piece Sway Bar Link Set TRQ PSA55942 |
| Brand Label | Part Number |
|---|---|
| MOOG Chassis Products | K90684 |
| MOOG Chassis Products | K90353 |
| MOOG Chassis Products | K90352 |
| DIY Solutions | SUS03001 |
| DIY Solutions | SUS06704 |
| DIY Solutions | SUS06814 |
| DIY Solutions | SUS06703 |
| Mevotech | MK90352 |
| Mevotech | MK90353 |
| Mevotech | MK90684 |
| Datsun/Nissan | 562618J000 |
| Datsun/Nissan | 562617Y000 |
| Datsun/Nissan | 546188J000 |
| Datsun/Nissan | 546688J000 |
| Mevotech Supreme | MK90353 |
| Mevotech Supreme | MK90684 |
| Mevotech Supreme | MK90352 |
This item may be interchangeable with parts from other brands with the above part numbers. This information is provided only for reference and does not guarantee that the item you are purchasing is identical to parts with part numbers from the brands listed above. To confirm that this item fits your vehicle, use the above "Check Vehicle Fit" option.
Lifetime Warranty
This item is backed by our limited lifetime warranty. In the event that this item should fail due to manufacturing defects during intended use, we will replace the part free of charge. This warranty covers the cost of the part only.
FREE Shipping is standard on orders shipped to the lower 48 States (Contiguous United States). Standard shipping charges apply to Hawaii and Alaska.
Shipping is not available to a P.O. Box, APO/FPO/DPO addresses, US Territories, or Canada for this item.
Expedited is available on checkout to the United States, excluding Alaska, Hawaii.
Final shipping costs are available at checkout.
Created on:
Tools used
Brought to you by 1AAuto.com, your source for quality replacement parts and the best service on the internet. Hi, I'm Don from 1AAuto, I hope this how-to video helps you out, and the next time you need a part for your vehicle, think of 1AAuto.com. Thanks.
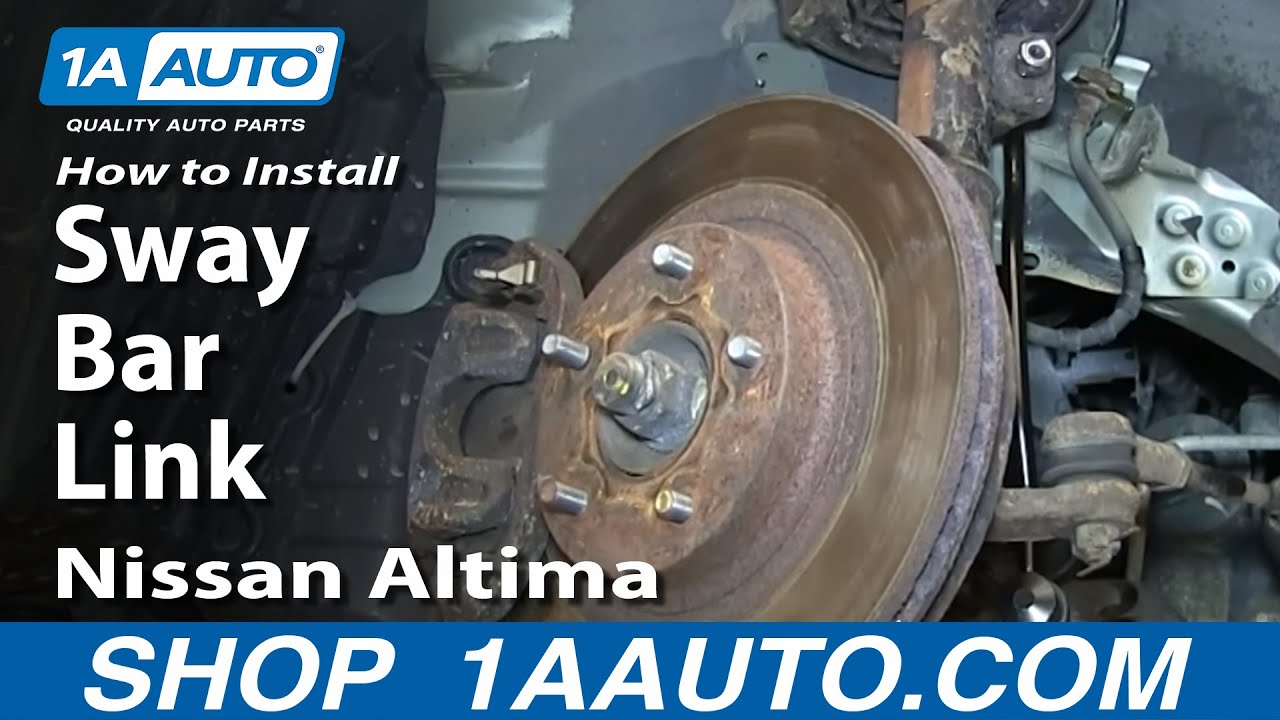
In this video, we show you how to replace a sway bar link on this 2003 Nissan Altima. It's the same process on these Altimas from 2002 to 2006. We show you how to replace the passenger side sway bar link, but it's the same process on the driver's side. The items you'll need for this is a new sway bar link from 1AAuto.com, flat blade screwdriver; 17mm, 19mm, and 21mm sockets and ratchet with a breaker bar or a piece of pipe for some extra leverage; a 19mm wrench, a hammer, jack and jack stands, and depending on the condition of your vehicle you may also need a torch. Start off by removing your wheel. If you don't have air-powered tools, you're going to want to loosen the lug nuts while the vehicle's on the ground, then jack it up and remove them the rest of the way. You'll want to douse the studs on the end of the links in penetrating oil. There's a 17mm nut to remove there, and then another 17mm nut right down here.
Put a 19mm wrench on the back, and then using your 17mm socket and ratchet and a piece of pipe or a breaker bar for some extra leverage, you want to just try to break that bolt free and remove it. Because of the condition of our bolt, however, we're forced to use a torch to heat it up so that we can remove it, but once it's heated up, we can remove it with the 19mm wrench and the 17mm socket. Then on this lower bolt, same thing, use a 19mm wrench in the middle there, and then use your 17mm socket and the breaker bar or piece of pipe. Again we have no luck with it and have to use a torch. Again, once it's heated up, it comes right out. Once those nuts are removed, that sway bar will pull right off. You can see in the back is the old sway bar link, and in the front is the new one from 1AAuto. You can see it's identical, and it will mount exactly the same. Feed your sway bar link up and into place and push those studs through those holes. Twist on the 19mm nuts that came with your sway bar. Then tighten both of those up until they're nice and firm. Replace your wheel, hubcap, and lug nuts. Tighten the lug nuts preliminarily, lower the vehicle, and tighten them the rest of the way. Then you want to torque the lug nuts in a crossing pattern to 100 foot pounds.
We hope this video helps you out. Brought to you by 1AAuto.com, your source for quality replacement parts and the best service on the internet. Please feel free to call us toll-free 888-844-3393. We're the company that's here for you on the internet and in person.
Tools used
Hi, I’m Mike from 1A Auto. We’ve been selling auto parts for over 30 years!
Before you raise and support the vehicle, take a breaker bar and a 21mm socket and break the lug nuts free while the vehicle's on the ground. Raise and support your vehicle. Since the lug nuts are loose, I can use the socket and finish removing them. I remove the wheel, place it aside.
Working at the sway bar link, there are two nuts holding it on. And there is a 19mm head on the back on this that you can counterhold. So I'm going to put a 19mm wrench in there. Use some rust penetrant on the threads. Take a 14mm socket and a breaker bar and counterhold it. Break this free. I'm going to work on the upper one before it comes completely out. I've switched to a ratchet now that I've got it free. And I'm just going to turn it off.
These are locking nuts, so they can be a little slow moving. It's pretty common that the part on the back of the sway bar link, that you want to counterhold, there's sometimes just basically a round part with two flat spots for your wrench, and they can strip really easily. It's very, very common. So now I'm going to use some locking pliers because it's almost out. I'm going to try to lock the sway bar link in place, this part, so it can turn the nut without spinning the link inside the ball joint. Need to tighten these up. It's actually starting to smoke from the friction. Now I've got it past the locking part of the nut, it's coming a lot smoother.
You can actually see it steaming a little bit. It's not a completely round opening. It's sort of an oblong opening. That's what makes this nut a locking nut. It'll be easier to see on the brand new one. But that's why it's so difficult to come off. You can put an Allen key in here and try to counterhold it, that might work for a little while. Usually Allen keys strip out. The best bet is to try to get something behind it, like locking pliers or a wrench that fits to try to counter-hold this while you take it off. Going to remove the locking pliers now. This link should come out of this up here. You can finish removing the bottom. And counterhold the bottom. I'm actually going to put this link back in here so it's not bouncing around on me. Now our sway bar link is removed.
Here's our old sway bar link from our vehicle. Here's our brand new one from 1AAuto.com. They are similar in design and size. As you can see, it comes with locking nuts and that they have an oval shape to them. So as you tighten this down and it gets to this oval part, that's when it starts to lock. Here, we have the counter-hold area, so you can put a wrench on there and counter-hold it. On the originals, it just had flat spots and then they're mostly round so that's why they rounded off so easily when we were trying to remove it and had to use vice grips. These are easier to install by having the wrench on there. So this should fit great and get your car on the road.
Take our new sway bar link, slide it into place, and capture the bottom one. It's got like a ball joint in it so I'll throw the nut on here so it won't fall out. There's a ball joint on it so you can bend it a little bit, get it to fit. Capture this nut up here. Counter-hold with a 14mm. Use a 16mm wrench to tighten it. If you've got a ratcheting wrench, you can use that, or a socket and ratchet. It will start to get tighter as you come over the locking part. Just going to bring this bottom one snug and then we'll come back and torque it. Tighten up the top one the same way. Going to counter-hold the sway bar link.
Torque is 37 to 44, so I'm going to torque it to 40 foot-pounds. Repeat for the upper nut.
Install the wheel. Thread them on by hand first. Torque on these is 72 to 85. I've got the torque wrench set to 80 foot-pounds. Go in a cross pattern. The wheel's installed and torqued.
Thanks for watching. Visit us at 1AAuto.com for quality auto parts, fast and free shipping, and the best customer service in the industry.
Direct bolt on easy install, car feels smooth
Great
Front links seems of lesser quality original are ticker the real link are better
Good parts & great price
Have been using 1A Auto for years now and have never had a negative experience. Quality parts at great prices.
1aauto is always my go to for affordable parts. My product came in a timely manner, earlier than expected even, and were easy to install after watching 1aauto's install videos. Thanks 1aauto

PSA55942
