Replaces
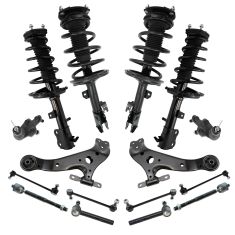
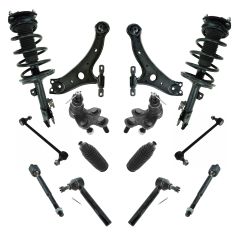
Replaces Toyota Highlander Lexus RX330 RX350 Front & Rear 16 Piece Steering & Suspension Kit TRQ PSA45931
$614.95

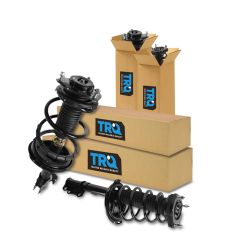
Replaces Toyota Highlander Lexus RX330 RX350 Front & Rear 8 Piece Suspension Kit TRQ SCA67080
$499.95
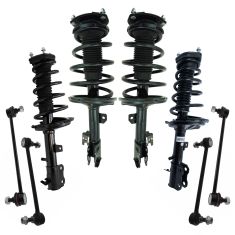
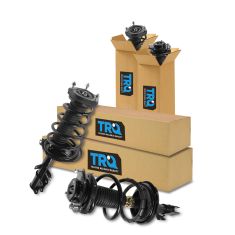
Replaces Toyota Lexus Front & Rear 8 Piece Suspension Kit TRQ SCA67142
$473.95
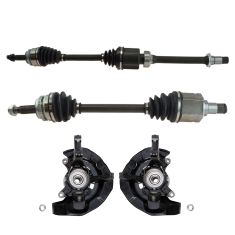
Replaces 2004-07 Toyota Highlander L4 2.4L Front Wheel Drive Front 4 Piece Drivetrain Kit TRQ PSA52911
$459.95
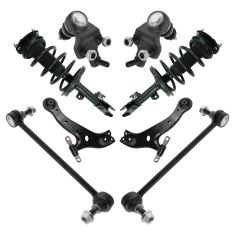
Replaces Toyota Highlander Lexus RX330 RX350 Front 14 Piece Steering & Suspension Kit TRQ PSA69925
$444.95
Replaces Toyota Highlander Lexus RX330 RX350 Front & Rear 4 Piece Strut & Spring Assembly Set TRQ SCA57283
$444.95
Replaces Toyota Lexus Front & Rear 4 Piece Strut & Spring Assembly Set TRQ SCA57353
$427.95
Replaces Toyota Lexus Front 8 Piece Suspension Kit TRQ PSA43361
$396.95
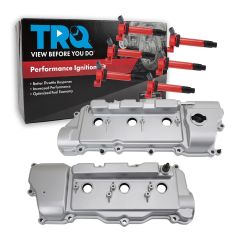
Replaces Toyota Lexus 8 Piece Ignition Kit TRQ Performance TKA00576
$328.95
Complete Repair in One Purchase - Stop searching for parts individually and complete your repair with a customized kit or set from DIY Solutions.
High-Quality Parts from Trusted Brands - DIY Solutions' kits and sets are selected from the best automotive brands and include hard-to-find and even obsolete parts you may need for your vehicle.
Guaranteed Fit - DIY Solutions ensures its selected parts are quality-tested to guarantee fit and function.
Install Tip: You may be required to reset the vehicle computer after installation of this part.
Returns: Parts with electrical components cannot be returned once installed.
Attention California Customers:
 WARNING: Cancer and Reproductive Harm - www.P65Warnings.ca.gov.
Lifetime Warranty
This item is backed by our limited lifetime warranty. In the event that this item should fail due to manufacturing defects during intended use, we will replace the part free of charge. This warranty covers the cost of the part only.
Returns: Parts with electrical components cannot be returned once installed.
FREE Shipping is standard on Orders shipped to the lower 48 States (Contiguous United States). Standard shipping charges apply to Hawaii, Alaska and US Territories. Shipping is not available to Canada.
Expedited is available on checkout to the United States, excluding Alaska, Hawaii and US Territories as well as P.O. Boxes and APO/FPO/DPO addresses. Final shipping costs are available at checkout.


Created on:
Tools used
Hi, I’m Mike from 1A Auto. We’ve been selling auto parts for over 30 years!
Open the hood. We have to pull the release inside the car. It's just inside. Right around your left knee on the driver's side. I need to release the secondary, or safety release. Just kind of feel around for it. This one is right here. Squeeze up.
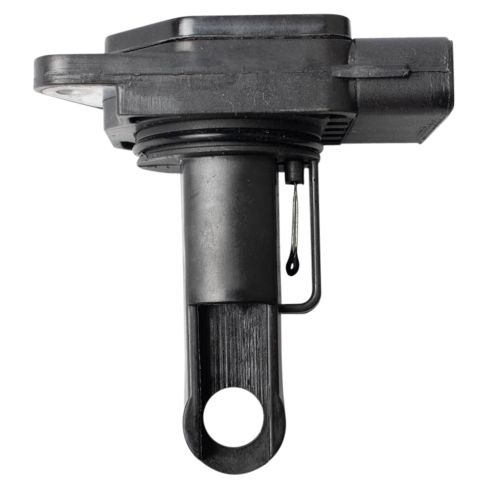
Mass airflow meter is located here at the back of the air box. To remove it, start by unplugging it, push down on the connector to unlock it, and then wiggle the connector off. Use a Phillips head screwdriver to remove the two screws. Grab the screw, and put it aside so I don't lose it. Do the same for the other one. This should lift right out of the intake tube.
This is the original mass airflow meter from our car, and the brand new one from 1AAuto.com. It has the same style connector and the same style mounting holes. This should fit and work great in our vehicle.
So you can only install it one way because the screw holes aren't going to line up. So line them up like that. Just push it in, and it will go past the rubber O-ring. Use your magnet if you don't have a magnetic screwdriver. Get that in place. These are just self-tapping screws. As soon as I feel them get tight, I'm just going to stop. That's nice and tight. Reconnect the plug. The job is complete.
Thanks for watching. Visit us at 1AAuto.com for quality auto parts, fast and free shipping, and the best customer service in the industry.