




★★★★★
May 11, 2026
Fits and works great
Fits and works great, easier to put in than the old design.

Replaces
About TRQ:
TRQ is a trusted brand dedicated to making every repair a success story by combining premium parts with easy installation. Each TRQ part is engineered by a team of automotive experts to meet or exceed OEM standards, delivering enhanced performance and maximum longevity. With rigorous in-house testing, the brand ensures superior fit and function across every product line. TRQ also provides customers with best-in-class, step-by-step installation videos—so you can complete repairs with confidence, whether you're a first-time DIYer or an industry professional.
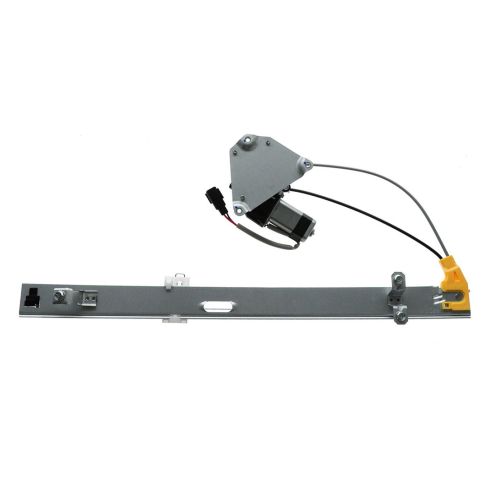
The original window regulator used a Goldie style, featuring a single cable rolling around a drum for window operation. This design lacks balance and can cause uneven stress, leading to premature failure. The "Cable Style" upgrade improves upon this original design.
In 2006 and 2007, Jeep Liberty models were affected by Technical Service Bulletin # 23-008-09, requiring replacement of the window regulator and components. These models were retrofitted with parts from the 2002–2005 Jeep Liberty design. To verify the update, the door panel may need to be removed.
Attention California Customers:
 WARNING: This product can expose you to chemicals including Lead and Lead Compounds, which are known to the State of California to cause cancer, and birth defects or other reproductive harm. For more information, go to www.P65Warnings.ca.gov.
This part fits 2 vehicles spanning 2002-2007.
| Year | Make | Model | Description |
|---|---|---|---|
| 2002-2005 | Jeep | Liberty | Jeep Liberty Rear Passenger Side Power Power Window Motor & Regulator Assembly TRQ WRA52159 |
| 2006-2007 | Jeep | Liberty | Jeep Liberty Rear Passenger Side with Liftplate Mount Power Power Window Motor & Regulator Assembly TRQ WRA52159 |
| Brand Label | Part Number |
|---|---|
| Dorman - OE Solutions | 748-568 |
| Chrysler | 55360034AI |
| Chrysler | 55360034AD |
| Chrysler | 55360034AE |
| Chrysler | 55360034AH |
| Chrysler | 68059646AC |
| Chrysler | 55360034AA |
| Chrysler | 55360034AG |
| Chrysler | 55360034AB |
| Chrysler | 55360034AC |
| Chrysler | 55360034AF |
| Chrysler | 55360034AJ |
| Chrysler | 68059646AA |
| Chrysler | 68059646AB |
| Mopar | 55360034AA |
| Mopar | 55360034AJ |
| Mopar | 55360034AI |
| Mopar | 55360034AF |
| Mopar | 55360034AG |
| Mopar | 55360034AH |
| Hollander | 135-01869R |
This item may be interchangeable with parts from other brands with the above part numbers. This information is provided only for reference and does not guarantee that the item you are purchasing is identical to parts with part numbers from the brands listed above. To confirm that this item fits your vehicle, use the above "Check Vehicle Fit" option.
Lifetime Warranty
This item is backed by our limited lifetime warranty. In the event that this item should fail due to manufacturing defects during intended use, we will replace the part free of charge. This warranty covers the cost of the part only.
FREE Shipping is standard on orders shipped to the lower 48 States (Contiguous United States). Standard shipping charges apply to Hawaii and Alaska.
Shipping is not available to a P.O. Box, APO/FPO/DPO addresses, US Territories, or Canada for this item.
Expedited is available on checkout to the United States, excluding Alaska, Hawaii.
Final shipping costs are available at checkout.


Created on:
Tools used
Brought to you by 1AAuto.com, your source for quality replacement parts and the best service on the Internet.
Hi, I'm Don from 1A Auto. I hope this how-to video helps you out, and the next time you need a part for your vehicle, think of 1AAuto.com. Thanks.
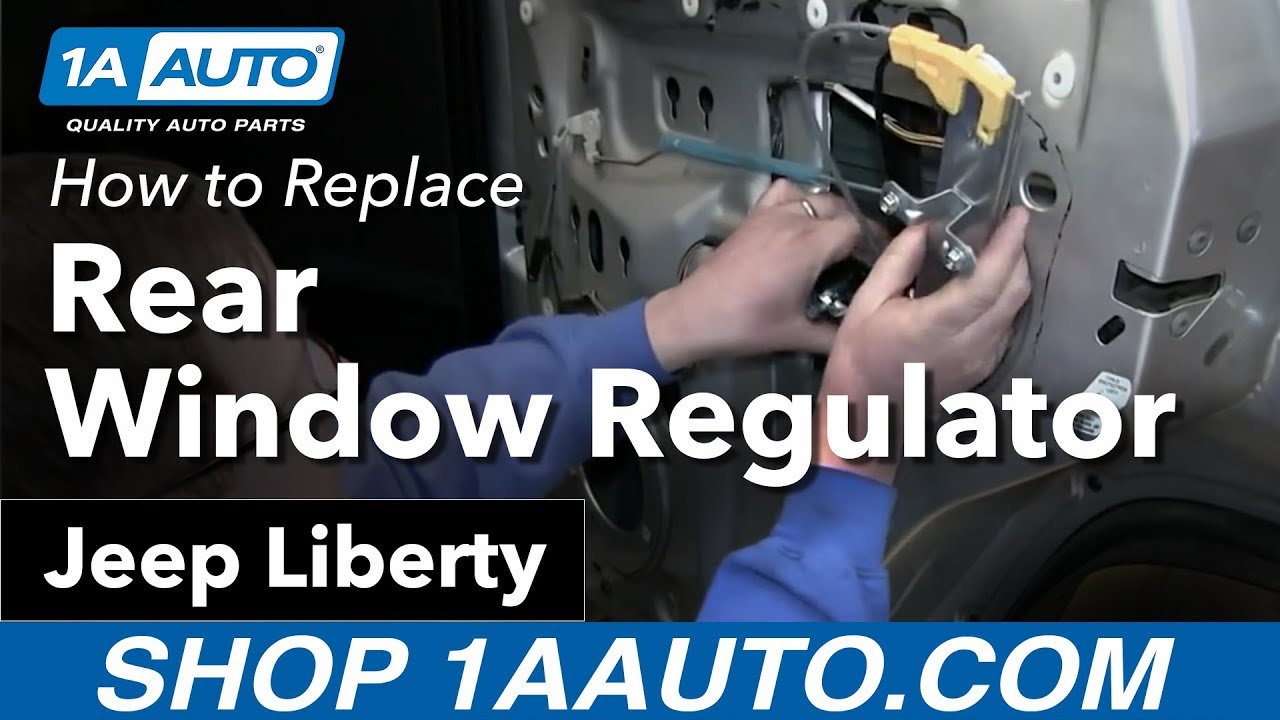
In this video, we're going to show you how to replace a rear window regulator on this 2006 Jeep Liberty. We show you on the passenger side, but the driver side is the same procedure. The items you'll need for this include a new rear window regulator from 1AAuto.com, a Phillips screwdriver, a flat blade screwdriver, a 10mm socket and ratchet, and a putty knife. If you drive a 2006 Jeep Liberty, it's important that before purchasing a new window regulator you first locate your manufacturing date on your vehicle. The manufacturing date can be found on the inside of the driver's door (as you can see on this picture) and you'll notice on 1AAuto.com that we have two types of regulators for two different manufacturing dates. If yours was made after February of 2006, you're going to need the other regulator.
Start off by prying out this little panel behind your door handle. There's a Phillips screw in there and one in the pull cup. Just go ahead and remove those. Using a patty knife or flat blade screwdriver, pry out the door panel so you can get your hand behind it. Then near the clips, pull directly out and this will release those clips. Again, find the clip, pull out, and when you get to this point, reach in behind the door panel and push those last two clips along the top out. The door panel lifts up and off.
At the back of your door handle, push this clip off your door handle rod and push it down and out. Remove the three Phillips screws holding your speaker in place. Once those are removed, pull your speaker out, push the tab on the harness to disconnect it, and carefully peel off your water shield making sure you don't damage it.
Your window is held to your regulator by this metal clip right here. Using a flat blade screwdriver, just pry that clip out, and then you can push your window out of the regulator and slide it all the way and tape it all the way up. Push this black clip through the door by pushing the tabs, and then you want to loosen these three bolts: each of them 10mm. Now loosen these three 10mm bolts. Slide the motor up and through the door, and do the same thing with the three bolts for the regulator. Then you want to angle it so you have better access to the wire harness on the motor. To disconnect the harness, pry the red clip out and push the tab on the harness and pull it free. Angle the regulator and pull it up and out through that big bolt top of the door.
In the front is the old regulator; behind is the new one from 1A Auto. You can see they look a little bit different, but they will work identically. The new one from 1A Auto is just an upgraded style of the older one and we'll mount exactly the same. You do have to loosen up these three bolts so you can hang the regulator back on to the door, and then take the three bolts from your old motor and put them into your new one. We'll just fast-forward as Don does this.
Now, feed your new regulator down into the door and hang the regulator back on to the door as well as the motor. Tighten up those six 10mm bolts, reconnect your motor harness, and then push that red clip in to lock it. Remove the tape from your window and slide the window down into the regulator and then push the window forward into that slide to clip it.
Replace your water shield, making sure that that interior door handle rod goes back through it and that your lock rod goes through it as well. Reconnect the harness on the back of your speaker. Push the speaker back into place, reinstall those three Phillips screws, and tighten them up.
To reinstall the door panel, push your door handle rod back up into the door handle and re-clip it. Then put your door panel down over the lock and on to the window sill. Check behind the door panel, and make sure the clips are lined up. Then hit them into place. Then replace those two Phillips screws and that panel behind the door handle.
We hope this video helps you out. Brought to you by www.1AAuto.com, your source for quality replacement parts and the best service on the Internet. Please feel free to call us toll-free, 888-844-3393. We're the company that's here for you on the Internet and in person.
Fits and works great, easier to put in than the old design.
I always go to 1 A Auto for my car parts. Always the right part, always the best price, always shipped quickly, and always free shipping. In my book, 1 A Auto can't be beat. I've been using this company for years and never been disappointed. Thank you 1 A Auto!
Perfect fit no problems
Perfect fit. Thank you.
Quick installation, fit well
Works Great, & appreciate the reasonable price and free shipping!
The product words great and was an easy instal except one thing, the bottom bolt of the sliding mechanism did not align with the bolt hole on my Jeep. It wasn't a huge deal as I just got the ol' zip tie out and fixed it but it was a little annoying. I did check and double check that I ordered the correct part and as fat as I can tell, I did order the right part.
fits perfect
Item is as listed. Did thebjob.
Simple, straightforward repair made even easier by the instructional videos online. Seem a fraction slower than the OEM.
