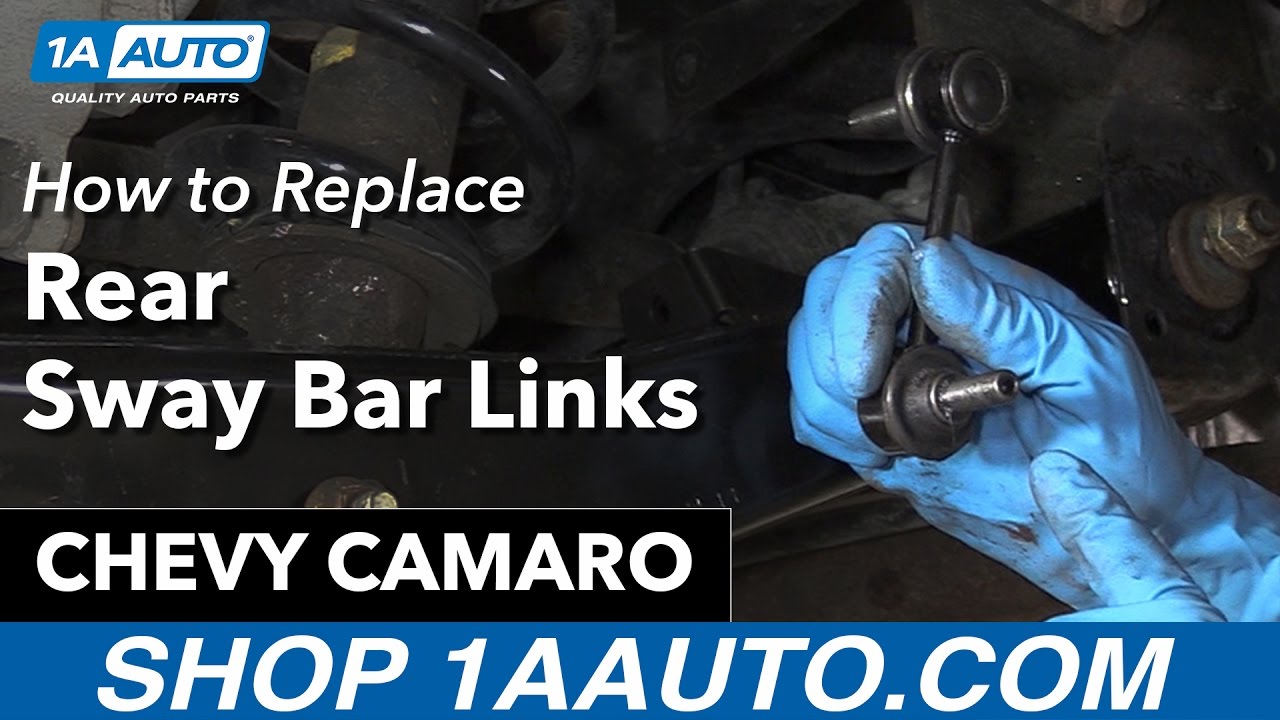
How to Replace Rear Sway Bar Links 2010-15 Chevy Camaro
Created on: 2017-03-29
How to repair, install, fix, change or replace loose, worn, or rattling sway bar links on 10, 11, 12, 13, 14, 15 Chevy Camaro
-
step 1 :Removing the Wheel
- Loosen the 22mm lug nuts with the vehicle on the ground
- Raise the vehicle with a floor jack
- Secure the vehicle on jack stands
- Remove the lug nuts
- Pull off the wheel
-
step 2 :Removing the Sway Bar Links
- Hold the nut with a 15mm wrench
- Remove the nut with a 3/16 allen wrench
- Repeat the process for the other nut with a 5mm allen wrench
-
step 3 :Installing the Sway Bar Links
- Insert the sway bar link into place
- Hold the nut with a 15mm wrench
- Tighten the nuts with the appropriate Allen wrench
-
step 4 :Installing the Wheel
- Slide the wheel into place
- Start the lug nuts by hand
- Tighten the lug nuts preliminarily
- Lower the vehicle to the ground
- Tighten the lug nuts to 140 foot-pounds in a crossing or star pattern
Tools needed
-
5mm Hex Wrench
15mm Wrench
Torque Wrench
17mm Wrench
3/16 Allen Wrench
Jack Stands
Floor Jack
22mm Socket
Hi, I'm Mike from 1AAuto. We've been selling auto parts for over 30 years! We're dedicated to delivering quality auto parts, expert customer service, and fast and free shipping, all backed by our 100% satisfaction guarantee. So visit us at 1AAuto.com, your trusted source for quality auto parts.
Before jacking up the car, we want to loosen the lug nuts because it'll be easier to take the wheel off once it's up in the air. We'll use a 22 millimeter socket and a long ratchet to break the lug nuts loose. We are going to be using a lift to jack up the vehicle, but it is very much possible to do this in a driveway with a jack and jack stands. We actually have another video that we've already made showing you where to properly lift a Camaro of this body style, so you'll want to check out that for the proper lift points before taking the wheel off.
Now that the vehicle's off the ground, we can finish taking off the wheel. We'll just spin all the lug nuts loose, and we'll take the wheel off.
We're going to start off this project by hitting all of the bolts that we'll be removing with some rust penetrant. We're going to start by removing the sway bar end link. It has a 15-millimeter nut on top of it and then a 5-millimeter fits right in the center of it to hold the sway bar end link bolt in place. We'll start by placing the - oops, actually, we'll start by putting the 15-millimeter on the nut and then the 3/16" Allen, and then we'll able to loosen the nut without the whole thing spinning.
Once you've got the nut completely loose, you can finish taking the nut off, and then you should be able to pop this off with a pry bar. Where this one is damaged, it seems to be stuck on there pretty good, so we'll probably have to take off the bottom half as well. Now we're going to take off the bottom one, which is also a 15 millimeter nut, and then a 5 millimeter Allen head to hold the center.
Right now, the sway bar is stuck in place. You can't really get a wrench on here very well because it's pressuring or it's putting pressure against the wrench when you turn it, so what we're going to do is put a pry bar in here, pry down on the sway bar and pop the end link out of it like that. Since we're going to be replacing the sway bar end link anyways because it's bent, we're just going to leave it in the lower control arm and take the whole thing out and throw it away.
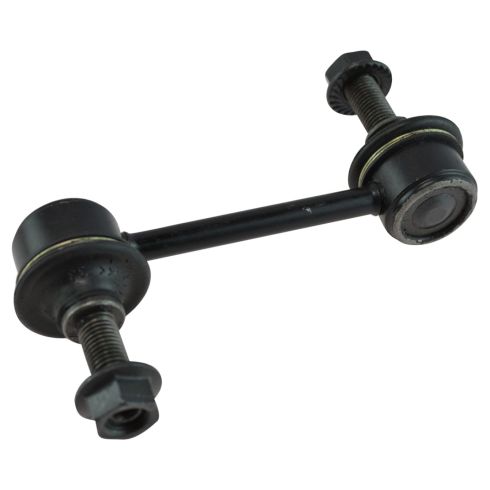
Here we have the new sway bar end link from 1A Auto. As you can see, it has the Allen heads in the center and it comes with the nuts, of course. We'll slide in the bottom first and loosely put the nut on. Then we'll slide it in the upper hole and again loosely put the nut right on.
The sway bar end link is installed with a 15 millimeter wrench. We like to use a ratcheting wrench because it makes it a little easier and then a 5 millimeter Allen wrench. Put the Allen in the center, 15 on the outside. For the top, same thing. Put your wrench on the outer nut, and then 5 millimeter Allen in the center.
Now we're going to put the wheel back on and loosely install all the lug nuts. Now that the lug nuts are tightened by hand, we're going to set it right back down on the ground and torque them to a 140 foot-pounds.
Thanks for watching. Visit us at 1AAuto.com for quality auto parts, fast and free shipping, and the best customer service in the industry.

How to Replace Front Sway Bar Link 2000-06 Toyota Tundra
How to remove, replace, and install a sway bar end link on 00, 01, 02, 03, 04, 05, 06 Toyota Tundra
