About TRQ: TRQ is a trusted brand dedicated to making every repair a success story by combining premium parts with easy installation. Each TRQ part is engineered by a team of automotive experts to meet or exceed OEM standards, delivering enhanced performance and maximum longevity. With rigorous in-house testing, the brand ensures superior fit and function across every product line. TRQ also provides customers with best-in-class, step-by-step installation videos—so you can complete repairs with confidence, whether you're a first-time DIYer or an industry professional.
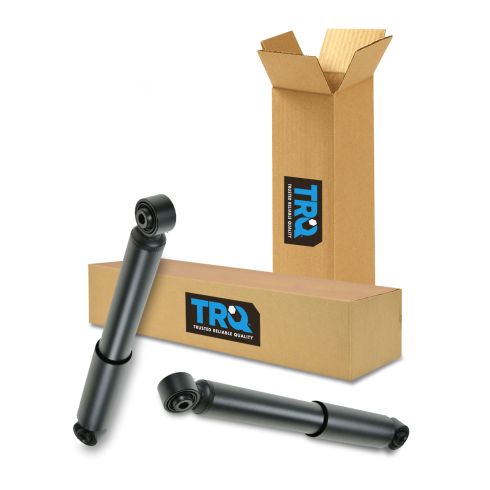
Our direct fit gas-charged strut assemblies help to restore your vehicle’s handling and ride quality to just like new.
Attention California Customers:
WARNING: This product can expose you to chemicals including Chromium (Hexavalent Compounds), which is known to the State of California to cause cancer, and birth defects or other reproductive harm. For more information, go to www.P65Warnings.ca.gov
This part fits
3 vehicles spanning 1999-2008.
Fits these Makes
Select vehicle
Year
Make
Model
Description
2001-2006
Acura
MDX
Acura MDX Rear Driver & Passenger Side 2 Piece Shock Absorber Set TRQ SBA60181
1999-2004
Honda
Odyssey
Honda Odyssey Rear Driver & Passenger Side 2 Piece Shock Absorber Set TRQ SBA60181
2003-2008
Honda
Pilot
Honda Pilot Rear Driver & Passenger Side 2 Piece Shock Absorber Set TRQ SBA60181
Part Interchange
Brand Label
Part Number
KYB
344353
Monroe Shocks & Struts
37218
Honda
52610S9VA01
Honda
52610S9VA02
Honda
52610STWA01
Gabriel
69909
Acura
52610S3VA01
Acura
52610S3V305
Acura
52610S0X305
Acura
52610S0XA04
Monroe Shocks & Struts
37246
Unity Automotive
250030
Honda
37246
Unity Automotive
250020
Acura
52610S3VA05
Gabriel
G64003
Acura
52610S3VA03
DIY Solutions
SHO00607
KYB
349039
Honda
52610S0X305
Honda
52610S0XA04
This item may be interchangeable with parts from other brands with the above part numbers.
This information is provided only for reference and does not guarantee that the item you are
purchasing is identical to parts with part numbers from the brands listed above.
To confirm that this item fits your vehicle, use the above "Check Vehicle Fit" option.
Lifetime Warranty
This item is backed by our limited lifetime warranty. In the event that this item should fail due to manufacturing defects during intended use, we will replace the part free of charge. This warranty covers the cost of the part only.
FREE Shipping is standard on orders shipped to the lower 48 States (Contiguous United States). Standard shipping charges apply to Hawaii and Alaska.
Shipping is not available to a P.O. Box, APO/FPO/DPO addresses, US Territories, or Canada for this item.
Expedited is available on checkout to the United States, excluding Alaska, Hawaii.
Final shipping costs are available at checkout.
How to Replace Shock Absorber 1999-2004 Honda Odyssey
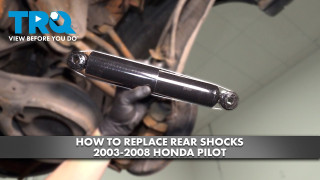
How to Replace Rear Shocks 2003-08 Honda Pilot
Created on:
Tools used
Flat Blade Screwdriver
Rust Penetrant
17mm Socket
Jack Stands
19mm Socket
Lug Wrench
Ratchet
Floor Jack
1/2 Inch Breaker Bar
1. Remove the wheel
Loosen the lug nuts with a lug wrench
Raise and secure the vehicle
Remove the lug nuts and wheel.
2. Remove and replace the shocks
Apply penetrating oil to the top and bottom bolts
Use your 17 mm socket and ratchet to remove the shock absorbers.
Reverse the procedure to install them, torque the 17 mm bolts 65-70 ft lbs
3. Replace the wheel
Put the wheel on and hand tighten the lug nuts
Lower the vehicle and using a star pattern, torque the lug nuts to 90-100
Brought to you by 1AAuto.com. Your source for quality replacement parts and the best service on the internet. Hi, I'm Mike from 1A Auto Parts. I hope this how to video helps you out and next time you need parts for your vehicle, think of 1aauto.com. Thanks.
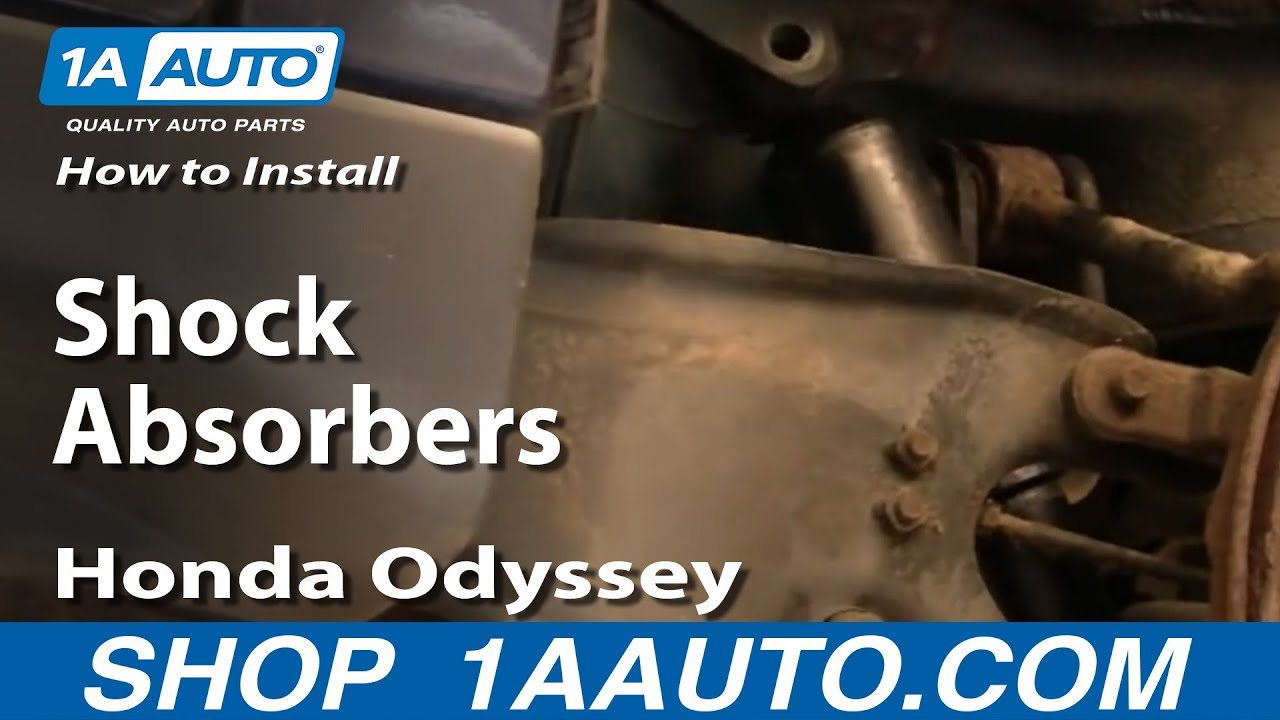
In this video, we're going to show you how to replace the rear shocks on this 2003 Honda Odyssey; same for any 1999-2004. We show you the right hand or passenger side rear and the driver side or left hand rear is the same procedure. Tools you'll need are jack and jack stands to raise and support the car. You will also need a 17-mm socket and ratchet, as well as either a 19-mm socket or your lug wrench.
First, raise and support the vehicle then use a 19-mm socket and breaker bar. If you're just using hand tools, actually, you'll want to loosen the lug nuts when the wheel is on the ground and the vehicle is in park. Loosen the lug nuts first, then raise and support the vehicle. Remove the five lug nuts and remove the rear wheel. So you see my wrench is on the top of the shock absorber. Just spray some Anti-Seize or penetrating oil in there, and then do the same thing down here for the bottom. All right. Speed up here as we loosen that bolt. Don't take it out all the way yet. You can see it requires some force, but you should be able to do it with a regular ratchet handle. Again, fast forward as we loosen, and then we will remove this bolt.
Now back up to the top. Remove the top bolt the rest of the way. And now reverse the procedure, re-install. Use a hammer. Tap the bottom of the new shock onto the shock mount on the bottom. Now, use a jack to lift the suspension just a little bit to line up the top mounting hole and once you get it lined up, then slide the bolt in and start tightening it up. We'll fast forward. You may have to tap lightly on the bolt to get it going and then push firmly on it to start it and then tighten it up nice and tight. Then thread the bottom nut on and tighten that up as well. Both these should be around 65 to 70 foot pounds.
Now I'm going to fast forward to put the wheel back in place. Start all five lug nuts on by hand first and then just kind of preliminarily tighten them and then lower your vehicle to the ground. Now set your torque wrench to 90 to 100 foot lbs and torque the wheel using a star pattern. Whenever you have the brakes apart, just make sure that you pump the pedal a few times. Make sure it's nice and firm. And then before you road test your vehicle, just do test stops from 5 and 10 miles an hour just to make sure the brakes are working properly.
We hope this helps you out. Brought to you by www.1AAuto.com. Your source for quality replacement parts and the best service on the internet. Please feel free to call us toll free 888-844-3393. We're the company that's here for you on the internet and in person.
Tools used
Socket Extensions
Torque Wrench
17mm Socket
Jack Stands
19mm Socket
Ratchet
Floor Jack
1/2 Inch Breaker Bar
1. Removing the Wheel
Loosen the 19mm lug nuts with the vehicle on the ground
Raise the vehicle with a floor jack
Secure the vehicle on jack stands
Remove the lug nuts
Pull off the wheel
2. Removing the Shocks
Break loose the upper 17mm nut from the shock with a 1/4" breaker bar
Loosen the lower 17mm nut from the shock with a 1/4" breaker bar
Remove the lower nut
Pry out the bottom of the shock to loosen it
Loosen and remove the upper 17mm nut from the shock
Remove the shock
3. Installing the Shocks
Compress the new shock
Feed the shock into place
Loosely reinstall the nut and washer to the bottom of the shock
Lift a jack underneath the lower control arm to align the upper shock mount
Insert the bolt to the upper shock
Tighten the upper bolt
Tighten the lower bolt
Get the suspension to ride height
Torque the top bolt to 47 foot-pounds
Torque the lower nut to 47 foot-pounds
4. Reattaching the Wheel
Slide the wheel into place
Start the lug nuts by hand
Tighten the lug nuts preliminarily
Lower the vehicle to the ground
Tighten the lug nuts to 80 foot-pounds in a crossing or star pattern
If your vehicle's equipped with a locking lug nut, you're going to want to have it ready. Get it to fit on there. These are 19-millimeter. Take our breaker bar, we'll loosen them up, about a half turn. Once you've loosened your lug nuts, raise and support your vehicle. We're going to use a lift for this, so to make it easier for you to see what we're doing, but you can do this on jack stands in your driveway. These are pretty loose now. Going to take my socket in my hand and undo them with my hands. I'm doing the last one. Just make sure you've got hold of the wheel. It might come loose. This one came off pretty easy.
To remove the shock, I'll start with the upper bolt. This is a shoulder bolt that goes all the way through into the body. You can kind of feel it up in here. We'll spray it with some rust penetrant. I'm going to use a 17-millimeter socket and a breaker bar. Push it up. That feels like it's free. I want to loosen the bottom bolt so the shock stays in place. It doesn't fall out on me. Take some rust penetrant, spray it on this bottom nut. This is 17-millimeter. Use our breaker bar again. I'm going to switch to a ratchet now that it's loose. Now with it loose but the nut still on, I'm going to take a pry bar and make sure it's free. Can finish removing this nut. I'll take the pry bar again. Finish removing the upper bolts. Sometimes you have to pull out as you're ratcheting and work the bolt out.
I'm going to try to compress this a little bit. Just push it. I'm just going to go down like this. We reach down to the bottom. It's already loose. I'm going to reach down to the bottom. It's already loose. If it doesn't want to come off, grab my pry bar again. Slide the shock out.
Here's our old shock from our vehicle. You can actually see some oil coming out from underneath, so this one was leaking. The oil up here is from when we were removing it. This is the rust penetrant oil, but this oil was here before, so it means the seal up in here is leaking. It's leaking some oil out. Here's the new one from 1AAuto.com. Let's see. It's the exact same length, same shock mounts upper and lower, similar dust cover. This should fit great and give you a good ride.
I'm going to compress this shock by just pushing it together myself. You can feed it up, set on the lower mount, and we'll just let it expand on its own. As it expands, I'm just going to put the bolt in. If you need to raise it, which we might, we're going to place a floor jack under here to jack it up. So that the shock doesn't slide off this lower mount, I'm going to reinstall the nut and the washer just loosely for now. You can use a floor jack if you're doing this on the ground on jack stands. Since we're on a lift, we're going to use this screw-type jack. I'm just going to lift up on the lower control arm, and it's just going to get our shock mount. As I turn up on it, it's going to get our shock mount to line up here. The bolt has got a point on it, so it's going to go in, sort of self-center and get it started.
Take my 17-millimeter socket and ratchet, start to tighten it down. I will bring this down until it gets tight. Now we can re-tighten the lower one. Just make sure you torque the shock with the vehicle at ride height so the suspension is loaded. You torque the top bolt to 47 foot-pounds, the lower nut to 47 foot-pounds.
Reinstall the wheel. Thread the lug nuts on by hand. 19-millimeter socket and ratchet, I'm going to snug these lug nuts. With the torque wrench set to 80 foot-pounds, torque your lug nuts in a star pattern.
Thanks for watching. Visit us at 1AAuto.com for quality auto parts, fast and free shipping, and the best customer service in the industry.
Product Reviews
4.7/ 5
★★★★★★★★★★
18 reviews
5★
89%
4★
6%
3★
0%
2★
0%
1★
6%
★★★★★June 16, 2026
Perfect fit and save money
As a DIY person but not expert, just trying to save some money. I have been getting my auto parts from 1A Auto for several years now and I haven't ran into any problems. Their parts are always perfect fit and in addition they provide how to video, you don't get that from big box stores. Shipping is free and expect delivery as promised.
Highly recommended for all car parts you need.
★★★★★June 1, 2026
Perfect fit
★★★★★September 14, 2025
Perfect fit
The shocks were a perfect fit! Excellent service and quality.
★★★★★November 30, 2023
Poor quality would not buy again
★★★★★May 14, 2021
Great price
Worked perfectly for good price
★★★★★December 12, 2020
Shocks
Fit perfectly********************************+*************************************
★★★★★November 29, 2020
Awesome!
Work like I never had an issue! Super great quality!
★★★★★August 21, 2020
These shock absorber are nice quality and good price, easy to install and they arrive in time... I can't complaint!!!
★★★★★June 23, 2020
Quick change
I had some uneven wear on the rear tires, so I put new shocks on in an afternoon. Gave the bolts a shot of spray penetrating oil the day before and the nuts came right off. No cussing required. Direct fit.
★★★★★February 22, 2020
Recent rear shock purchase.
Best price, best warranty, easy install with video help. Will be using you for all parts going forward.
Showing 1–10 of 18 reviews
SBA60181
In Stock
Customer Q&A
Got a question about this part? Post it and get answers from our team.
JohnOctober 21, 2021
Does this actually include 2 shocks? Im getting confused if its a 2 piece set or it comes with 2 shocks.
Yes, this kit includes two shocks.
Cristina · October 21, 2021
DanielFebruary 6, 2019
What does it mean to get the suspension to ride height?
Thank you for your inquiry! Over time your suspension can sag due to worn out springs and shocks. These shocks are made to OE specifications and can help restore your vehicle back to factory height!
T · February 6, 2019
JeffMay 7, 2018
I started to remove upper mount, and the bolt would not come out. There a nut on the back side of the bolt, which stripped. The video does not show any nut on the back side. Is that nut supposed to be welded to the frame?
Yes it is welded to frame. You only need to remove the bolt. WATCH the VIDEO!
Charles · February 22, 2020
Showing 1–3 of 3 questions
Customer service
877-844-3393
Monday - Friday 8:00am - 9:30pm ET Saturday - Sunday 8:00am - 4:30pm ET
Ask a Question
Check Your Email
We sent a verification email to .
Click the Verify Email button in the email to submit your question.
This extra step helps prevent spam.
Select Your Vehicle
Specify your vehicle's year, make and model to guarantee fit.










 WARNING: This product can expose you to chemicals including Chromium (Hexavalent Compounds), which is known to the State of California to cause cancer, and birth defects or other reproductive harm. For more information, go to www.P65Warnings.ca.gov