Replaces


Part Details
About TRQ:
TRQ is a trusted brand dedicated to making every repair a success story by combining premium parts with easy installation. Each TRQ part is engineered by a team of automotive experts to meet or exceed OEM standards, delivering enhanced performance and maximum longevity. With rigorous in-house testing, the brand ensures superior fit and function across every product line. TRQ also provides customers with best-in-class, step-by-step installation videos—so you can complete repairs with confidence, whether you're a first-time DIYer or an industry professional.
Install Tip: When replacing steering components, have a professional alignment performed afterwards. This ensures proper tracking and even tire wear.
Our steering and suspension components are pre-greased and sealed for long life and do not require the extra maintenance typically required by greaseable versions.
Attention California Customers:
 WARNING: This product can expose you to chemicals including Lead and Lead Compounds, which are known to the State of California to cause cancer, and birth defects or other reproductive harm. For more information, go to www.P65Warnings.ca.gov.
Lifetime Warranty
This item is backed by our limited lifetime warranty. In the event that this item should fail due to manufacturing defects during intended use, we will replace the part free of charge. This warranty covers the cost of the part only.
FREE Shipping is standard on Orders shipped to the lower 48 States (Contiguous United States). Standard shipping charges apply to Hawaii, Alaska and US Territories. Shipping is not available to Canada.
Expedited is available on checkout to the United States, excluding Alaska, Hawaii and US Territories as well as P.O. Boxes and APO/FPO/DPO addresses. Final shipping costs are available at checkout.
Created on:
Tools used
Brought to you by 1AAuto.com, your source for quality replacement parts and the best service on the Internet.
Hi, I'm Mike from 1A Auto. I hope this how-to video helps you out, and next time you need parts for your vehicle, think of 1AAuto.com. Thanks!
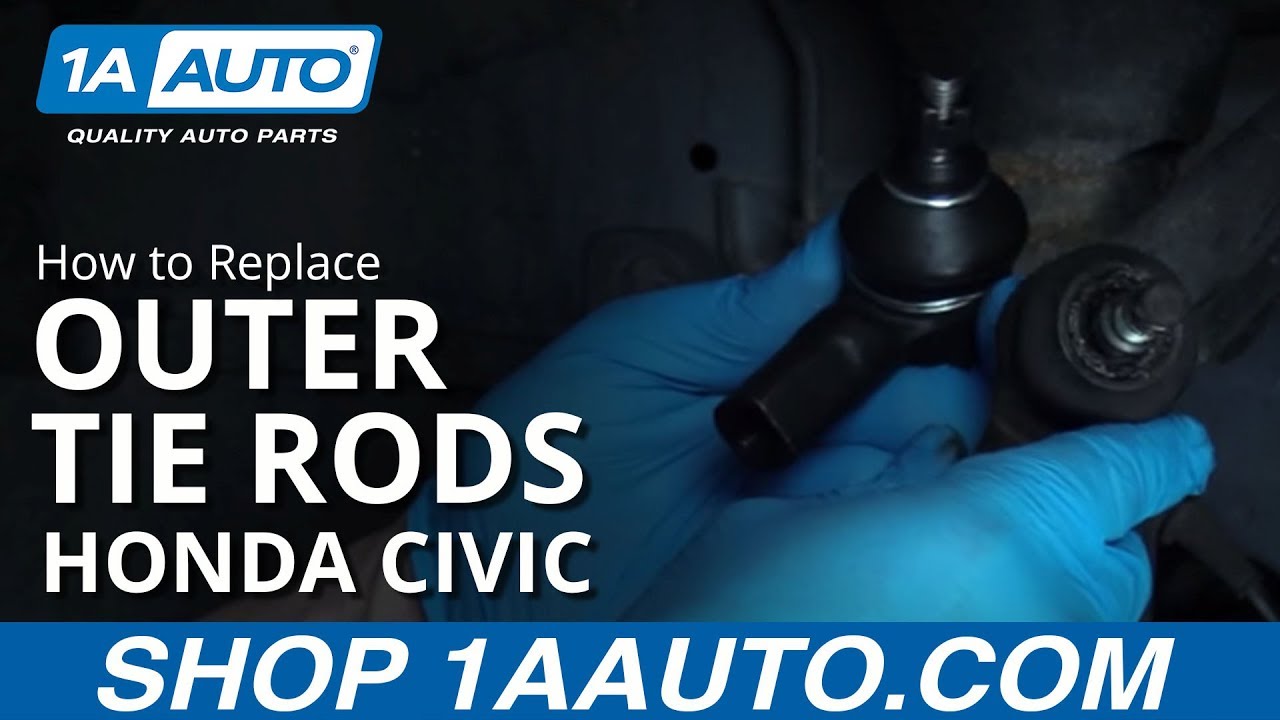
In this video, we're going to show you how to replace the outer tie rod. This is a 2003 Honda Civic. It's the same for the 2001 to 2005 Honda Civic, as well as a couple of other Honda models. We show you this on the driver side, but the passenger side is the same procedure. Items you'll need include a new outer tie rod or tie rods from 1AAuto.com, 17mm to 24mm sockets, wrenches and ratchet, a torque wrench, breaker bar or tire iron, small hammer, needle nose pliers, and some penetrating oil.
Remove the front wheel held on by 19mm lug nuts. If you have a different style hubcap, you'll need to remove that. Just use a breaker bar or your tire iron and loosen your lug nuts while the tire is on the ground. Raise and support the vehicle. Now, remove the rest of the lug nuts the rest of the way, and the wheel and tire.
The outer tie rod is right here; 17mm nuts hold it in here. Remove the cotter pin. Then there's a 21mm lock nut, which we're going to use a nice 21mm wrench. As you're looking at it, you're turning it clockwise. We're just going to turn that about a quarter of a turn. If, when you turn this lock nut, you also turn the inner tire rod, just make note of it so that you can turn it back for the same amount, just so that you can get yourself in a good preliminary alignment. You will want to have your vehicle aligned after you do this repair.
Remove the cotter pin. Normally, the pin should drive out easily, but it's giving us a hard time. We're going to use a little bit of penetrating oil. Let it sit for a bit. You may have to use a set of these cutting pliers. We really get half of the cotter pin off. A lot of times, if you've got it off and pretty well damaged, you can just pull the nut off and it will shear it right off as it comes off. Give the steering knuckle a few good taps with the hammer to break the tie rod free. Now, you can just take your tie rod right off.
Old part from the vehicle, new tie rod in from 1A Auto. You can see it's exactly the same. Take the castle nut off. New part comes with a new lock nut and a cotter pin. If you like, you can grab hold of your inner tie rod, free up your existing lock nut, and take it off. Not necessary though if you can put the new tie rod on and use the existing lock nut that's on there already. Put the tie rod in. It should go right around to about where it was.
Reinstall your tie rod. Put the castle nut on. Tighten the castle nut to 32-ft/lbs. Then tighten it any more you need to get the cotter pin through the hole in the tie rod. I can see the hole there. Probably need to go another 16th of a turn. Insert the cotter pin.
Use a pair of piers and bend it over. Appropriate size wrench to hold the tie rod; in this case, it's an 18mm. Then 24mm to get our lock nut on the back. Tighten it up.
Put your wheel back in place. Start your lug nuts. We'll tighten them preliminarily and then torque them when the vehicle is back down on the ground. Tighten your lug nuts 80-ft lbs and just cross in the pattern.
Thanks for tuning in. We hope this video helped you out. Next time you need parts for your car, please visit 1AAuto.com. Also check out our other helpful how-to and diagnosis videos.
Tools used
Hi, I'm Mike from 1A Auto. We've been selling auto parts for over 30 years.
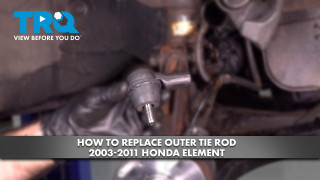
Sue: Hi, everyone. Sue here from 1A Auto. Today I'm going to show you on our '06 Honda Element how to replace the outer tire. If you need that part or any other part for your car, click on the link below and head on over to 1aauto.com.
Like usual, before you do any front end suspension or steering work, make sure you schedule an alignment, so that you can get it done. Right after your repair, you can drive straight there. To remove the tire, you need a 19 millimeter socket. The vehicle has weight on it, so I can loosen up each lug nut as I go around. I'm using a two post lift. At home, you can use a jack and jack stands.
Now I have it up in the air. I'm just going to remove all the lug nuts. Beautiful. We can discard the hubcap. Now I'm going to spray the jam nut on the tie rod ends and the castle nut on the outer tie rod end. First thing I like to do is I'm going to make sure that the jam nut, now that I sprayed it, will break free because that has to break free. You got to leave everything intact to make sure that that moves. That's 24 millimeter on the factory inner tie rod end jam nut. Wow, that's awesome. Let's hope that the outer tie rod end comes off just as easy.
Now, I'm going to take the cotter pin out and remove that. Discard it. That's not something that you reuse. Cotter pins are to be removed and thrown out. Now the outer tie rod end castle nut is a 19 millimeter. I'm going to put that on there with my breaker bar. Break that free. You're going to hit the arm on the strut tower. You're going to tap it right about there. Now that's out.
Now to remove the outer tie rod end, we're going to have to put a wrench on the inner, which has a nice cut out for open-faced wrench. We're going to hold that, and then we're going to turn this outer tie rod end off. The inner tie rod end that hex cut out is a 19 millimeter. I'm going to hold it with my stubby wrench because the outer tie rod end is also a 19 millimeter. You're just going to want to turn both of them. I'll hold the inner and turn the outer one. I'm leaving the jam nut where it is because that way I know how far I have to put the new tire rod end in for adjustment prior to getting it lined up.
Now I take the outer tire rod end off. Here we have our new outer tie rod end for our Honda Element, and here is the factory. This one came from 1A Auto. It is the same thread diameter. It's got a nice boot that's meshed down and tight. It's a sealed system just like the factory. It comes with a self-locking nut, so that's a one time use. The factory is a regular bolt, and it requires a cotter pin afterwards. That's nice that you don't need to deal with a cotter pin. Once that tight, torqued down, you're all set and ready to go. If you need this part, or any other part for your car, click on the link below and head on over to 1aauto.com.
Now the new outer tie rod end, I don't know to take the jam nut off, so that's cool because it's on there, and the new one doesn't come with one. It doesn't need to. You have this one, and ours moves, so that's thumbs up. I like to take some spray. As you can see, I put some little ATCs in there, so that it won't seize up on the next guy. I just thread it on. Now I don't have to count turns as all because I know that I turned my jam nut. I did like maybe one full turn to back that off. I'm just going to bottom it out, and then I'll turn it back one full turn and install it. It has to get an alignment anyways, but I like to get it as close as possible, so that way the alignment person is not spending two hours trying to free things up. Plus, it won't wear my tires out even if I'm only going a mile. Now I'm just going to turn it back one like that. Put it right in the strut tower. Put the nut on.
You're going to put the 24 millimeter on the jam nut and just hold the inner tie rod end in the same position. You don't want to turn that because that's part of the adjustment. We'll just have to keep turning the head of the 24 millimeter back and forth till we bottom out like that. Now we're ready to tighten this. 19 millimeter socket, and I'm going to attempt to start tightening this up before the tie rod end stud spins. Maybe because I have pressure on it, I might get it done. A situation to that when the typical tie rod end spindle starts to spin in place, you just take a pry bar and put some pressure on that. This is, obviously, if you don't have an air gun. There you go. Once you feel it's seat, the torque specs for this manufacturer's specs is 40 foot-pounds. There you go.
I'm going to mount the tire again. Grab your hubcap because this particular Honda does not have extra wide cutouts for three lug nuts. Rim up on the hub and put your lug nuts on. The wheel torque. Now I've got the weight of the vehicle down on the tire. I'm going to torque up the wheels. The wheel torque manufacturer spec is 80 foot-pounds.
Thanks for watching. Visit us at 1aauto.com for quality auto parts, fast and free shipping, and the best customer service in the industry.

PSA68300
