
★★★★★
January 7, 2026
Good quality parts and reasonable prices

Replaces






Part Details
Specifications
About TRQ:
TRQ is a trusted brand dedicated to making every repair a success story by combining premium parts with easy installation. Each TRQ part is engineered by a team of automotive experts to meet or exceed OEM standards, delivering enhanced performance and maximum longevity. With rigorous in-house testing, the brand ensures superior fit and function across every product line. TRQ also provides customers with best-in-class, step-by-step installation videos—so you can complete repairs with confidence, whether you're a first-time DIYer or an industry professional.
Our control arms are designed to be direct replacements for the original factory parts. They are 100% brand new and require no modifications for installation. No special tools are required because all of the bushings come pre-installed.
Our steering and suspension components are pre-greased and sealed for long life and do not require the extra maintenance typically required by greaseable versions.
Attention California Customers:
 WARNING: This product can expose you to chemicals including Lead and Lead Compounds, which are known to the State of California to cause cancer, and birth defects or other reproductive harm. For more information, go to www.P65Warnings.ca.gov.
This part fits 2 vehicles spanning 2002-2011.
| Year | Make | Model | Description |
|---|---|---|---|
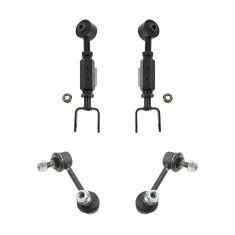
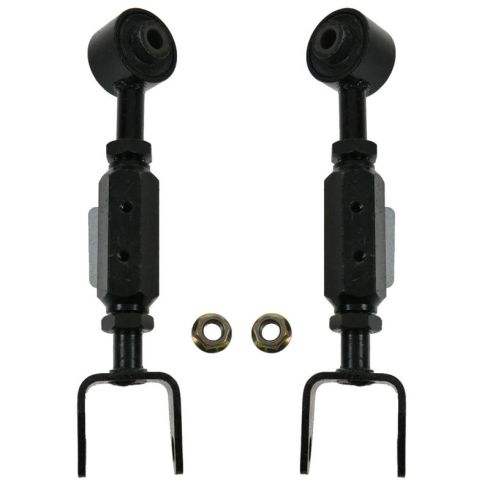
| 2002-2006 | Honda | CR-V | Honda CR-V Rear Driver & Passenger Side Upper 2 Piece Control Arm Set TRQ PSA62908 |
| 2003-2011 | Honda | Element | Honda Element Rear Driver & Passenger Side Upper 2 Piece Control Arm Set TRQ PSA62908 |
| Brand Label | Part Number |
|---|---|
| Dorman | 521-424 |
| Beck/Arnley | 1016525 |
| MOOG Chassis Products | RK90489 |
| Mevotech | CMK90489 |
| Dorman - OE Solutions | 521-424 |
| NAPA | 264-3064 |
| MAS Industries | CA59506 |
| Falcon Steering Systems | FK90489 |
| Mevotech | MK90489 |
| DIY Solutions | SUS00997 |
| DIY Solutions | SUS06545 |
| MOOG Chassis Products | K90489 |
| Honda | 52390SCVA11 |
| Honda | 52390SCVA00 |
| Honda | 52400SCVA11 |
| Mevotech Supreme | CMK90489 |
| Mevotech Supreme | MK90489 |
This item may be interchangeable with parts from other brands with the above part numbers. This information is provided only for reference and does not guarantee that the item you are purchasing is identical to parts with part numbers from the brands listed above. To confirm that this item fits your vehicle, use the above "Check Vehicle Fit" option.
Lifetime Warranty
This item is backed by our limited lifetime warranty. In the event that this item should fail due to manufacturing defects during intended use, we will replace the part free of charge. This warranty covers the cost of the part only.
FREE Shipping is standard on orders shipped to the lower 48 States (Contiguous United States). Standard shipping charges apply to Hawaii and Alaska.
Shipping is not available to a P.O. Box, APO/FPO/DPO addresses, US Territories, or Canada for this item.
Expedited is available on checkout to the United States, excluding Alaska, Hawaii.
Final shipping costs are available at checkout.
Created on:
Tools used
Hi. I'm Mike from 1A Auto. We've been selling auto parts for over 30 years.
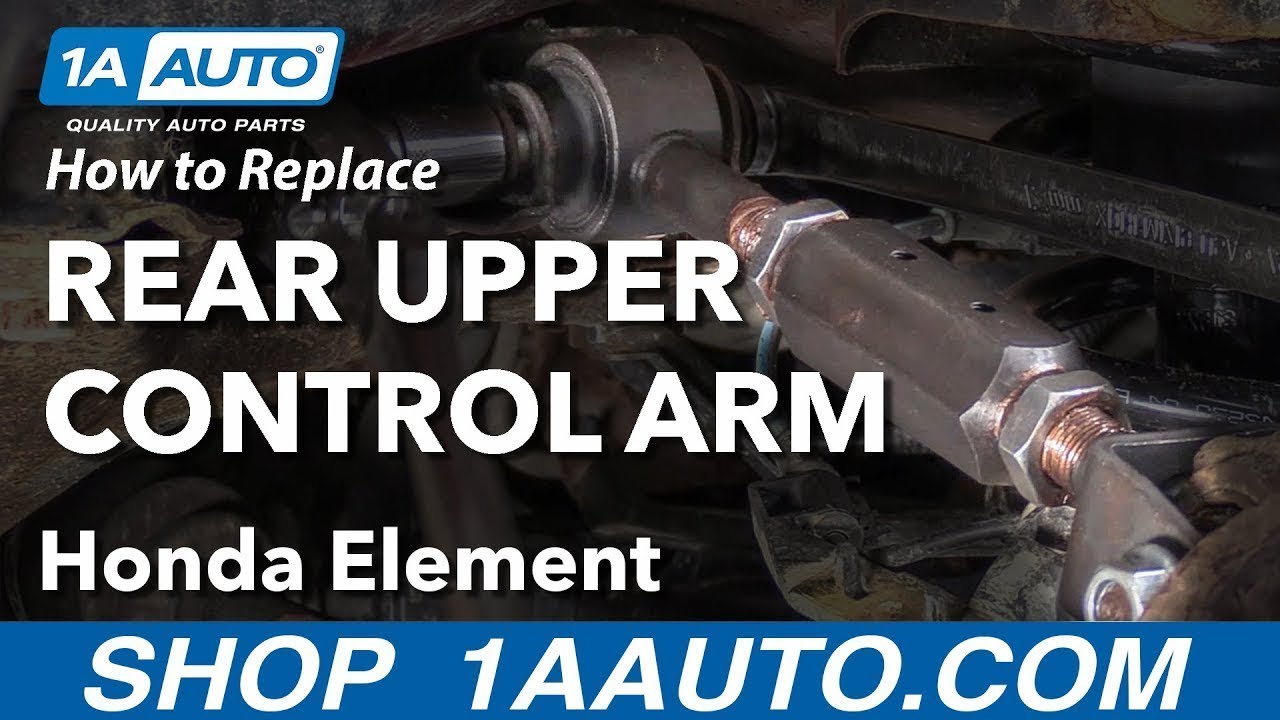
Hi everyone. Sue here from 1A Auto. And today on our '06 Honda Element I'm going to show you how to install an upper control arm that is an adjustable type. The manufacturer is non-adjustable. If you need this part or any other part for your car click on the link below and head on over to 1AAuto.com.
19 millimeter socket and we're going to break free the lug nuts. We've got the pressure of the vehicle on the tire still so it doesn't turn. I use the two post lifts. At home you can use the jack and jack stands. I'm going to take all the lug nuts off and remove the tire. I'm going to spray down all the nuts and bolts to the upper trailing arm.
I'm going to dismount the ABS sensor harness plate. Just pinch those plastic ears, slide it down and then I'm going to pinch this side, so the same. There we go. So the bottom air piece that comes out on this control arm, this is a welded nut on that bracket piece that is part of the drill arm so you just have to remove the bolt on this lower part. I have a 17 millimeter wrench on there and if this doesn't work we might have to break out the air.
So I'm going to take my 17 millimeter impact socket and I'm going to break this bolt out. I'm going to try and get my long ratchet wrench in there with a 17 millimeter socket. See if I can break this free. There we go. It's so rusted in here. Here goes nothing. I think I'm going to add a smidge of heat to that. We cannot break the suspension nut free so I'm going just heat it up a little bit because we have to reuse that. So let's see if we can heat it up enough to free it.
Now with my 17 ratchet wrench and a regular 17 wrench. Don't forget that's hot. For me it is. So you can see that the body, the body goes like this over the bolt so you can't get the bolt out. But the good news is once you keep working the bolt down the bushing you can just pry it. The bushing moves with it so you can get the bolt out. Here we have the new adjustable upper control arm for the rear on this '06 Honda Element and it came from 1A Auto.
Here is the factory. You can see it's an '06 so this thing is 12 years old and the bushing's worn out really quite a bit. I mean it held on for 12 years. That's doing pretty good. So it has the bracket for the ABS. They solved that on the adjustable by putting two threaded holes and it comes with a kit with a bracket in it. Two mounting bolts for that and a new nut for this bracket because this is a welded nut from the factory so you'll reuse a locking nut bracket.
If you need this part or any other part for your car click on the link below and head on over to 1AAuto.com. So now that we got the upper control arm out and we have the new one we're going to install. It's adjustable so to adjust it to the best that we can before we get it to the alignment shop I'm just going to line it up with the original one and lock the jam nuts in place. So that way I can get there and it should be close enough.
So it's reverse thread on different angles. The other thing I'm going to do before I assemble this and line it up and everything is I'm going to take care of it by putting some anti-seize on the threads because I don't want the poor alignment guy getting this in two years and having this frozen. That defeats the point of replacing all of this. Plus it's a good idea, now you can see exactly how long that bolt is. Heaven forbid it's a small one and you backed it out to here, unaware that you only had two more threads left.
That won't support that. That will snap off going down the road so let's fill that up with some nice anti-seizing paste and then we'll line it up, measure it and install it. I like to use the copper because it has a higher temp rating to it. Not that this part gets hot but ... So now I can thread that in and the jam nut will be lined with the anti-seize. Let's do the top half. And just like any suspension parts, sometimes tie rod ends, adjustable control arms like this they have opposite thread.
Usually lefty is loosening it up but you have have opposite threads for a reason and that's why because this is the adjuster in there so these two in the vehicle. Solid mounted and when you have to break it to adjust it and pull it in and out they have to be opposite threads. Okay, I'm going to break that jam nut free. There we go. Our brain says no. It's going the opposite way of what I'm used to.
So to assure that I'm going to be as lined up as accurately as possible before that goes to the alignment shop I just put a punch in all through the top there and line those holes up. And I'm going to use the bolt to line this up. Well I'm pretty there so let me show you what I did. So holding this, the ear tab you can turn this and you'll see that the alignment on that moves. So I'm going to turn it the opposite way and get the threads, the bolt holes to line up.
I like that right there. That's as close as I'm going to get it to the factory setting so the alignment person can adjust this and set it to specs. So I made sure that I lined up my mounting bolts for the ABS bracket and now I'm just going to snug down on the jam nuts because I don't want this to move while it's in, getting installed. Now I'm getting ready to install my upper control arm. Line those bushings right up, see if I can get that in.
Now the bolt came out this way. I don't see pros and cons to it so it's easier for me to put it back in this way. I don't have to move anything around. And now I can put the nut on that. I'm going to grab and mount this up. All right, I'm going to use my body. Take a hammer and tap that in. There we go. Now the bottom bolt has a new nut that 1A supplies. Then we have the actual bracket for this. I'm going to put that on last because I'm going ...
Now that this is mounted once I tighten these up I'm going to grab my wrench and really tighten up those jam nuts. So I got my 17 socket and 17 wrench and I'm just going to tighten this inner bolt tight as I can because I can't get an air gun in there and there is no specifications for torque. Now I'm going to move out to the outer bolt. So I lowered the car down on a jack stand and I put the jack stand right under that lower body support.
So I can get the suspension, you want to tighten the bushings not with it like this because you want it to be on where the weight would go down the road with the proper load on it and the load means the weight of the vehicle on this particular section of the car. So if I was to tighten it in the air it would be like this and the bushing would be off at an angle so when you lower it, it would be twisting that bushing and that causes premature wear.
The new nut is an 18 millimeter and I'm going to use my air gun. I'm just going to tighten this up because there is not torque specs. Now we're ready to raise it back up and we'll tighten up the jam nuts and mount the ABS sensor. So now I'm going to tighten the jam nuts and the big adjuster in the middle here is 1-1/4 as you can see. And I got to hole that steady. I want it to be lined up properly for the ABS wire bracket.
So the outside jam nuts are 1-1/16 and I'm going to make sure I'm going to go the same way. It's very important to tighten jam nuts before you drive a vehicle. Perfect. So now I'm going to mount the ABS plate and it's not the ABS plate, it's the harness for the sensor and it comes with the two little flat mounting bolts and these are 8 millimeter head. So once I get them started I'm going to snug those up. Make sure you put it on facing the right side, the correct side because of the way that the bracket's designed.
It will bottom out on the other side. Like I said that's an 8 millimeter socket. Snug those right up. Now you can see how this bracket's going to fit. The old guide pins are going to snap right in and there we go. Now let's put the lug nuts back on. It's a 19 millimeter socket. I'm just going to tighten them all down and then I can lower it down and torque it. So I'm going to torque the wheels to manufacturers spec which is 80 foot pounds. Always do it in a star pattern. And double-check.
Thanks for watching. Visit it at 1AAuto.com for quality auto parts, fast and free shipping and the best customer service in the industry.

PSA62908


Good quality parts and reasonable prices
Perfect fit. Work perfectly.
No problem so far so good ????
Amazing product. Had to change my oem rear upper control arm from my 2003 honda crv. As soon as I opened the box I notice the quality in these camber arms, looked amazing plus there adjustable. Installed them and felt great. Thanks 1aauto
Nice part.
Corrected my rear tires to straight again
Correct part for 04 element ex
Relatively easy install. Need breaker bar and correct socket to remove the inner bolt. Awesome price.
Worked like a charm...especially being able to adjust them... the price was the hook line and sinker for me. Other places were charging 80bucks for one unit...wowza
Havent been able to install the parts because they took so LONG to get to me, I lost my heated work space (Im in Alaska). I think the website estimated arrival about Sept 19 and I got the parts on Sept 28. Thats not a terribly long delay but timing was critical for me. Autozone parts usually get to me within 2-5 days.
Dont know about manual on my auto it does.
Yes, this will be able to fit for 4 wheel drive vehicles.
Yes.
Since both ends are threaded and adjustable, you can line up all 3 sections and tweak as necessary for proper final fitment.
No idea, but they worked great on my element 2003. paid 75$ with shipping instead of 250$ a piece at the local rip off garage. good luck.
