
★★★★★
March 9, 2025
Working great. Thank you!

Replaces







About TRQ:
TRQ is a trusted brand dedicated to making every repair a success story by combining premium parts with easy installation. Each TRQ part is engineered by a team of automotive experts to meet or exceed OEM standards, delivering enhanced performance and maximum longevity. With rigorous in-house testing, the brand ensures superior fit and function across every product line. TRQ also provides customers with best-in-class, step-by-step installation videos—so you can complete repairs with confidence, whether you're a first-time DIYer or an industry professional.
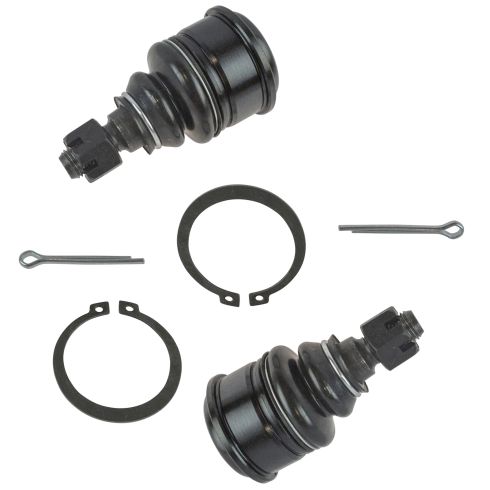
Our steering and suspension components are pre-greased and sealed for long life and do not require the extra maintenance typically required by greaseable versions.
Attention California Customers:
 WARNING: This product can expose you to chemicals including Lead and Lead Compounds, which are known to the State of California to cause cancer, and birth defects or other reproductive harm. For more information, go to www.P65Warnings.ca.gov.
This part fits 10 vehicles spanning 2001-2005.
| Year | Make | Model | Description |
|---|---|---|---|
| 2001 | Honda | Civic | Honda Civic Front Driver & Passenger Side Lower 2 Piece Ball Joint Set TRQ PSA63145 |
| 2002-2005 | Honda | Civic | Honda Civic EX Front Driver & Passenger Side Lower 2 Piece Ball Joint Set TRQ PSA63145 |
| 2002-2005 | Honda | Civic | Honda Civic DX Front Driver & Passenger Side Lower 2 Piece Ball Joint Set TRQ PSA63145 |
| 2002-2005 | Honda | Civic | Honda Civic LX Front Driver & Passenger Side Lower 2 Piece Ball Joint Set TRQ PSA63145 |
| 2002-2005 | Honda | Civic | Honda Civic HX Front Driver & Passenger Side Lower 2 Piece Ball Joint Set TRQ PSA63145 |
| 2002-2005 | Honda | Civic | Honda Civic GX Front Driver & Passenger Side Lower 2 Piece Ball Joint Set TRQ PSA63145 |
| 2003-2005 | Honda | Civic | Honda Civic Hybrid Front Driver & Passenger Side Lower 2 Piece Ball Joint Set TRQ PSA63145 |
| 2004-2005 | Honda | Civic | Honda Civic Value Package Front Driver & Passenger Side Lower 2 Piece Ball Joint Set TRQ PSA63145 |
| 2005 | Honda | Civic | Honda Civic LX Special Edition Front Driver & Passenger Side Lower 2 Piece Ball Joint Set TRQ PSA63145 |
| 2005 | Honda | Civic | Honda Civic EX Special Edition Front Driver & Passenger Side Lower 2 Piece Ball Joint Set TRQ PSA63145 |
| Brand Label | Part Number |
|---|---|
| MOOG Chassis Products | K90332 |
| DIY Solutions | SUS01018 |
| DIY Solutions | SUS00178 |
| Beck/Arnley | 101-5477 |
| Mevotech | MK90332 |
| Honda | 51210S5AJ20 |
| Honda | 51220S5A305 |
| Honda | 51210S5AJ30 |
| Honda | 51220S5A003 |
| Honda | 51215S5AJ20 |
| Honda | 51215S5AJ30 |
| Mevotech Supreme | MK90332 |
This item may be interchangeable with parts from other brands with the above part numbers. This information is provided only for reference and does not guarantee that the item you are purchasing is identical to parts with part numbers from the brands listed above. To confirm that this item fits your vehicle, use the above "Check Vehicle Fit" option.
Lifetime Warranty
This item is backed by our limited lifetime warranty. In the event that this item should fail due to manufacturing defects during intended use, we will replace the part free of charge. This warranty covers the cost of the part only.
FREE Shipping is standard on Orders shipped to the lower 48 States (Contiguous United States). Standard shipping charges apply to Hawaii, Alaska and US Territories. Shipping is not available to Canada.
Expedited is available on checkout to the United States, excluding Alaska, Hawaii and US Territories as well as P.O. Boxes and APO/FPO/DPO addresses. Final shipping costs are available at checkout.
Created on:
Tools used
Brought to you by 1AAuto.com, your source for quality replacement parts and the best service on the Internet.
Hi, I'm Mike from 1A Auto. I hope this how-to video helps you out, and next time you need parts for your vehicle, think of 1AAuto.com. Thanks.
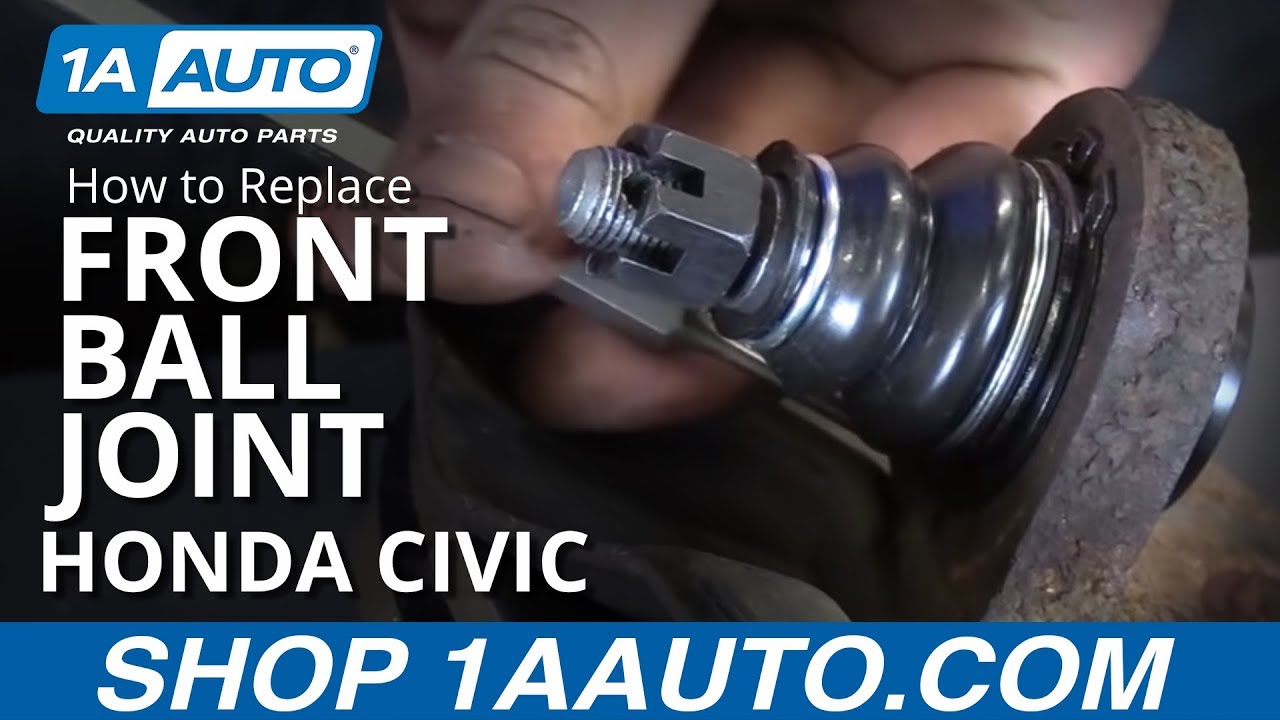
In this video, we're going to show you how to lower front ball joints on this 2003 Honda Civic purchased aim for 2001 to 2005 Civics. We show you on the driver side, but the passenger side is the same procedure.
You'll need new lower front ball joints from 1AAuto.com, 7 to 22 millimeter sockets with wrenches, ratchets and extensions, 32 millimeter socket and air tools, breaker bar or tire iron, pry bar, torque wrench, small hammer and/or mallet, needle nose pliers, flat head and Phillips screwdrivers, jack and jack stands, and a ball joint press.
Remove the front wheel held on by four 19 millimeter lug nuts. If you have a different style hubcap, you'll need to remove that, but just use a breaker bar or your tire iron and loosen the lug nuts while the tire is on the ground. Now, raise and support the vehicle. Now, remove the lug nuts the rest of the way and the wheel and tire.
Using a tapered punch, remove the band from the axle nut. Using the pry bar on the wheel studs to prevent the hub from turning, use a 32mm socket and breaker bar to loosen the axle nut. Using a 17mm socket and ratchet remove the caliper bracket bolts. Remove the caliper and caliper bracket assembly, hang it out of the way using a bungee cord, mechanics' wire. You can use a zip tie, anything you have to keep it up and out of the way somewhere where it's safe. We're just going to hang ours up on a strut with a bungee cord. You'll be able to access this just fine on the jack and jack stand.
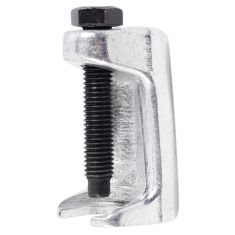
Going to undo this cotter pin at the bottom of the ball joint, and just bend this tab out, pry the pin out with a pair of needle nose and undo the nut on the bottom of the ball joint. Using the 17mm socket and a breaker bar, going to unbolt the bottom of the ball joint. Before the nut comes all the way off, use a hammer, tap up. If that won't release the ball joint, tap on the sides. If hitting the nut on the bottom of the ball joint or the sides of the control arm don't free it, you can always use a ball joint separator or pickle fork. Using the 22mm socket, remove the bolts from the strut. Remove the bolts themselves.
Using the 10mm socket and ratchet, unbolt the wheel speed center from the spindle. Remove the sensor. You may need to use a pair of pliers to work the sensor. Tap the center of the CV axle to free it from the hub. Remove the spindle from the vehicle.
Install the cup of the press over this ring on the top side of the ball joint. You want to ensure that it fits in there with enough room so that the ball joint can be pressed up into this cup. This jig sits onto the stud of the ball joint. This cup keeps us from damaging the ends of our threads. Install your press onto these tools. Keep it centered as best you can. You can use the 22 millimeter socket on the breaker bar to tighten down on the press. Push our ball joint out.
This can also be done with an impact gun if your particular tool allows for it to speed things up. Back off your press. Remove your old ball joint. If you have excessive play in your ball joints or clunks over bumps, this lower ball joint could be at fault. If that's the case, this new part from 1A Auto is going to fix you up right.
Take your new ball joint, and send it through from the spindle down. Going to install the cup, larger than the ball joint, over the bottom. Put the top of our ball joint press onto the top of our new ball joint. Install our flat cup over the bottom. Get everything nice and straight. Press it in with our impact gun and a 22 millimeter socket. Bring it in until the ball joint bottoms out in the spindle. Small pair of needle nose pliers that will fit into the holes on the snap ring or a proper pair of snap ring pliers, install the snap ring onto the base of your ball joint. Make sure it sits down all the way and into the grooves. With a punch and hammer, just to make sure that everything is seated down in there properly. Remember to remove the nut from your ball joint, in our case a 19 millimeter, before we install it into the vehicle.
To install the lower ball joint into the hole with a control arm, make sure the ball joint is seated in to the control arm and that your CV axle is lined up. Line up the bolts for the top of your strut. Install the bolts through your strut into your spindle. These are going to go from the front of the car with the nut toward the back. Torque the strut bolts to 116 foot-pounds with a 19 millimeter socket on the bolt side and a 22 millimeter wrench on the nut.
Using a 32mm axle nut socket, install your axle nut. Use the pry bar to stop your hub from rotating and torque your axle nut to 134 foot-pounds. Using a punch or chisel, dent the outer ring of the axle nut into the keeper groove on the axle. Reinstall the wheel speed sensor into the hub. If you have to you can give it a couple of taps in with a rubber mallet, reinstall the 10mm bolt. The cast nut from the bottom of the ball joint has windows that need to align with this hole so we can install the cotter pin after it's tight. The torque spec is 43 to 51 foot-pounds, as you may have to tighten it up a little to get the windows to align. 43 is pretty close, send your cotter pin through the slot, take the longer side, bend it underneath, take the shorter size, trim it down.
Reinstall your brake rotor. Be sure to install the beveled hole of your rotor, over the screw hole in the hub. Reinstall your screw with a number 2 Phillips. Remove your caliper from wherever you hung it. Spread your pads in the carrier, reinstall the assembly onto the rotor in the back.
Tighten up your 17mm caliper bolts. Torque your caliper bolts to 80 foot-pounds. Put your wheel back in place. Start your lug nuts, we'll tighten them preliminarily and torque them when the vehicle's back down on the ground. Tighten your lug nuts 80 foot-pounds and just cross in the pattern.
Thanks for tuning in. We hope this video helped you out. Next time you need parts for your car, please visit 1AAuto.com. Also check out our other helpful how-to and diagnosis videos.
Working great. Thank you!
Decent replacement to the original equipment. Only issue was the castle but needed to be tightened down far beyond the capability of the retaining pin to engage the nut.
Bought a kit for my 02 civic last year (October) started to hear clunking on hard turns, just checked my ball joints and the rubber boot is destroyed and fraying. Will not use 1aauto for ball joints again. better to go to a different site. The warranty only replaces with like part, so I have not reached out as I don't want a 1aauto part again.
I installed my first one today. Fit like a glove and works perfectly. The biggest reason for doing business with A1 is to show my appreciation for their investment in the instructional videos.
Not much more to say they work just as well as the OEM Honda civic. They fit my 2002 Honda Civic DX.
I only needed to replace one ball joint. We (professional mechanic, my father, and I) pressed the first one onto the car only to find that the part had failed. The threaded end was wobbly, completely loose, and could be pulled and stretched in any direction by hand. It was completely shot. Fine, we have a second. Pressed the second one on about 1/3rd of the way and stopped as we decided to check the ball joint before we press it all the way on. Mind you, the press was perfectly aligned to only press in on the outer rim. This one had failed as well. My father and our mechanic had never seen anything like this before. Had to run to the local shop up the street and buy a third ball joint and it pressed on perfectly. These were complete junk.
The part fit perfectly and was better quality than the original part. It also shipped pretty fast.

PSA63145
Yes these will come pregreased.
