
★★★★★
September 15, 2023
Awesome product
Works great

Replaces





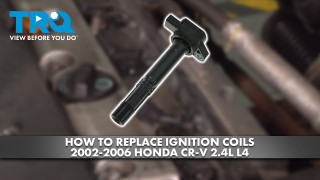

Part Details
Specifications
About TRQ:
TRQ is a trusted brand dedicated to making every repair a success story by combining premium parts with easy installation. Each TRQ part is engineered by a team of automotive experts to meet or exceed OEM standards, delivering enhanced performance and maximum longevity. With rigorous in-house testing, the brand ensures superior fit and function across every product line. TRQ also provides customers with best-in-class, step-by-step installation videos—so you can complete repairs with confidence, whether you're a first-time DIYer or an industry professional.
Product Features
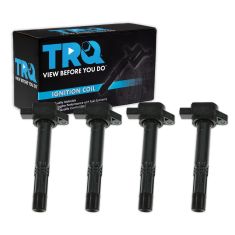
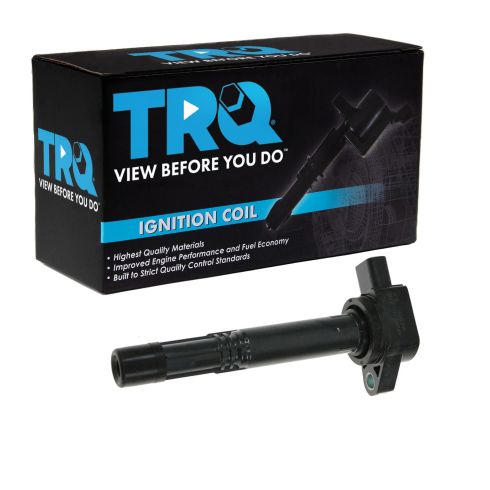
TRQ ignition coils will have your engine running like new. TRQ ignition coils are manufactured to precise specifications using premium raw materials to optimize each vehicle's ignition system. To ensure peak performance, TRQ recommends replacing ignition coils in sets to prevent electrical output imbalances. All products are fit and road-tested in our Massachusetts R&D facility to ensure we deliver on our promise of Trusted Reliable Quality.
Returns: Parts with electrical components cannot be returned once installed.
Attention California Customers:
 WARNING: This product can expose you to chemicals including Lead and Lead Compounds, which are known to the State of California to cause cancer, and birth defects or other reproductive harm. For more information, go to www.P65Warnings.ca.gov.
This part fits 6 vehicles spanning 2002-2011.
| Year | Make | Model | Description |
|---|---|---|---|
| 2002-2006 | Acura | RSX | Acura RSX L4 2.0L Ignition Coil TRQ ICA61794 |
| 2003-2007 | Honda | Accord | Honda Accord L4 2.4L Ignition Coil TRQ ICA61794 |
| 2002-2009 | Honda | CR-V | Honda CR-V L4 2.4L Ignition Coil TRQ ICA61794 |
| 2002-2011 | Honda | Civic | Honda Civic L4 2.0L Ignition Coil TRQ ICA61794 |
| 2003-2011 | Honda | Element | Honda Element L4 2.4L Ignition Coil TRQ ICA61794 |
| 2004-2005 | Honda | S2000 | Honda S2000 L4 2.2L Ignition Coil TRQ ICA61794 |
| Brand Label | Part Number |
|---|---|
| Standard Motor Products | UF-417 |
| Delphi | GN10370 |
| Airtex | 5C1140 |
| Standard Motor Products | UF-298 |
| Standard Motor Products | UF-490 |
| Standard Motor Products | UF-583 |
| Walker Products | 921-2048 |
| Airtex | 5C1440 |
| ACDelco | E510D |
| Standard Motor Products | UF-311 |
| Airtex | 5C1636 |
| Airtex | 5C1639 |
| Airtex | 5C1382 |
| NGK | U5099 |
| Walker Products | 921-2179 |
| BWD | E341 |
| Spectra Premium | C-540 |
| NAPA Mileage Plus | IC537SB |
| Spectra Premium | C-543 |
| Honda | 30520PNC004 |
| Wells | C1382 |
| Wells | C1579 |
| WPS World Power Systems | CUF298 |
| BWD | E990 |
| DENSO Auto Parts | 673-2304 |
| NTK | U5099 |
| Richporter | C-543 |
| BWD | E883 |
| Honda | 30520RAA007 |
| IMC | CLS1075 |
| Echlin | IC441 |
| Echlin | IC570 |
| Beck/Arnley | 178-8427 |
| NAPA Mileage Plus | IC441SB |
| Richporter | C-540 |
| Echlin | IC390 |
| Spectra Premium | C-775 |
| NAPA Mileage Plus | IC570SB |
| Original Engine Management | 50244 |
| Wells | C1450 |
| DENSO Auto Parts | 673-2300 |
| DENSO Auto Parts | 673-2301 |
| Original Engine Management | 50239 |
| Wells | C1265 |
| BWD | E1083 |
| Beck/Arnley | 178-8286 |
| Echlin | IC663 |
| Beck/Arnley | 178-8358 |
| Beck/Arnley | 178-8410 |
| IMC | CLS1272 |
| Echlin | IC537 |
| Honda | 30520PNA007 |
| Honda | 30520RRA007 |
| NAPA Mileage Plus | IC390SB |
| BWD | E897 |
| Original Engine Management | 50243 |
| BorgWarner | E897 |
| BorgWarner | E1084 |
| Huco | 134030 |
| OMNIPARTS | 26020101 |
| STI | UF311 |
| Karlyn | 5087 |
| FORMULA AUTO PARTS | IGC148 |
| IMC | 729-21016 |
| WVE | 5C1382 |
| Power Select | CUF311 |
| PT Auto Warehouse | IC311 |
| IMC | 72921016066 |
| Wells | C1574 |
| PRENCO | 36-8156 |
| Carquest Premium Vehicle Solutions | EBC1413 |
| Standard Motor Products | UF311 |
| Airtex Engine Management | 5C1631 |
| STI | 5087 |
| Duralast | C1382 |
| Airtex Engine Management | 5C1382 |
| FVP | 1IC177 |
| Motorad | 1IC177 |
| VEMO | V26-70-0024 |
| FORMULA AUTO PARTS | IGC389 |
| BWD Intermotor | E341 |
| Wells | 52-1869 |
| Carquest Premium Vehicle Solutions | EBC1063 |
| IMC | 72921022001 |
| SKP | SKIC022 |
| IMC | 72921022039 |
| Import Direct Ignition | 23-0495 |
| WAI | CUF311 |
| Herko Automotive | B094 |
| IMC | 72921022395 |
| IMC | 72921022800 |
| Wells | 52-1735 |
| Standard Import | E341 |
| Standard Import | E883 |
| Standard Import | E990 |
| Standard Import | E1083 |
| Standard Import | E897 |
| Honda | 30520-PNA-007 |
| SMP | UF311/UF583 |
| DENSO | 673-2301 |
| Carquest | 52-1783 |
| Carquest | 52-1873 |
| Carquest | 52-1656 |
| Carquest | 52-1735 |
| Standard Ignition | UF-311 |
| Hollander | 610-58637 |
This item may be interchangeable with parts from other brands with the above part numbers. This information is provided only for reference and does not guarantee that the item you are purchasing is identical to parts with part numbers from the brands listed above. To confirm that this item fits your vehicle, use the above "Check Vehicle Fit" option.
Lifetime Warranty
This item is backed by our limited lifetime warranty. In the event that this item should fail due to manufacturing defects during intended use, we will replace the part free of charge. This warranty covers the cost of the part only.
Returns: Parts with electrical components cannot be returned once installed.
FREE Shipping is standard on Orders shipped to the lower 48 States (Contiguous United States). Standard shipping charges apply to Hawaii, Alaska and US Territories. Shipping is not available to Canada.
Expedited is available on checkout to the United States, excluding Alaska, Hawaii and US Territories as well as P.O. Boxes and APO/FPO/DPO addresses. Final shipping costs are available at checkout.
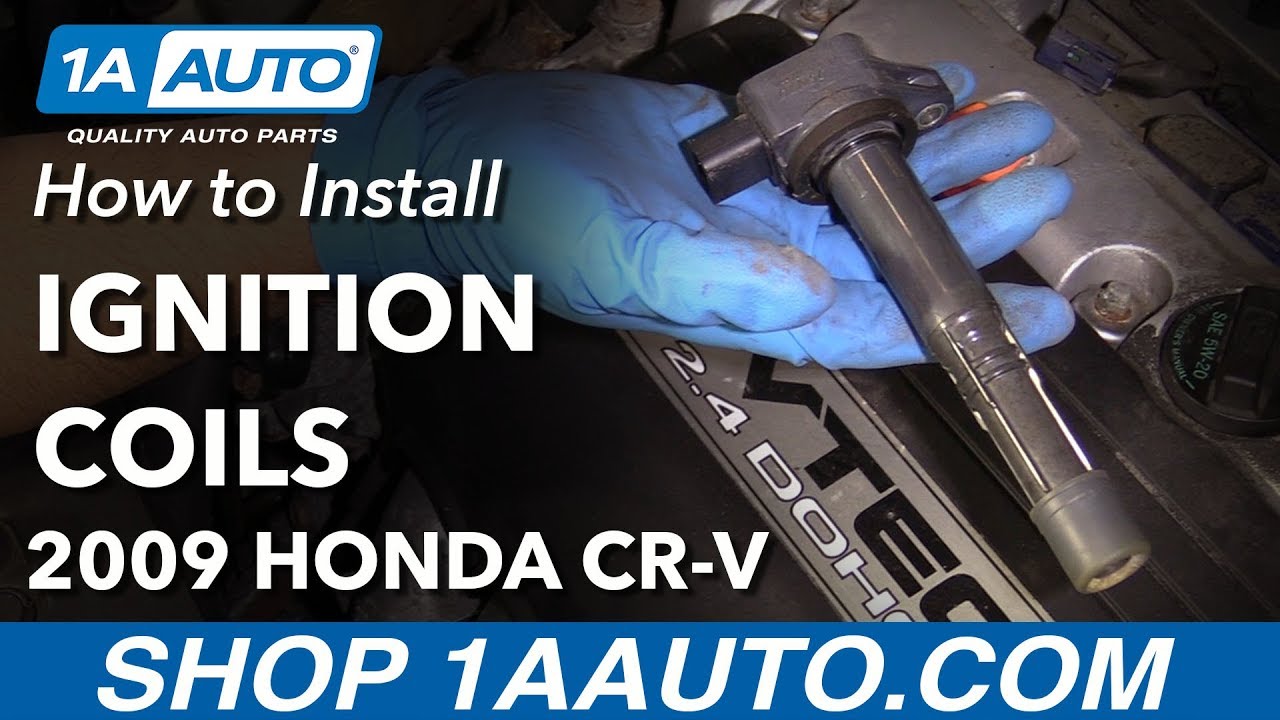
Created on:
Tools used
Tools used
Brought to you by 1AAuto.com, your source for quality replacement parts and the best service on the Internet.
Hi, I'm Mike from 1A Auto. I hope this how-to video helps you out, and next time you need parts for your vehicle, think of 1AAuto.com. Thanks!
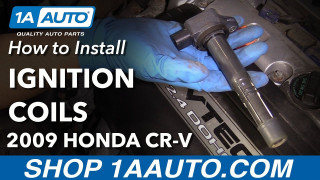
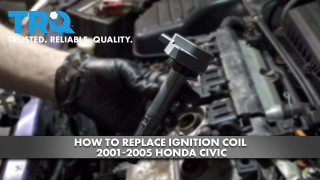
In this video, we're going to show you ignition coil replacement. This is a 2003 Honda Civic. It has a 1.7-liter, and this is similar procedure for Hondas and Acuras with the 1.7-liter as well as the 3.5-liter. Items you'll need include new ignition coils from 1AAuto.com, flat blade screwdriver, 10mm socket and ratchet, also a 10mm wrench will work.
Open the hood and pull the lever right here. Underneath there's a safety latch. Lift it up. Pick up and put the prop rod in place. Your ignition coils are located right on the top of the engine here: one, two, three, and four. Flat blade screwdriver to remove the cover. 10mm socket or a wrench would work as well to remove the nut that holds the coil in place. Take out the tab on the harness connection, press down and pull, disconnect, pull it up and out. We'll do the same thing for the other three.
Here you can see the old parts from the vehicle. New coils from 1A Auto, they're exactly the same, connector is the same, has the seal too. We're going to install and function just like the originals. To install, push them down in, you want to just put the connector on them. Down, push hard, 10mm nuts back on. Tighten. Don't want to go too tight. Get your cover and you're all set.
Thanks for tuning in. We hope this video helped you out. Next time you need parts for your car, please visit 1AAuto.com. Also check out our other helpful how-to and diagnosis videos.
Tools used
Brought to you by 1AAuto.com, your source for quality replacement parts and the best service on the Internet.
Hi, I'm Mike from 1A Auto. I hope this how-to video helps you out, and next time you need parts for your vehicle, think of 1AAuto.com. Thanks.
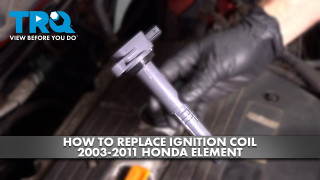
In this video, we show you how to remove and reinstall the coil. Actually in these vehicles, the 1.4 and 1.6 liter, there's a coil per cylinder. It's recommended to replace these every 100,000 miles. For this, it's pretty easy. All you need is a flat blade screwdriver and a 10 mm wrench or a socket with a ratchet.
Replace the coils. You probably should do it every 100,000 miles. It looks like, actually, this car has been done pretty recently. It's pretty clean. It's pretty straightforward. There are a couple of little locks up here and this piece comes off. There's a harness here. Use your screwdriver and push on the tab up closer to the top and the harness disconnects from each one. Then, you need a 10 mm wrench or socket and ratchet to undo the nut. Pull firmly on the coil, and it comes up out.
Like I said, this looks fairly new. Put it down in. If you want, you can actually connect your harness first. Push the coil down on, put your nut back on and then tighten it up firmly. Like I said, probably every 100,000 miles replace all four. Put this back down and then you go, and they turn 90 degrees to lock in place.
We hope this video helps you out. Brought to you by www.1AAuto.com, your source for quality replacement parts and the best service on the Internet. Please feel free to call us toll-free, 888-844-3393. We're the company that's here for you on the Internet and in person.
Tools used
Hi. I'm Mike from 1AAuto. We've been selling auto parts for over 30 years!
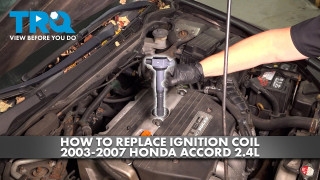
To replace the ignition coils, you've got four because this is a four cylinder engine. They are all situated right here on top of the engine. To do one of these, it will be identical for the other three.
I’m going to start by unplugging it, so you push the lock in, pull this out. You might have to take two hands and just pull it off. Put that aside. Take a 10 mm socket and ratchet. Loosen the nut that's holding this on. Be careful not to drop them, because they are very small and they're painted black so they're hard to see. Luckily, this one fell on top of the alternator, so we're good.
Now I'm just going to reach under here and work the coil out. I have to break the little seal that's in there. That's your coil.
Here's our original coil and our brand new one from 1AAuto.com. Same style connectors. Same style boots with rubber seals. Same size and same mounting hole. This should fit in the vehicle and work great for you. Since this coil was working just fine, we're going to reinstall it.
Push it right into the opening. Line it up with that stud that's there. I'll just push it right down. I'll slide over the electrode of the spark plug, and then I'll reinstall the nut that's holding it on. Plug it in. These are just 8.7 foot-pounds, so like 9 foot-pounds, which is really just hand tight. Just give them a little snug like that and it's all set.
Thanks for watching. Visit us at 1AAuto.com for quality auto parts, fast and free shipping, and the best customer service in the industry.
Tools used
Tools used

ICA61794
Works great
After replacing my ignition coil my misfire problem became much worse. After changing out all the coils the problem still existed, turns out 1A auto sent me a bad part. Replaced the new coil with one of the originals and the car runs smooth now. Called to get a refund but they said electronic parts arent refundable. Thanks for nothing!
