
★★★★★
October 16, 2025
Awesome fit. Working well!

Replaces




About TRQ:
TRQ is a trusted brand dedicated to making every repair a success story by combining premium parts with easy installation. Each TRQ part is engineered by a team of automotive experts to meet or exceed OEM standards, delivering enhanced performance and maximum longevity. With rigorous in-house testing, the brand ensures superior fit and function across every product line. TRQ also provides customers with best-in-class, step-by-step installation videos—so you can complete repairs with confidence, whether you're a first-time DIYer or an industry professional.
Returns: Parts with electrical components cannot be returned once installed.
Left Hand Drive:
All of our auto parts are intended for Left Hand Drive USDM vehicles. If your vehicle is Right Hand Drive, please ensure the part is correct for your specific vehicle.
Attention California Customers:
 WARNING: This product can expose you to chemicals including Di(2-ethylhexyl)phthalate (DEHP), which is known to the State of California to cause cancer, and birth defects or other reproductive harm. For more information, go to www.P65Warnings.ca.gov.
This part fits 4 vehicles spanning 1998-2005.
| Year | Make | Model | Description |
|---|---|---|---|
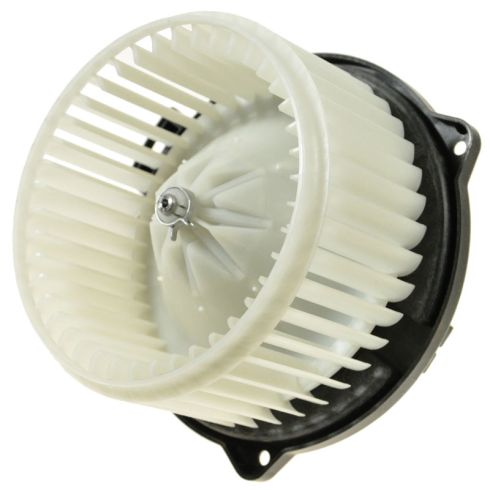
| 2001-2005 | Acura | MDX | Acura MDX Front HVAC Blower Motor Assembly TRQ HMA84765 |
| 1998-2002 | Honda | Accord | Honda Accord HVAC Blower Motor Assembly TRQ HMA84765 |
| 1999-2004 | Honda | Odyssey | Honda Odyssey Front HVAC Blower Motor Assembly TRQ HMA84765 |
| 2003-2005 | Honda | Pilot | Honda Pilot Front HVAC Blower Motor Assembly TRQ HMA84765 |
| Brand Label | Part Number |
|---|---|
| Acura | 79310S84A01 |
| Honda | 79310S84A01 |
| Honda | 79310-S84-A01 |
| Acura | 79310-S84-A01 |
| Partslink Numbering System | HO3126105 |
| Hollander | 615-58456 |
This item may be interchangeable with parts from other brands with the above part numbers. This information is provided only for reference and does not guarantee that the item you are purchasing is identical to parts with part numbers from the brands listed above. To confirm that this item fits your vehicle, use the above "Check Vehicle Fit" option.
Lifetime Warranty
This item is backed by our limited lifetime warranty. In the event that this item should fail due to manufacturing defects during intended use, we will replace the part free of charge. This warranty covers the cost of the part only.
Returns: Parts with electrical components cannot be returned once installed.
FREE Shipping is standard on orders shipped to the lower 48 States (Contiguous United States). Standard shipping charges apply to Hawaii and Alaska.
Shipping is not available to a P.O. Box, APO/FPO/DPO addresses, US Territories, or Canada for this item.
Expedited is available on checkout to the United States, excluding Alaska, Hawaii.
Final shipping costs are available at checkout.
Created on:
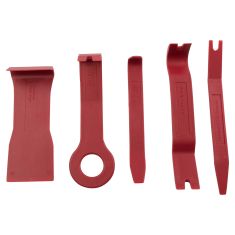
Tools used
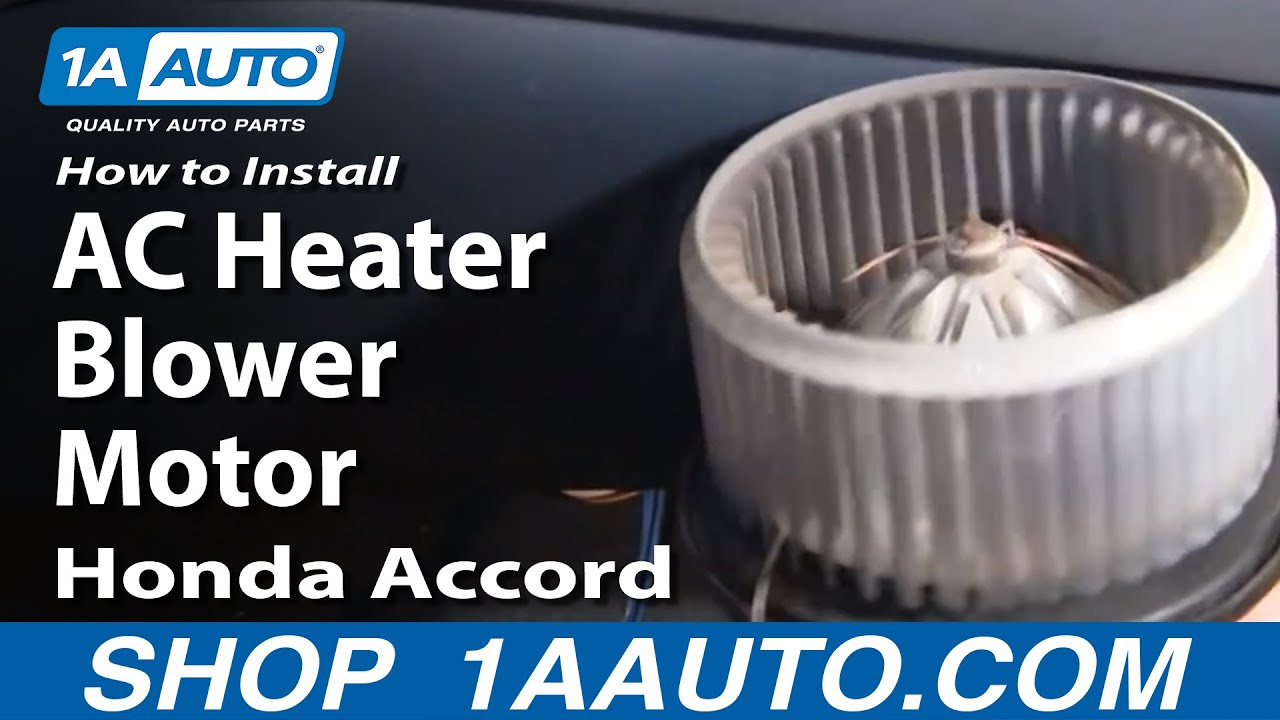
Brought to you by 1AAuto.com, your source for quality replacement parts and the best service on the internet. In this video we're going to show you AC and heater fan replacement on this 2000 Honda Accord. Only tool you'll need is an 8-millimeter socket with a ratchet and extension and actually a flashlight would probably help as well.
Okay, your blower motor is up and underneath your glove compartment. The fan is held in by three T25 screws, one there, one over here, and one right there. You can see there's a few harnesses running across it, and here's the plug and the tab on the side closest to your kick panel. Press the tab and unplug it. Okay, and then you can unplug this one as well, the tab right here.
Now, I've got my harness connection undone. I've undone this connector that goes up to the resistor and I've pulled this harness free. You can see right here there's a little tab that went up into that hole. Eight-millimeter socket with a ratchet and extension. Okay, I'm going to fast-forward here as I remove those three 8-millimeter bolts that hold the fan up and you can see that this isn't that difficult of a project. The problem is that all the screws are either blind or you have to contort yourself to try and see them. Here's your motor out, so on your left is the new motor from 1AAuto, old motor from vehicle. You can see the connections are the same.
Everything in the bottom is the same. New one from 1AAuto is going to bolt right in. You want to start your new one in. Have the harness connection closer to the outside or passenger side of the vehicle and you pull; there's a harness right here, you kind of pull to the side. Make sure your harness doesn't get caught up in there. Pull everything to the side. Put it up in. Again, there's the harness that runs along there is just kind of getting caught a little bit. Pull that to the side, get it up in. Okay and it's pretty easy to locate the right position. Again, check to make sure that harness runs, doesn't get caught. It's kind of caught in the front. All right and now I can start with the screw that's closest and easiest.
Okay and I'm going to fast-forward as I start the other screws and then use the 8-millimeter socket with the ratchet and extension to tighten them up. You can get the fan in slightly wrong which causes it to make a load noise. You just pull it back out and reinstall it a little more carefully to get it right. One quick test.
We hope this helps you out. Brought to you by www.1AAuto.com, your source for quality replacement parts and the best service on the internet. Please feel free to call us toll-free, 888-844-3393. We're the company that's here for you on the internet and in person.
Tools used
Brought to you by 1AAuto.com, your source for quality replacement parts and the best service on the Internet.
Hi, I'm Mike from 1A Auto. I hope this how-to video helps you out, and next time you need parts for your vehicle, think of 1AAuto.com. Thanks.
In this video, we're going to show you how to replace the front heater and A/C blower motor on this 2003 Honda Odyssey. It's the same as any '99 to '04 Odyssey. It's not that hard of a repair. You'll need a flashlight, a 7mm socket with a ratchet extension, and a flexible joint will help the most, as well as some type of either flat blade or Phillips screwdriver just to help with the electrical connection to the fan.
Right up underneath the glove compartment on the passenger side. Right here, you'll see this is on the bottom of the motor there are three screws pulling it in. There is one there, one there, and then one right over here. When you go to take those bolts out just use a screwdriver. It's a small tab on the connector, so push the tab and pull the connector down. As you saw, actually, one of those screws was missing and we actually put it back in. You can see here, you can see how Jeremy is looking right, basically, through a slot in the dash, and he can see that third screw. It's back in there. He's using a flexible joint with a 7mm socket and a ratchet and extension to remove that first screw.
When you have the screws out and unplugged, the motor just kind of pushes down and out. This is the blower motor. As you can see, it comes with a cage. It also has the proper connector on the other side of it. It looks, fits, and works just like the other. Right here is one of the mounting points, and it faces in this direction. Just like it's sitting on the floor, here. You want it to go straight up into the HVC box. Here we go, it's in place. Now, we've got to put some screws in. I'm going to fast-forward through this.
You see what Jeremy does as he puts the two easiest screws in first. Let them hold the motor. Then he threads the last screw in, and then he just tightens them up. Again, I'm going at a lot of fast-forward. It takes a little bit, but if you just kneel on the floor right outside your vehicle and look in through the slot in the dash between the kick panel and the dash, you can see this pretty well, and get to it pretty easily. Last, but certainly not least, make sure you are able to plug the lead back in.
We hope this video helps you out. Brought to you by www.1AAuto.com, your source for quality replacement parts and the best service on the Internet. Please feel free to call us toll-free, 888-844-3393. We're the company that's here for you on the Internet and in person.

Awesome fit. Working well!
Works well, a little quieter than oem for 2006 Honda Pilot.
Fit well, works well. Good price.
This part worked great! The work is difficult only because it is tucked back under the glovebox, but if you innovate with your tools a bit - you will get it done.
Great price, fast ship. I love that you have videos to show install...that's why I bought it from 1A....but they could be more detailed. For example, one of the three "ears" on the mount is differnt than the other 2. Because you can't really see much when you're removing the old fan (it's tucked way up under the dash)......it would have been nice if the video clarified this.
First disappointment with 1A Auto parts. Makes worse noise than the original fan that it replaced. Very difficult to access the third screw in the back of the unit. I will take it to the Honda dealer if the noise becomes worse than it currently is.
The motor was delivered on time and was well packaged. The video was quite helpful. Removal and installation of the motor is quite difficult due to the location/accessibility and the correct tools are pretty critical in getting the job done quickly. The new motor operates well and no more trouble with motor starting torque, rattle and/or bearing sounds that the old motor was exhibiting. The motor pricing was a fraction of the price Honda listed. The right replacement part for a 19 year old vehicle!
Excellent fit and price as always!
Fit right in. Very easy install.
Product is working great. Video helped with removal and installation of my new motor and fan. Thanks.

HMA84765
Hello, I apologize we do not carry that part you could try eBay motors.
Hello this would not fit for 1992 model
