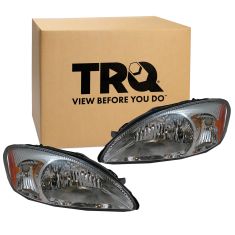
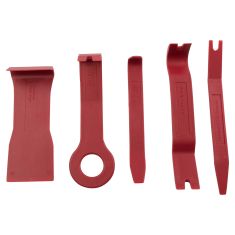
Kit Includes: (1) Passenger Side Headlight (1) Driver Side Headlight
Lens Material: PC (Polycarbonate)
Bulb Technology: Halogen
Headlight Type: Assembly
Quantity: 2 Piece
Grade Type: Regular
Product Features
Direct Fit - No vehicle or wiring modification necessary
DOT, SAE, and FMVSS Compliant - Meets on-road use regulations
Matching set for a restored look
Assemblies may include halogen or incandescent test bulbs that should be replaced before installation.
Item Condition:New
Attention California Customers:
WARNING: This product can expose you to chemicals including Chromium (Hexavalent Compounds), which is known to the State of California to cause cancer, and birth defects or other reproductive harm. For more information, go to www.P65Warnings.ca.gov
Lifetime Warranty
This item is backed by our limited lifetime warranty. In the event that this item should fail due to manufacturing defects during intended use, we will replace the part free of charge. This warranty covers the cost of the part only.
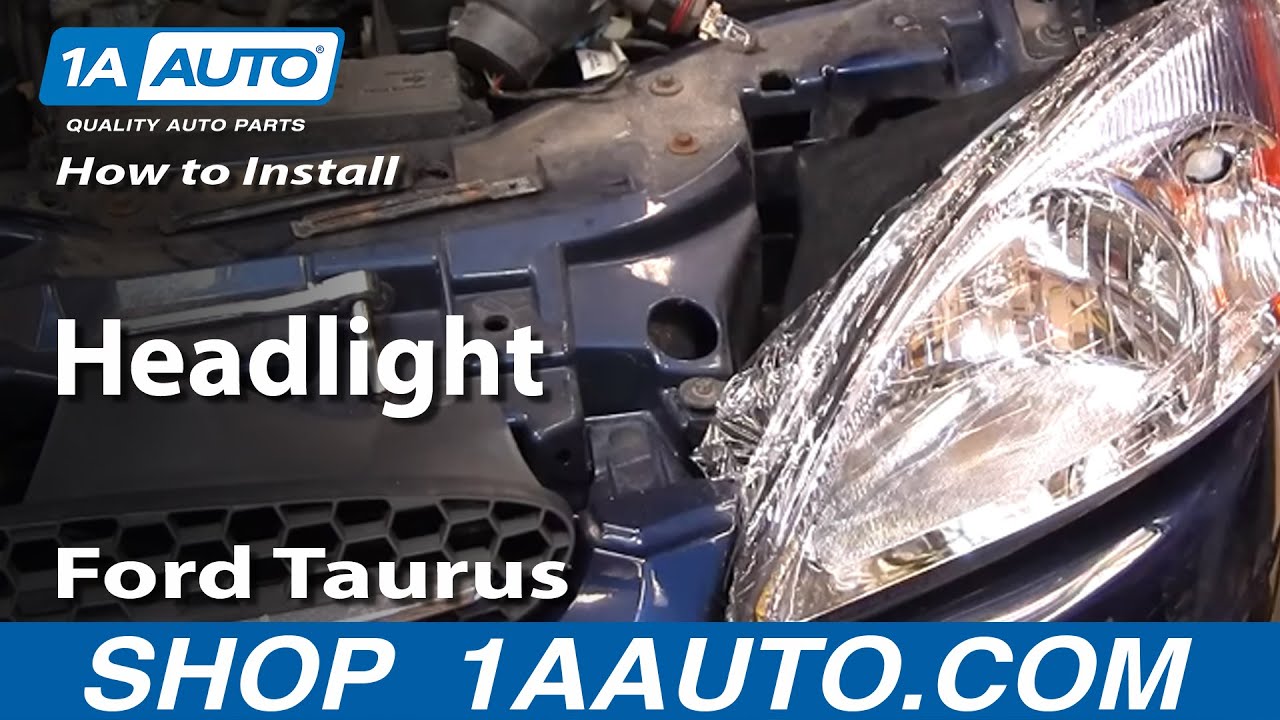
How to Replace Headlights 2000-07 Ford Taurus
Created on:
Tools used
8mm Socket
Ratchet
1. Remove the headlight assembly.
Loosen up the 8 mm bolt securing the headlight.
Remove the retaining clips.
Pull the headlight assembly out.
Disconnect the harness.
2. Install the new headlight assembly
Remove the retaining ring and turn counter clock wise to remove the bulbs from the headlights.
Install the bulbs into the headlight assembly by turning them clockwise.
Plug in the harness to the headlight assembly.
Slide the headlight assembly into place, starting with the fender/inner side first.
Tighten the 8 mm bolt and push in the retaining clips.
Snug the 8 mm bolt down and remove the protective plastic from the new headlight.
Brought to you by 1AAuto.com- your source for quality replacement parts and the best service on the internet.
Hi I'm Mike Green. I'm one of the owners of 1A Auto. I want to help you save time and money repairing or maintaining your vehicle. I'm going to use my twenty plus years experience restoring and repairing cars and trucks like this to show you the correct way to install parts from 1AAuto.com. The right part, installed correctly, that's going to save you time and money. Thank you and enjoy the video.
In this video we're going to show you how to replace your headlight and signal bulbs as well as your whole signal light assembly on this 2001 Ford Taurus. Same as any 2000 to 2007. You'll need an eight millimeter socket and ratchet.
Okay you start by loosening up an eight millimeter bolt right here and you just have to loosen it up a little bit, do not take the bolt all the way out. Then there's two clips that hold it in, one's easy to see right here. You basically use a screwdriver and pry up the on the clip and pull it out. Then we'll do a close up on the other one back here, there it is. Same thing, pull it up and out. Then your headlight just basically pulls out. Now, this car has a little bit of damage to the front end so it actually comes out a little difficult. Usually you pull the inside near the grill out first and then the outside. Now there's a connector, just use the little thumb tab to push down on it. Then you disconnect the whole assembly. If you're looking to change your headlight bulb you untwist that right there. Then your headlight bulb is inside. There's a retaining ring that you need to twist counter clock wise and then the bulb comes out and you can disconnect the bulb from the harness and you can replace it. I'm going to put this back together, just kind of put it back and we're actually going to swap the harness over to a new light. So I'll put that back in there for right now. Now you're signal bulb just twists to come out and the bulb just twists to come out of the socket and goes back in. Then note it should be an orange bulb.
Okay so we're going to replace this headlight with a new one and with the couple little retainers that hold the harness onto the light you just pry them up. So here's the new light from 1A down on the bottom. This old light looks like some kind of aftermarket; it has some black painting on it which looks terrible on this car. You can see the new light, nice and shiny. I'm going to pull, it comes with a protective kind of saran wrap on it, and I'm going to pull the edges of that off a little bit. I'm not going to pull all of that off until it's installed that way you keep your finger prints off it. Now I'm just going to take the retaining ring off, these little protective covers just keep stuff out of the light during shipping. The headlight bulb does go in a certain way. There are three apiece on the headlight and then slots on the bulb itself. You just need to make sure you line it up. Two of them are closer to each other and then one is further away. Then you push that down in and now I'm just kind of wrestling with the retainer ring a little bit trying to get it on there nice and tight. You turn it clockwise. Then with the signal bulb you put it on there and turn it clockwise, tighten it and put the harness onto its little pins. Then the big thing there that protects the harness bulb- put that in there and turn it clockwise. Then put that down into place and connect your harness again. That's an extra retainer ring that I think came, or that's the old one from the other bulb.
Okay and then you want to put the headlight in, you want to put it into the fender side first and then push it on the inside and again this car had some damage on it so it's a little more difficult than it should be. I'm kind of giving it a little bit of strength there. You push it into the fender and then you can push it underneath that bolt that you loosened. Now you can see I'm going to tighten up that bolt. Kind of do it half way, then I put the retaining tabs back in. Easy enough just push in on the light if you have and slide them back in. Now I'll tighten that eight millimeter bolt and then I'll pull the protective plastic off of that light and then we have a nice new light on the car. It looks a lot better than the old one.
We hope this helps you out. Brought to you by www.1AAuto.com your source for quality replacement parts and service on the internet. Please feel free to call us at 888-844-3393 we're the company that's here for you on the internet and in person.
HLA95288
In Stock
Product Reviews
Loading reviews
4.75/ 5.08
8 reviews
5 Stars
4 Stars
3 Stars
2 Stars
1 Star
6
2
0
0
0
Headlights
Quinn
January 30, 2023
Is it fine too much trouble replacing all the old wiring to put in a new headlights I'll never do that again that is 100% my fault
My new parts place!
Peggy
June 12, 2023
Worked perfectly! Great svc too!
Mark
November 13, 2023
These replacement head lights are made of great quality and clarity.
2006 Ford Taurus replacement headlights
[{"url": "https://wac.edgecastcdn.net/001A39/prod/media/pNISJll75W64CYGsite/35e7a4dbfa6d6c5c9cff3a437d0d7004_1706964810534_0.jpeg", "caption": "New headlights installed with the old assemblies sitting on hood above."}]
Paul
February 3, 2024
Excellent product. Fit perfectly. My '06 Ford Taurus has 168k miles on it, and the headlights were in pretty bad shape. I'd had professional headlight restoration done on them last summer, but after borrowing my Mom's car for a couple days while mine was in the repair shop, I realized just how much I was missing as far as having good headlights at night. My new ones from 1A Auto are awesome and priced right. A huge plus are the instructional videos they have for just about every part they sell.
Fantastic replacement headlights. 1a auto
Lindsay
February 15, 2024
Tried cleaning mold headlights on my Taurus many times plastic is so dull and yellow could barely see well at night. Charlene's on one day Auto great pricing they look as good or better than the factory headlights did when they were brand new. Easy to put in and now I can see 100% better at night. Fast shipping incredible packaging.. Love 1A Auto
Replacement head lamps
Edward
April 18, 2024
I have upgraded headlights on two vehicles. Very pleased
Driver's Side Great, Passenger Side Faulty, 1A Handled the Situation Very Well
Dawn
May 9, 2024
I am very happy with the driver's side. It is much clearer than the part it replaced! The passenger side did not connect properly. 1A sent a replacement part, which still did not work, so it must be a manufacturing issue. 1A handled the problem very well and quickly, ultimately issuing me a refund, so I would purchase other parts from them again in a heartbeat.
A1 HEADLIGHTS BRIGHTENED MY RIDE
CHARLES
December 5, 2024
THE VIDEO MADE IT EASY FOR ME TO INSTALL THE HEADLIGHTS. THE CAR WENT FROM LOOKING LIKE 23 YEARS OLD TO NEW. THE FIT IS EXACTLY CORRECT. THE PACKAGE OF THE HEADLIGHTS WAS VERY WELL PADDED. THE SHIPMENT ARRIVED ON TIME AS PROMISED. I AM SO HAPPY.
Customer Q&A
Do headlights assembly have bulbs included?March 9, 2023
Barbara J
10
New light bulbs are not included with this assembly. Occasionally, manufacturers leave test bulbs in the lights. If you receive test bulbs, you'll want to replace them with your original bulbs or with new bulbs.
March 9, 2023
Ricale A
Customer service
877-844-3393
Monday - Friday 8:00am - 9:30pm ET Saturday - Sunday 8:00am - 4:30pm ET
Enter Vehicle Year Make Model
Specify your vehicle's year, make and model to guarantee fit.
Year
Make
Model
Options
Drivetrain
This part doesn’t fit a . Select from parts that fit.