
★★★★★
February 22, 2026
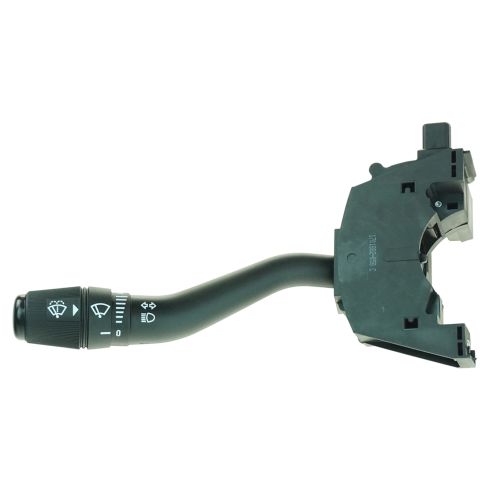
Turn signal combination switch
The product took longer than expected to arrive,but it was an exact fit and corrected my issue.

Replaces





About TRQ:
TRQ is a trusted brand dedicated to making every repair a success story by combining premium parts with easy installation. Each TRQ part is engineered by a team of automotive experts to meet or exceed OEM standards, delivering enhanced performance and maximum longevity. With rigorous in-house testing, the brand ensures superior fit and function across every product line. TRQ also provides customers with best-in-class, step-by-step installation videos—so you can complete repairs with confidence, whether you're a first-time DIYer or an industry professional.
Returns: Parts with electrical components cannot be returned once installed.
Attention California Customers:
 WARNING: This product can expose you to chemicals including Lead and Lead Compounds, which are known to the State of California to cause cancer, and birth defects or other reproductive harm. For more information, go to www.P65Warnings.ca.gov.
This part fits 12 vehicles spanning 1995-2002.
| Year | Make | Model | Description |
|---|---|---|---|
| 1995-1998 | Ford | Explorer | Ford Explorer Turn Signal Combination Lever TRQ SWA41808 |
| 1995-1996 | Ford | Explorer | Ford Explorer Front Turn Signal Combination Lever TRQ SWA41808 |
| 1998 | Ford | Explorer | Ford Explorer Front Turn Signal Combination Lever TRQ SWA41808 |
| 1995-1998 | Ford | Ranger | Ford Ranger Turn Signal Combination Lever TRQ SWA41808 |
| 1995-1997 | Mazda | B2300 Truck | Mazda B2300 Truck Turn Signal Combination Lever TRQ SWA41808 |
| 2001-2002 | Mazda | B2300 Truck | Mazda B2300 Truck Turn Signal Combination Lever TRQ SWA41808 |
| 1998 | Mazda | B2500 Truck | Mazda B2500 Truck Turn Signal Combination Lever TRQ SWA41808 |
| 1995-1996 | Mazda | B3000 Truck | Mazda B3000 Truck Turn Signal Combination Lever TRQ SWA41808 |
| 1998 | Mazda | B3000 Truck | Mazda B3000 Truck Turn Signal Combination Lever TRQ SWA41808 |
| 1995-1998 | Mazda | B4000 Truck | Mazda B4000 Truck Turn Signal Combination Lever TRQ SWA41808 |
| 1997-1998 | Mercury | Mountaineer | Mercury Mountaineer Turn Signal Combination Lever TRQ SWA41808 |
| 1997-1998 | Mercury | Mountaineer | Mercury Mountaineer Front Turn Signal Combination Lever TRQ SWA41808 |
| Brand Label | Part Number |
|---|---|
| Ford | F5TZ 13K359 B |
| Standard Motor Products | DS604 |
| Wells | 1S1090 |
| Wells | SW1093 |
| Standard Ignition | DS-604 |
| Autopart International | 1802-311234 |
| Duralast | SW823 |
| ACDelco | D836A |
| Airtex Engine Management | 1S4654 |
| Wells | SW862 |
| ACDelco | D6220C |
| Wells | SW823 |
| ACDelco | 19209607 |
| NAPA | HL6864 |
| Wells | 5314315 |
| Dorman - HELP | 2330811 |
| Shee-Mar | SM553E |
| ACDelco | D1508G |
| Wells | 53-14315 |
| Autopart International | 311234 |
| Original Engine Management | TSS18 |
| Carquest Premium Vehicle Solutions | SAE3768 |
| Hollander | 629-00881 |
This item may be interchangeable with parts from other brands with the above part numbers. This information is provided only for reference and does not guarantee that the item you are purchasing is identical to parts with part numbers from the brands listed above. To confirm that this item fits your vehicle, use the above "Check Vehicle Fit" option.
Lifetime Warranty
This item is backed by our limited lifetime warranty. In the event that this item should fail due to manufacturing defects during intended use, we will replace the part free of charge. This warranty covers the cost of the part only.
Returns: Parts with electrical components cannot be returned once installed.
FREE Shipping is standard on Orders shipped to the lower 48 States (Contiguous United States). Standard shipping charges apply to Hawaii, Alaska and US Territories. Shipping is not available to Canada.
Expedited is available on checkout to the United States, excluding Alaska, Hawaii and US Territories as well as P.O. Boxes and APO/FPO/DPO addresses. Final shipping costs are available at checkout.
Created on:
Tools used
Brought to you by 1AAuto.com, your source for quality replacement parts and the best service on the internet. Hi, I'm Mike Green. I'm one of the owners of 1A Auto. I want to help you save time and money repairing and maintaining your vehicle. I'm going to use my 20 plus years experience restoring and repairing cars and trucks like this to show you the correct way to install parts from 1AAuto.com. The right parts installed correctly, that's going to save you time and money. Thank you and enjoy the video.
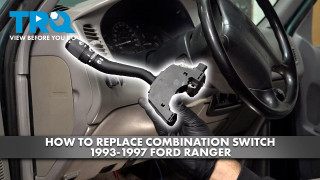
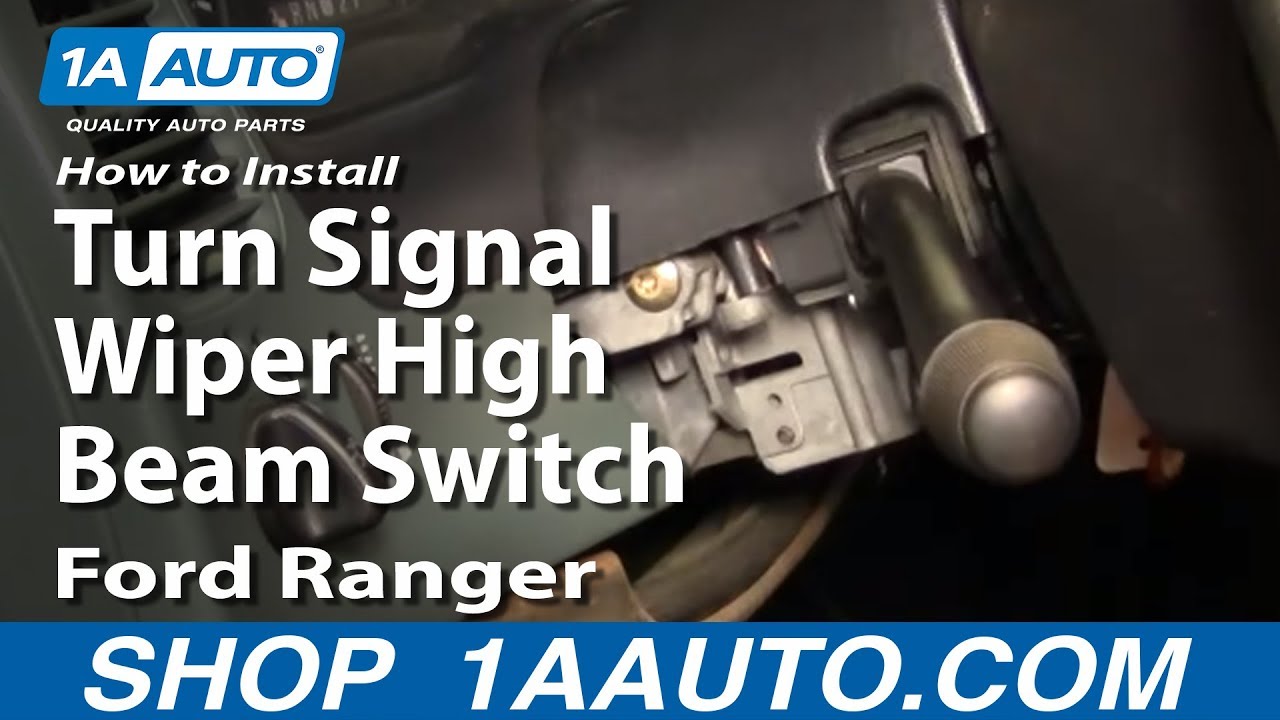
In this video we're going to show you how to replace the turn signal stock which also controls your wipers and high beams on this 96' Ford Ranger same as any 93 to 97. Tools you'll need are a seven millimeter socket with a ratchet and extension. A number one Philips screwdriver, a T20 Torx diver and a large flat blade screwdriver. We start out, we're going to remove four seven millimeter bolts, one there, and there are two underneath your hood latch here. Pull it out right there and then another one right over here. We'll use a seven millimeter socket with an extension and a ratchet. Once those bolts are out then you actually going to pull down and forward or actually turn backward on this panel. Just pull it out, there's two pins that hold it right there. Up underneath, there's three Philip screws, one is going to be up in there, one in here and one back in here. Once that's done just pull this part, you pull your lower piece down and then you just pull your upper one up.
There are two T20 Torx screws, one right in there and then one right down here. We'll speed up here a little bit as I remove those two T20 Torx screws, that upper one you just pull that bezel up and out of the way. Once you have those out, pull the switch then down and out. Give yourself access to the plugs here. Use a large screwdriver; we're going to pry up and out on these tabs. Release that one, this one has a couple of tabs as well. Pry up and out, pop it out and there's your switch out. Here's our original switch, here's a switch from 1A Auto, and it's all the same. Nice graphics on it. We're just going to plug in the same, cancel, all going to work correctly. What you want to do, put the switch up close and reconnect and reconnect. Probably you're going to hit your emergency flashers and you'll see what I mean in a second.
Lift up your cover here and lift the switch, pop it into place. I'm just going to put my screw down into the hole there, take my Torx driver and the whole time I'm just looking right to the stirring wheel here, seeing we had lined up. I'm going to speed it up here as I put those two T20 Torx screws in. You may find that this is actually the most frustrating part is just getting the switch in there and line up with the holes and getting those screws started. Little patience and you get through it. I'll put our cover back down and all and test the switch so you could flash it up. The bottom cover up, there's locating pins on each side, make sure they're going in the right place. Put those three Philip screws back in to hold the stirring column trim and then put the kick panel plate back underneath and put in the four seven millimeter bolts that hold that in place as well as the hood latch lever.
We hope this helps you out. Brought to you by www.1AAuto.com, your source for quality replacement parts and the best service on the internet. Please feel free to call us toll free, 888-844-3393. We're the company that's here for you on the internet and in person.
Tools used
Brought to you by 1AAuto.com, your source for quality replacement parts and the best service on the Internet.
Hi, I'm Mike from 1A Auto. I hope this how-to video helps you out, and next time you need parts for your vehicle, think of 1AAuto.com. Thanks!
In this video, we're going to be working on a 2001 Ford Ranger. We're going to show you how to remove and reinstall the turn signal and wiper switch lever, also known as the headlight dimmer switch, or the multi-function switch.
This information is the same on Rangers from 1999 to 2003, and is similar to several other Ford vehicles. If you like this information, please click subscribe. We have a ton more videos on this truck, as well as many other makes and models. If you need this part for your vehicle, follow the link down in the description over to 1AAuto.com.
Here are the items you'll need for this repair: Phillips screwdriver, T20 Torx driver, and a flat blade screwdriver.
Now you'll have to remove these three Phillips head screws on the column. Tilt the column down, and work off the top half of the clam shell. Place the top half out of the way. Unscrew the tilt column level, and remove the lower half of the clam shell.
Remove the 2 T20 Torx screws holding the headlight dimmer switch onto the steering column. We're going to use a T20 Torx screwdriver. You could also use a T20 Torx bit and a ratchet. With the switch out, use a small flat blade screwdriver to pry up on the retainers for the electrical connector, and remove it, as well as the two on the connector at the bottom.
Reconnect your electrical connectors. Reinstall the switch onto the column. Line up and reinstall your two T20 Torx screws.
Reinstall the upper portion of the clam shell, and the lower. These do have little plastic hooks on them, so snap them together. Reinstall your Phillips head screws. You should have three. Again, our truck is missing one. Screw the tilt column lever back into place.
Thanks for tuning in. We hope this video helped you out. Next time you need parts for your car, please visit 1AAuto.com. Also check out our other helpful how-to and diagnosis videos.

SWA41808
The product took longer than expected to arrive,but it was an exact fit and corrected my issue.
Its pretty good, except when turning left, the signal doesn't turn off by itself. You have to manually shut off the left signal everytime.
Very happy w/ 1A Auto. Will use them again
The part was delivered quickly and the quality seems very nice for the price.
good replacement
service was great. part when you flip wipers on they are on high and will not turn off... sent back and was sent another for free which was awesome ....but the part did the same. put my original multifunction switch back in works but just does not auto cancel turn signals... will just live with this .. 2001 ford ranger 3.0
Working like it should
Worked like factory. What more could ask?
Looked and worked absolutely like OEM
Nothing to not like. Identical to original equipment. Works great.
There could be multiple reasons why you're having this particular problem. We suggest taking your vehicle to a nearby reputable shop to identify the cause. Once you know the cause, we'll be happy to see if we carry the parts and how-to videos needed for your repair.
We have international shipping through our ebay store!
