About TRQ: TRQ is a trusted brand dedicated to making every repair a success story by combining premium parts with easy installation. Each TRQ part is engineered by a team of automotive experts to meet or exceed OEM standards, delivering enhanced performance and maximum longevity. With rigorous in-house testing, the brand ensures superior fit and function across every product line. TRQ also provides customers with best-in-class, step-by-step installation videos—so you can complete repairs with confidence, whether you're a first-time DIYer or an industry professional.
Attention California Customers:
WARNING: This product can expose you to chemicals including Lead and Lead Compounds, which are known to the State of California to cause cancer, and birth defects or other reproductive harm. For more information, go to www.P65Warnings.ca.gov.
This part fits
15 vehicles spanning 1992-2014.
Fits these Makes
Select vehicle
Year
Make
Model
Description
1995-1997
Ford
Aerostar
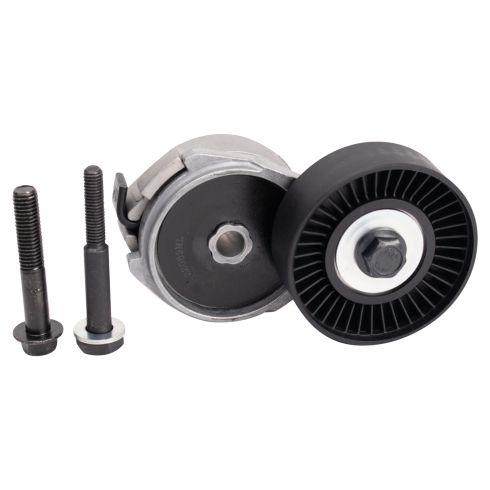
Ford Aerostar V6 3.0L Engine VIN U Accessory Drive Belt Tensioner Assembly TRQ BPA03840
2007-2012
Ford
Mustang
Ford Mustang V8 5.4L Accessory Drive Belt Tensioner Assembly TRQ BPA03840
2013-2014
Ford
Mustang
Ford Mustang V8 5.8L Supercharged Accessory Drive Belt Tensioner Assembly TRQ BPA03840
1992-2008
Ford
Ranger
Ford Ranger V6 3.0L Engine VIN U Accessory Drive Belt Tensioner Assembly TRQ BPA03840
1999-2004
Ford
Ranger
Ford Ranger V6 3.0L Engine VIN V Accessory Drive Belt Tensioner Assembly TRQ BPA03840
1993-1998
Ford
Taurus
Ford Taurus V6 3.0L Engine VIN 1 Accessory Drive Belt Tensioner Assembly TRQ BPA03840
1993-2007
Ford
Taurus
Ford Taurus V6 3.0L Engine VIN U Accessory Drive Belt Tensioner Assembly TRQ BPA03840
1996-2006
Ford
Taurus
Ford Taurus V6 3.0L Engine VIN 2 Accessory Drive Belt Tensioner Assembly TRQ BPA03840
1995-2000
Ford
Windstar
Ford Windstar V6 3.0L Engine VIN U Accessory Drive Belt Tensioner Assembly TRQ BPA03840
1994-1996
Mazda
B3000 Truck
Mazda B3000 Truck V6 3.0L Engine VIN U Accessory Drive Belt Tensioner Assembly TRQ BPA03840
1998-1999
Mazda
B3000 Truck
Mazda B3000 Truck V6 3.0L Engine VIN U Accessory Drive Belt Tensioner Assembly TRQ BPA03840
2001-2007
Mazda
B3000 Truck
Mazda B3000 Truck V6 3.0L Engine VIN U Accessory Drive Belt Tensioner Assembly TRQ BPA03840
1993-2005
Mercury
Sable
Mercury Sable V6 3.0L Engine VIN U Accessory Drive Belt Tensioner Assembly TRQ BPA03840
This item may be interchangeable with parts from other brands with the above part numbers.
This information is provided only for reference and does not guarantee that the item you are
purchasing is identical to parts with part numbers from the brands listed above.
To confirm that this item fits your vehicle, use the above "Check Vehicle Fit" option.
Lifetime Warranty
This item is backed by our limited lifetime warranty. In the event that this item should fail due to manufacturing defects during intended use, we will replace the part free of charge. This warranty covers the cost of the part only.
FREE Shipping is standard on orders shipped to the lower 48 States (Contiguous United States). Standard shipping charges apply to Hawaii and Alaska.
Shipping is not available to a P.O. Box, APO/FPO/DPO addresses, US Territories, or Canada for this item.
Expedited is available on checkout to the United States, excluding Alaska, Hawaii.
Final shipping costs are available at checkout.
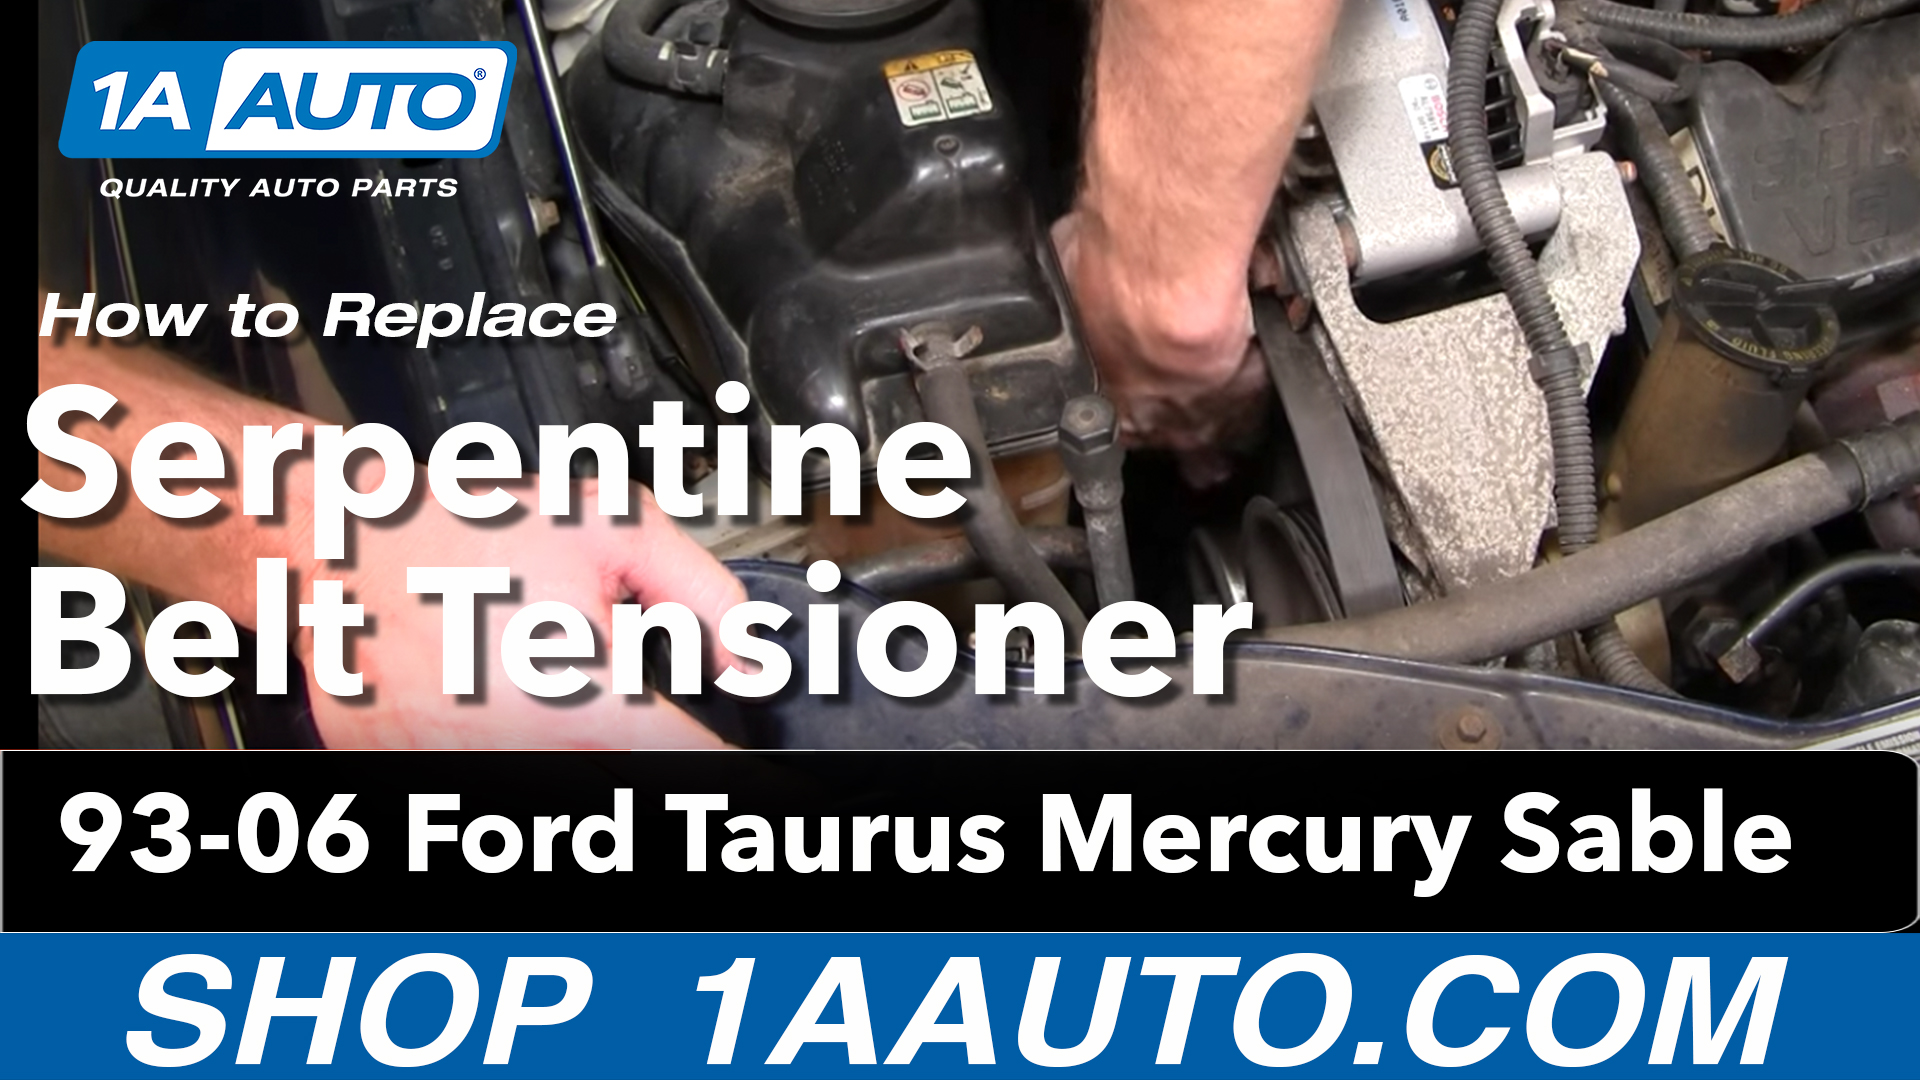
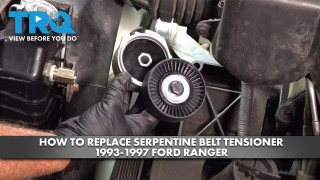
How to Replace Serpentine Belt Tensioner 1993-2007 Ford Taurus
Created on:
Tools used
15mm Wrench
Ratchet
T47 Torx Socket
1. Prepare to Remove the Belt
Locate your belt routing diagram, usually located near the radiator. Disconnect the battery.
2. Remove the serpentine belt
Use your 15mm wrench on the tensioner and turn clockwise to release the tension on the belt.
3. Remove the idler pulley
Use your 15 mm wrench on the bolt.
Pull the idler pulley up and out.
4. Remove the Serpentine belt tensioner
Use your T47 Torx bit to remove the bolt and pull out the tesioner.
5. Replace belt tensioner
Swap the bolt over and lower it down into place.
Mount the tensioner a little further counter clockwise than necessary and turn it clockwise till the pin locks into place.
Tighten the bolt to 35-40 ft lbs.
6. Reinstall the idler pulley
Use your 15mm wrench
7. Inspect and replace serpentine belt
Inspect the belt for breaks, cracks and imperfections.
Use the diagram and your wrench on the tensioner to replace the serpentine belt.
8. Finish up
Inspect all the pulleys, and reconnect the battery.
Brought to you by 1AAuto.com-- your source for quality replacement parts and the best service on the internet. Hi I'm Mike Green. I'm one of the owners at 1A Auto. I want to help you save time and money, repairing and maintaining your vehicle. I'm going to use my 20 plus years experience restoring and repairing cars and trucks like this, to show you the correct way to install parts from 1AAuto.com. The right parts installed correctly, that's going to save you time and money. Thank you and enjoy the video.
First you want to disconnect your negative battery cable, you probably need to use an 8mm wrench to loosen it. Okay, so right here is your idler pulley and then right down and bellow is your belt tensioner. What you want to do is take a 15mm wrench and put it on to that belt tensioner and then you're going to push it clockwise to loosen the tension on the belt. What I'm doing is I'm using a larger wrench to hook onto that 15mm wrench and give it some more leverage.
Now I'm going to pull that idler pulley over and as I push you might be able to see the tension give on the belt and then I flip the belt right off of the idler pulley. Now I can pull the belt up and out and the wrenches up and out. Now you're going to want to remove your idler pulley to allow you easier access to the belt tensioner, so that's just a 15mm bolt and then again I use the larger wrench on there for some extra leverage. I'll speed it up. You just pull that 15mm bolt right out of there. Now I'm going to do the rest of this by hand and then pull the idler pulley up and out. Now with the idler pulley removed you can see that your tensioner's right down there and that's a T47 Torx screw. You'll need a T47 screw bit to get in there and I'm just going to fast forward taking that off, because it's kind of boring just turning your wrench. And then you'll see it comes right up and out.
You can see here on the left is the new one and on the right is the original. Now, the new one has a little different look to it, but it's going to fit and function the same, just need to swap the bolt over and then we're ready to install it back in the engine. Now you're going to with the bolt in it lower it down into place and there is a pin on the back of it that keeps it from turning and you basically mount it a little bit further counterclockwise than you think you should and get the bolt going and then that pin will hit up against the engine block as you turn it clockwise. I'm going to fast forward through this, because you really can't see what I'm doing, all is I'm doing is putting it down in there and getting that bolt going and then making sure that I push it against the engine block, and make sure that it hits the stop on that pin when you turn it clockwise.
Now when you tighten up this bolt you want to get it pretty tight, probably about 35 to 40 foot pounds and here they are. Now we can reinstall our idler pulley and it's a good idea to replace these both at the same time. If you want to see just the idler pulley we do have a video for just that part, and then I'll speed it up a little bit and then we'll put the belt back on.
Now I'm going to put the serpentine belt back on. Here's a diagram of how it goes on this three liter with A/C. Right now I'm working it down onto the belt tensioner around the water pump and the belt tensioner and then I'm going to have it up and I'm actually going to work it down underneath the idler pulley. Now I have a loop that goes up next to the alternator in my left hand there and I'm going to put my 15mm wrench on my tensioner and then I'm using the larger wrench, I'm going to hook it on there for more leverage. Then as I pull on the tensioner to release tension on the belt, I'll pull the belt up and onto the alternator. Release the tensioner and the belts are all pretty much routed. I'm just going to look down in there and check and make sure that everything is on correctly. Now running the engine it's nice and quiet, no more squealing, squeaking or screeching.
We hope this helps you out. Brought to you by www.1AAuto.com -- your source for quality replacement parts and the best service on the internet. Please feel free to call us toll free 888-844-3393. We're the company that's here for you on the internet and in person.
BPA03840
In Stock
Product Reviews
1.5/ 5
★★★★★★★★★★
2 reviews
5★
0%
4★
0%
3★
0%
2★
50%
1★
50%
Customer photos
★★★★★February 24, 2026
Epic fail.
The aluminum housing failed and started to separate, causing my belt to slip off.
★★★★★May 15, 2024
Good but weak over time.
the cast aluminum body is soft, I now have a broken tensioner. The stud on the back that holds it in place sheared off.
Showing 1–2 of 2 reviews
Customer Q&A
Got a question about this part? Post it and get answers from our team.
No questions have been answered for this product yet.
Customer service
877-844-3393
Monday - Friday 8:00am - 9:30pm ET Saturday - Sunday 8:00am - 4:30pm ET
Ask a Question
Check Your Email
We sent a verification email to .
Click the Verify Email button in the email to submit your question.
This extra step helps prevent spam.
Select Your Vehicle
Specify your vehicle's year, make and model to guarantee fit.










 WARNING: This product can expose you to chemicals including Lead and Lead Compounds, which are known to the State of California to cause cancer, and birth defects or other reproductive harm. For more information, go to www.P65Warnings.ca.gov.