Replaces


Part Details
Specifications
Product Features
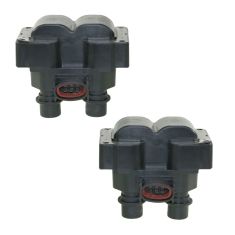
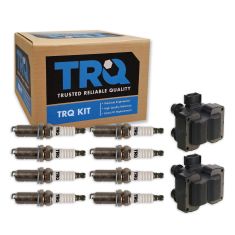
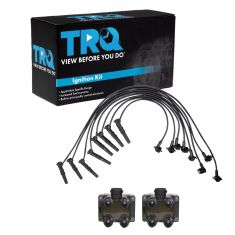
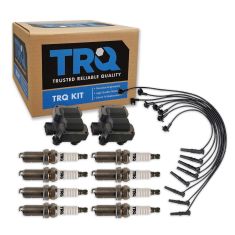
TRQ ignition coils will have your engine running like new. TRQ ignition coils are manufactured to precise specifications using premium raw materials to optimize each vehicle's ignition system. To ensure peak performance, TRQ recommends replacing ignition coils in sets to prevent electrical output imbalances. All products are fit and road-tested in our Massachusetts R&D facility to ensure we deliver on our promise of Trusted Reliable Quality.
Returns: Parts with electrical components cannot be returned once installed.
Attention California Customers:
 WARNING: This product can expose you to chemicals including Lead and Lead Compounds, which are known to the State of California to cause cancer, and birth defects or other reproductive harm. For more information, go to www.P65Warnings.ca.gov.
Lifetime Warranty
This item is backed by our limited lifetime warranty. In the event that this item should fail due to manufacturing defects during intended use, we will replace the part free of charge. This warranty covers the cost of the part only.
Returns: Parts with electrical components cannot be returned once installed.
FREE Shipping is standard on Orders shipped to the lower 48 States (Contiguous United States). Standard shipping charges apply to Hawaii, Alaska and US Territories. Shipping is not available to Canada.
Expedited is available on checkout to the United States, excluding Alaska, Hawaii and US Territories as well as P.O. Boxes and APO/FPO/DPO addresses. Final shipping costs are available at checkout.
Created on:
Tools used
Hi, I'm Mike from 1A Auto. We've been selling auto parts for over 30 years. We're dedicated to delivering quality auto parts, expert customer service, fast and free shipping, all backed by our 100% satisfaction guarantee. Visit us at 1AAuto.com, your trusted source for quality auto parts.
We're going to unscrew the clamp that's holding the air filter box in place, and once it's nice and loose like so, you can lift straight up on the air filter box and it will pop right out. You can see on the bottom it has these two posts that it sits in, and they slide right into these rubber grommets in the body itself. You can just set that aside and get it out of your way wherever it happens to fit. Right there looks like a perfect spot.
You don't want to mix up your coil wires, so what we're going to do is we're going to have the new coil just held here in place, and we'll pull the coil wires off one by one and snap them onto the new coil. That way you don't get them mixed up. Once that's done you can set the coil aside and we'll pull the old coil off.
To disconnect this connector you'll want to take a flat tipped screwdriver and kind of pry it in the upper tab and lean it back, and then you can do the same thing to the bottom and you can see it pops off just like that.
With the connector out of the way you'll use your 7 millimeter socket with an extension to reach the four bolts that hold the coil to the engine. With all four screws loose you should be able to pop it off the engine.
Then this one has the extra little device on here that you'll need to undo to get the coil out of the way.
Now you can pull your new coil right into place. Put this bottom screw in first, then you can do the other four as well and start threading them in by hand. With all four screws loosely started by hand, then you can go in with your 7 millimeter ratchet and extension and socket, and tighten them up.
Now we'll connect the connector on the side of the coil. All you have to do for that is push it right in and it will snap right into place.
Now you can take your air filter box and put it right back into place. Slide it in this end first, and then on the bottom you've got these two pins that you can push down into the body. Once it's connected at the body you can use your flat tipped screwdriver to tighten the hose clamp.
Thanks for watching. Visit us at 1AAuto.com for quality auto parts, fast and free shipping, and the best customer service in the industry.
Tools used
Hi, I'm Mike from 1A Auto. We've been selling auto parts for over 30 years. We're dedicated to delivering quality auto parts, expert customer service, fast and free shipping, all backed by our 100% satisfaction guarantee. Visit us at 1AAuto.com, your trusted source for quality auto parts.
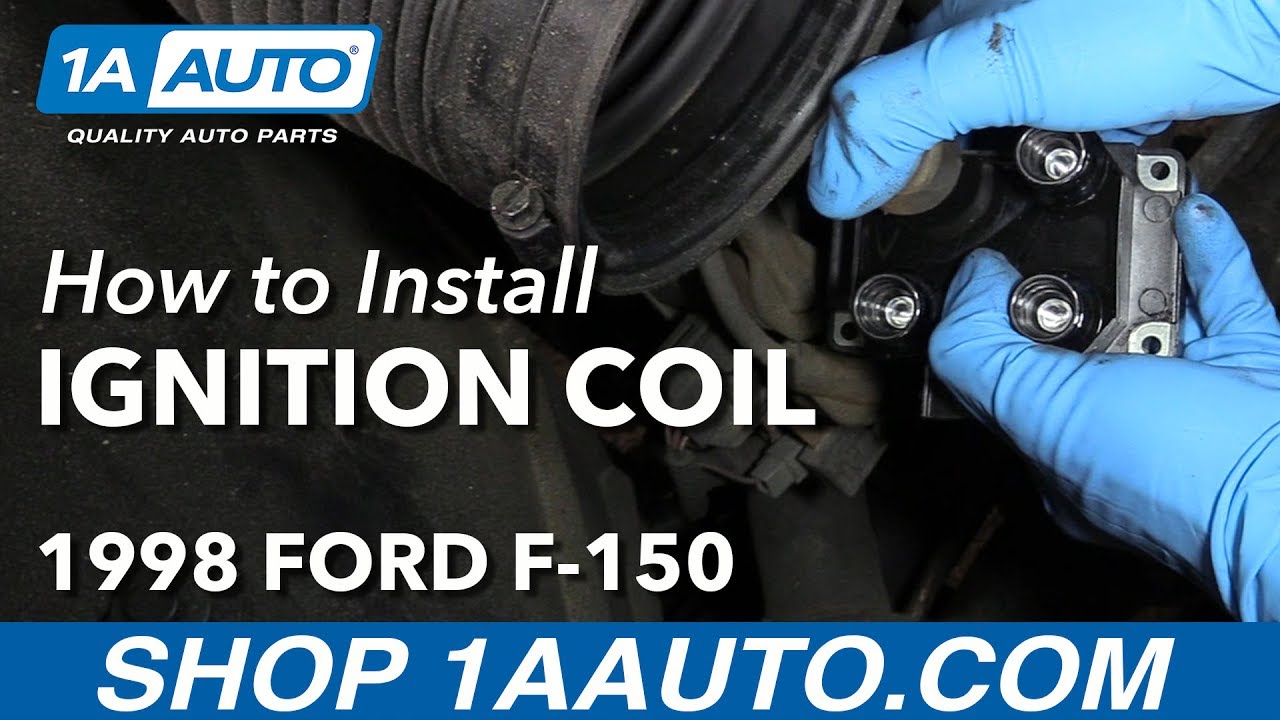
Your passenger side ignition coil is right here on the front of the engine, on the passenger side. The best way to do this is to start by holding your new ignition coil in its place and pulling the wires off one at a time, so that you don't get them mixed up. All right, there's one. There's two. There's three, and the last one. Make sure they're fully snapped on. With those on the coil, you can set it aside.
Now you're going to want to remove the plastic electrical connector from the side of it. You can do that with your flat tip screwdriver. If you slide it in the upper and lower tabs, it allows you to pull the connector off, just like that. The ignition coil has four bolts holding it to the engine itself. They're seven millimeters. There's two on the top, and then on the bottom. You can't see them, but they're on the opposite corners. We're going to start with the bottom ones, because they're the most difficult. Use your 7mm socket with an extension. With all four bolts loose, you should be able to hopefully just pop this off from the bracket. Nope, one of them's not quite there. There we go. On the bottom front corner, there's actually another little device hanging off the screw, so you have to pull the screw completely out.
At this point, you can take your new coil, and put the screws into the new coil. Remember the bottom front one is a special one. We'll put it right in place, and then start off by hand tightening all of the screws, because you don't want to cross-thread them. That'll make for a very bad day. Now you can use your 7mm ratchet to get on the bolts. I like to start with the bottom, because I do all the most difficult stuff first. The last part of the process is to snap the connector back onto the coil, just like that.
Thanks for watching. Visit us at 1AAuto.com for quality auto parts, fast and free shipping, and the best customer service in the industry.

ICA61697