Hi, I'm Mike the 1A Auto, we've been selling auto parts for over 30 years.
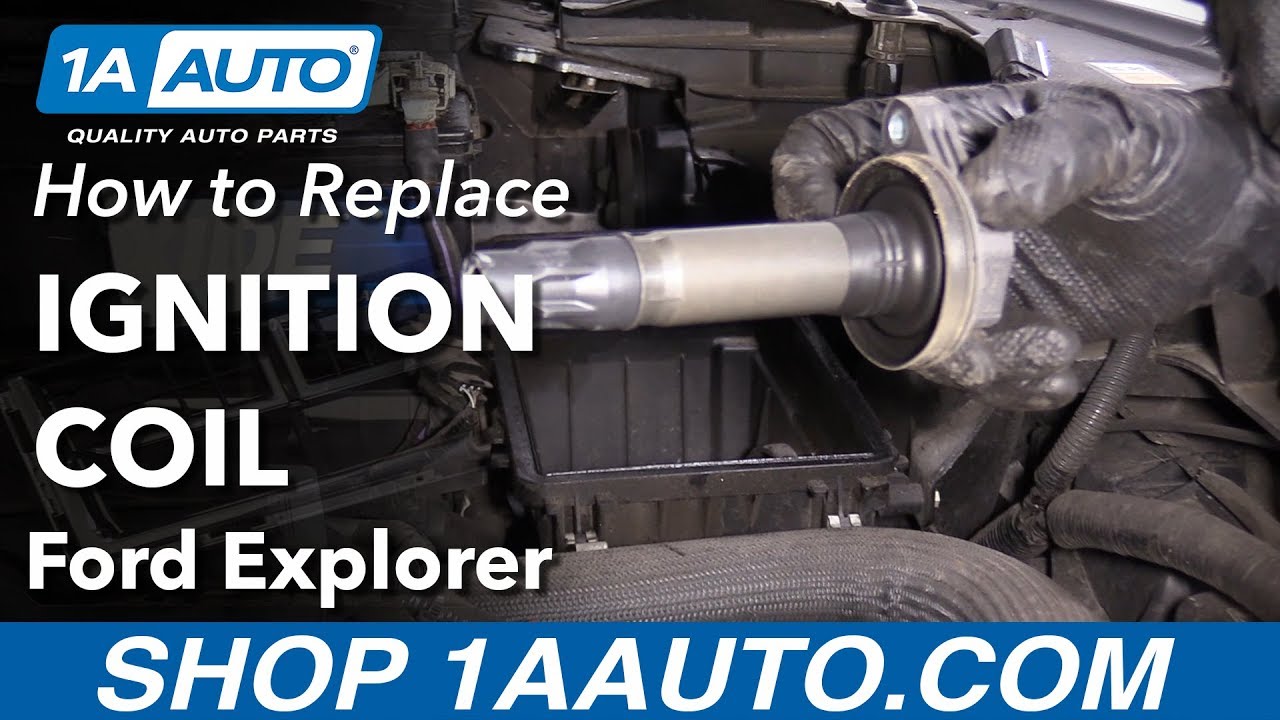
What's up guys, I'm Andy from 1A Auto. In this video I'm going to show you how to replace the coil packs in this 2011 Ford Explorer. If you need these parts or other parts for your vehicle, click the link in the description and head over to 1AAuto.com.
I'm going to use a 10mm socket and a ratchet. We're going to disconnect the negative posts on the battery, the negative terminal. Once it's loose, wiggle it back and forth, slide it off, set it aside.
Air filter box is right here. I'm going to disconnect this mass airflow sensor. There's a little button underneath here that unlocks it, just push that button, release the lock. There's a wire that's connected right here to the box, you can pull up on this right there, or you can use a little screwdriver and get underneath there and pry it up.
We're gonna loosen up this one clamp right here, use a straight blade screwdriver. I'm gonna slide this snorkel back a little bit and there's a hook right here, a latch, and then one right here, those two, then I'll slide this up, set this airbox aside.
I'm gonna take the filler cap off right here, nice to the left. This foam piece comes up here. I'm going to go around this cover right here, fill this up like that. There is a little over tanner over here, loosen this up over here.
There's a little pushpin, you use a trim tool, pull this off, pull that pin out and pull this cover off and set it aside.
All right, I'm going to take this tube off right here, just push this little lock and slide this out, and then you can slide it out over here. Take my straight head screwdriver, listen up this warm clamp back here, pull this off, disconnect this hose right here, set this aside.
I'm gonna disconnect these electrical connectors for the coils. I'm gonna take my straight head screwdriver, slide this lock up like that, and then push down on the retainer and slide it out. I'm gonna do the same for the other ones.
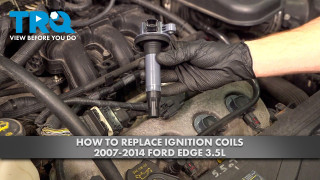
Now I'm gonna take the coil out. I'm gonna use an eight millimeter socket, extension and a ratchet, take this bolt out. Pull that bolt out and I can grab the coil, slide it straight up.
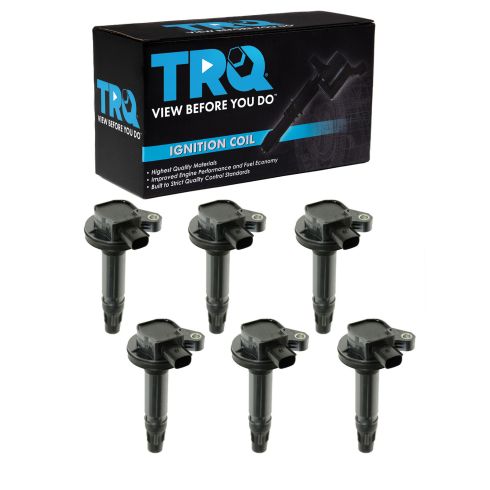
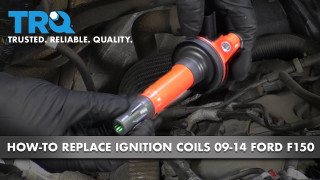
Here's the old coil, here's our new coil from 1AAuto.com. If you look, the connectors are the same, the shapes of the tops are the same. This coil is made by TRQ and it looks almost identical, there's not very many differences. The color might be a little bit different, but that's about it. Get yours at 1AAuto.com and you'll be ready to rock and roll.
All right, and then install the coils, slide it down. We're gonna take the 8mm bolt.
Get started, make sure it's all the way down. We'll take a eight millimeter socket, ascension, ratchet, I'm just gonna snug this down. And then in your torch, I'm going to use a torque wrench and torque this to sixty two inch pounds, make sure you're on inch pounds and not foot-pounds. It's good, I'll do the same for the other ones.
With those all torque down, now we can reconnect the electrical connectors. Just slide this on, clip it in place, and then push down on the lock, and do the same for the other ones.
All right, just connect this connector here, this goes to the evap system, this is part of the purge. Push down on this connector, pull it off. And the throttle body connector right here, I'm gonna use a pic first to pull up on this lock, pull that up, push down on the lock and pull the connector up, blocks right there to release it.
And we want to disconnect this vacuum line right here, it's a little lock, this little green lock you see. I'll just take a pic, go on the back side of this, try to slide this out, sometimes it's a little bit tricky. Push down on these little tabs, slide that out, slide the back, you mine off just like that. So these little tabs, and just push them down, down on that one. I'm gonna hold it, push it down on the other one and slide out about halfway.
Now I'm gonna remove this from this bracket right here. I'm also right here, pull this out of the way, sit that aside. And there's a coolant hose that goes over here, just take this out of this bracket, pull that aside as well.
Now I'm gonna use some hose clamp pliers, you can also use some needle nose pliers. Take this hose clamp off, slide that aside. I'll take some pick tools, trying to get under this hose a little bit. Let's go around there a little bit, and then I can twist it off. Slide that off and out of the way.
And I'll do the same over here. Take these post clamp pliers, slide the clamp down. Take the pick tools, try to slide this hose off, just like that.
I'm going to take this throttle body off, and then take these four eight millimeter bolts off. Use an eight millimeter socket, extension, and a ratchet. I'm just gonna grab the throttle body and pull it straight forward, you can pull those bolts out so you don't lose them. Pull the throttle body out, be careful with this, it's all the electronics in here are very sensitive. You don't want to drop this, so just place it aside in a safe place.
All right, this wire is secured down by this little bracket, and I'm gonna use a little trim tool, just pry up on this a little push pin, slide that aside.
If this coolant hose's in your way you can take that off, but I'd rather not have to deal with adding coolant or bleeding the system after, so I'm going to leave that connected, just work around it.
Then there's these eight millimeter bolts for the intake, is one, two, three, four, five, six, seven bolts, and I'm gonna remove, and choose an eight millimeter socket, extension, and a ratchet. The bolts are caged so it won't come out, so just a dent in mine. This one's on that pretty tight. This bolt comes out, or it looks like it was probably supposed to stay in there, but you know there's a bracket right under here that is holding the intake on, on the backside. So I'm going to use an eight millimeter socket, take this bolt out. With that bolt out you can grab the intake, it might be a little bit tough to pull off at first, slide it out of our way.
All right, with the intake off you want to make sure that you cover up these intake ports. You don't want to drop anything down those ports or you're gonna end up causing severe engine damage. So you can put rags in there, you just want to make sure when you're done, don't forget to take the rags out, so I leave them hanging out a little bit. Those rags are in there, we're okay to work on the backside of the engine.
All right, we're gonna pull these locks up, these little red tabs, just grab a pic, just pull them up. You can probably grab them with your finger, but it's easier to use with a pic or a small screwdriver, and then release the lock, just push down on the lock and pull the connector out. Push it down there, do that with the other two.
Now I'm going to take a 8mm socket and ratchet, I'll take these bolts out. Take that bolt out, we can grab the coil and twist it back and forth a little bit. Wow, it's on there pretty good, just gonna use my trim tool and pry up on it a little bit carefully, and there we go, is the coil.
Take the new coil pack, slide it on, push it all the way down. Take the 8mm bolt, get that started. You use a torque wrench, and we're going to torque this to 62 inch pounds, make sure you're on inch pounds and not foot-pounds. That's good, we'll do the same with the other three.
Now we're going to reconnect the electrical connectors, slide it in, lock it in place, and then push down on the locks. Do the same with the other ones.
We're gonna remove these rags from the intake tubes, pull them out, wipe down like down this manifold, just make sure you don't get any dirt inside the tubes. That's good, so soon.
Take this intake, slide it in your position. Lift up on the wiring harness, it's out of the way. There is some pins in the bottom of the intake manifold and have to line up. Put some holes, those are lined up, make sure that bracket's lined up in the back there. I'm just gonna start one of these bolts.
All right, and I'll take this 8mm bolt, stole it into this bracket hole, and see, intake on. Before I tighten that down, I just want to make sure I get all these bolts started. Let's get them started by hand. All this long one right here. Gonna take a eight millimeter socket, extension, a ratchet, and snug these up.
We're gonna torque these upper intake manifold bolts in its specific torque sequence to 89 foot-pounds, I'm sorry, 89 inch pounds. And this is number one, what's number two, number three, and the four, and then your five is over here, number six, and number seven.
Then once we torque those all to 89 inch pounds, we're gonna torque them an additional 45 degrees. So it's kind of hard to get a torque indicator on these bolts, so I'm just gonna eyeball it. 45 degrees would be about half a 90, so if you're looking at going to a right angle, about halfway to there, 45 degrees. We're going to do it in the same sequence we just did it when twerking. Good to go.
Now I'm going to tighten this support bolt, snug that up first, and then I can torque it 89 inch pounds.
Now we can install this. A lot, vacuum mine in the back, it's back in post. Just slide this on first. Use some hose clamp pliers, this down, push it down there. Now we have a hose over here, slide this into position, slide that on there. is the hose clamp pliers, it's good there. Let's secure this hose into this bracket here.
The coolant toes, and slide this evap hose over and slide this into the brackets and lock this down. We have a connector right here, slide that connect you on there, lock it in place.
Just gonna clean the surface on the throttle body and hanging over near the gasket. It's a good idea to replace this gasket when you take the throttle body off. Take the throttle body, put it in position, take the bolts, if he started. I'm going to tighten down these bolts, try to do it evenly, go back and forth. I'll tighten this down to 89 inch pounds.
Connect the connector for the throttle body, lock it in place, and then push down on the lock.
All right, just gonna take a little break parts cleaner and clean out this tube, make sure get all the oil out there was any oil in there. That's good.
Now I'm gonna reinstall this tube right here, lock it in place. At this point I can put this engine cover back on. I gotta take this cap off first, and this is gonna slide over here like that.
Let's secure this cover down right here, just twist that down. The other side just had a push rivet, just push that down just like that. The other side just had a push rivet, it just push that down just like that.
I'm gonna reinstall this snorkel, slide this into position, slide this hose on right here, and then this whole school is right here, lock it in place. Take a screwdriver, straight blade screwdriver, tighten up this worm clamp snug, make sure, make sure the snorkel is on there good.
Slide this down, slide the box down. I'm gonna install these clips over here, lock it in place, and same with the other one, lock it in place.
Take this connector, slide it on the mass airflow, and then this retainer that holds the wire down, push that down there. Take a straight blade screwdriver, just tighten down this one, plant, make sure it's snug.
We install this oil filter cap, reconnect the battery negative cable. I'll take my ten millimeter socket and a ratchet, just gonna snug this up, make sure it's nice and tight, not too tight though, you don't want to break the clamp. And that's good and tight.
Thanks for watching. Visit us at 1AAuto.com for quality auto parts, fast and free shipping, and the best customer service in the industry.








 WARNING: This product can expose you to chemicals including Lead and Lead Compounds, which are known to the State of California to cause cancer, and birth defects or other reproductive harm. For more information, go to www.P65Warnings.ca.gov.