/1997 Ford Expedition Secondary Air Injection Pump Solenoid Dorman OE Solutions 1AEIX00004
1AEIX00004-Ford Lincoln Secondary Air Injection Pump Solenoid Dorman OE Solutions 1AEIX00004
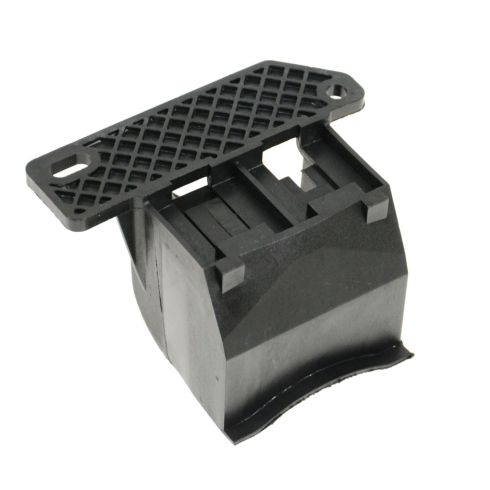
1AEIX00004Dorman OE Solutionsfalse
Replaces
1997 Ford Expedition Secondary Air Injection Pump Solenoid Dorman OE Solutions 1AEIX00004
Out of Stock
$37.95
Notify When Available
Description
Vehicle Fit
Warranty & Shipping
How-To & Tools
Returns: Parts with electrical components cannot be returned once installed.
Attention California Customers:
WARNING: This product can expose you to chemicals including Lead and Lead Compounds, which are known to the State of California to cause cancer, and birth defects or other reproductive harm. For more information, go to www.P65Warnings.ca.gov.
Lifetime Warranty
This item is backed by our limited lifetime warranty. In the event this item should fail due to manufacturing defects during intended use, we will replace the part free of charge. This warranty covers the cost of the part only.
Returns: Parts with electrical components cannot be returned once installed.
FREE Shipping is standard on Orders shipped to the lower 48 States (Contiguous United States). Standard shipping charges apply to Hawaii, Alaska and US Territories. Shipping is not available to Canada.
Expedited is available on checkout to the United States, excluding Alaska, Hawaii and US Territories as well as P.O. Boxes and APO/FPO/DPO addresses. Final shipping costs are available at checkout.
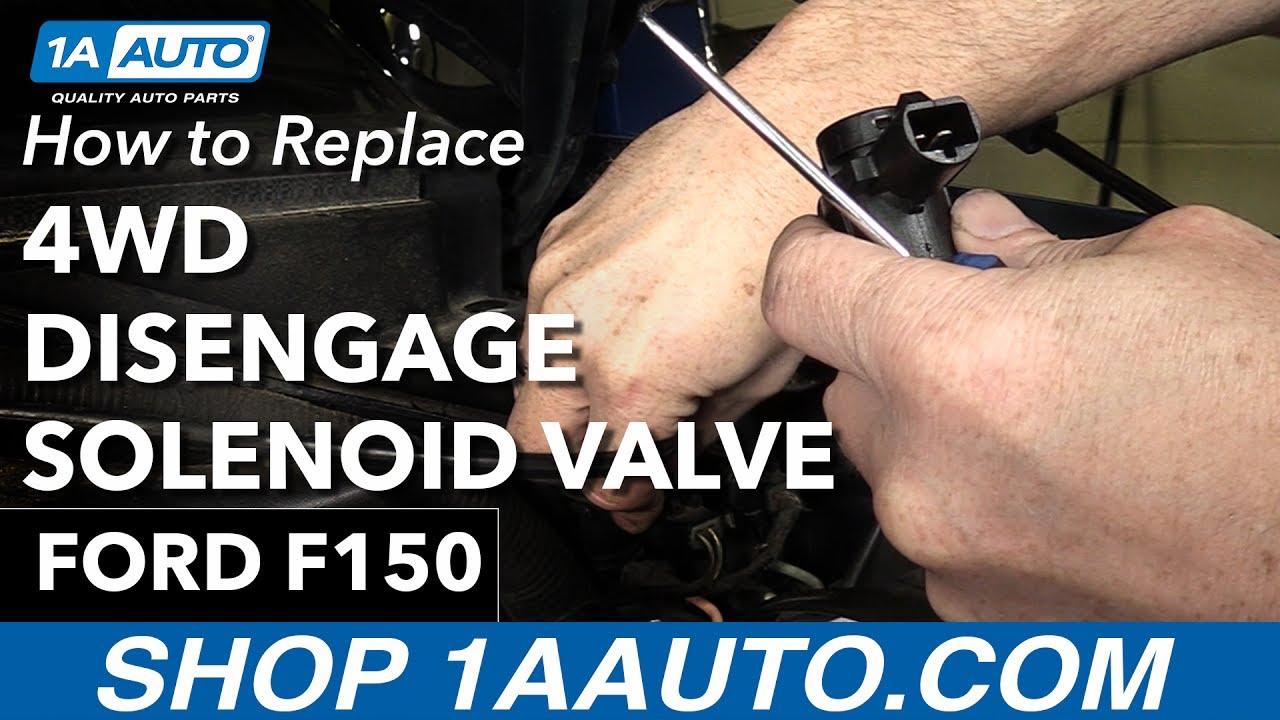
How To Replace 4WD Disengage Solenoid Valve 1997-2013 Ford F150
How To Replace 4WD Engage Solenoid Valve 1997-2013 Ford F150
Created on:
Tools used
Pick
1. Removing the 4WD Disengage Solenoid Valve
Locate the 4WD disengage solenoid valve behind the battery
Disconnect the electrical connector
Pry back the tab with a pick and slide the new solenoid valve from 1aauto.com back and out of the bracket
Press the solenoid down and pull it up
Remove the vacuum lines
2. Installing the 4WD Disengage Solenoid Valve
The new solenoid's connector will match the one it is replacing
Connect the vacuum lines
Press the solenoid down and up to lock it in place
Connect the electrical connector
Hi. I'm Mike from 1A Auto. We've been selling auto parts for over 30 years. We're dedicated to delivering quality auto parts, expert customer service, fast and free shipping, all back by our 100% satisfaction guarantee. So visit us at 1aauto.com, your trusted source for quality auto parts.
Four-wheel drive solenoids are right back here behind the battery. Be careful when you're working around the battery. We do have ours disconnected.
A new one from 1A Auto. The disengage solenoid comes with a bracket. This bracket works for most applications. We're not going to use it for this application, so what we're going to do is just use a 90-degree pick. Put it in here. Pry back on this tab, and then you should be able to slide the solenoid down and out.
This is the disengage side. You can tell them apart by seeing where this tab is. If you disconnect this first solenoid, you'll see that it's here at the nine o'clock position. This one is at the six o'clock position, so you know it's the disengage.
And obviously if your four-wheel drive is engaging but the axle doesn't disengage, that's usually the problem with the solenoid.
To remove it, again, use your 90-degree pick. Go in behind and push on the tab. It's back here--it's the same tab here. Just get your pick in there and push on the tab. Push on the tab and then push the solenoid down, and it comes out, and then you can just pull these vacuum lines off.
New one from 1A Auto is the exact same as the original. You can put it into place. Go down with it and then bring it up until it locks into place, then just reconnect the engage solenoid. Then reconnect your vacuum lines, and reconnect the electrical feed.
Thanks for watching. Visit us at 1aauto.com for quality auto parts, fast and free shipping, and the best customer service in the industry.
Tools used
Pick
1. Removing the 4WD Engage Solenoid Valve
Locate the engage solenoid valve closest to the driver side
Disconnect the solenoid connector
Press the tab behind the solenoid
Press the solenoid down and pull it out
Disconnect it from the vacuum line
2. Installing the 4WD Engage Solenoid Valve
Insert the solenoid into place
Connect the vacuum line
Connect the wiring harness
Hi, I'm Mike from 1A Auto. We've been selling auto parts for over 30 years. We're dedicated to delivering quality auto parts, expert customer service, fast and free shipping, all backed by our 100% satisfaction guarantee. Visit us at 1AAuto.com, your trusted source for quality auto parts.
On this Ford F-150, your engage solenoid should be on the driver's side, or general location is passenger's side, but this is towards the driver's side. You can make sure it's the engage one by unplugging it and this key way should be in the 9:00 position.
To remove, use a bent tip awl. There's just a little tab back here that you need to push back. Then you push the solenoid down, pull it up and out, and remove the vacuum lines.
Install the new engage solenoid. Make sure that it has the key way at the 9:00 position, put it down and in, and it should slide right up and in, and click in place. Then you can reconnect your vacuum lines, push firm, and then reconnect your electrical lead.
Thanks for watching. Visit us at 1AAuto.com for quality auto parts, fast and free shipping, and the best customer service in the industry.
Product Reviews
Loading reviews
There are no reviews for this item.
Customer Q&A
No questions have been asked about this item.
Customer service
877-844-3393
Monday - Friday 8:00am - 9:30pm ET Saturday - Sunday 8:00am - 4:30pm ET
Ford is a registered trademark of Ford Motor Company. 1A Auto is not affiliated with or sponsored by Ford or Ford Motor Company.See all trademarks.
Enter Vehicle Year Make Model
Specify your vehicle's year, make and model to guarantee fit.
Year
Make
Model
Options
Drivetrain
This part doesn’t fit a . Select from parts that fit.