

★★★★★
January 23, 2024
Cv axels fit perfectly.
Cv axels fit perfectly!

Replaces





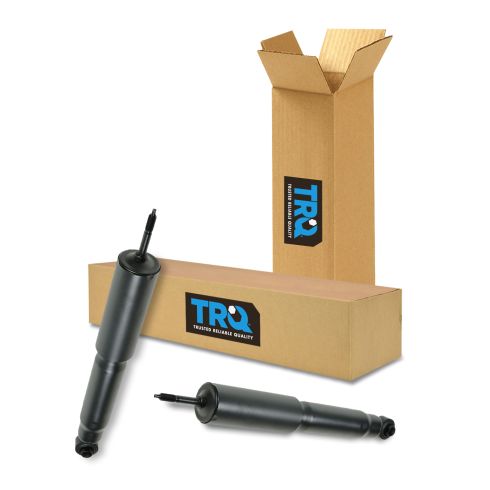


About TRQ:
TRQ is a trusted brand dedicated to making every repair a success story by combining premium parts with easy installation. Each TRQ part is engineered by a team of automotive experts to meet or exceed OEM standards, delivering enhanced performance and maximum longevity. With rigorous in-house testing, the brand ensures superior fit and function across every product line. TRQ also provides customers with best-in-class, step-by-step installation videos—so you can complete repairs with confidence, whether you're a first-time DIYer or an industry professional.
Our direct fit gas-charged strut assemblies help to restore your vehicle’s handling and ride quality to just like new.
Attention California Customers:
 WARNING: This product can expose you to chemicals including Chromium (Hexavalent Compounds), which is known to the State of California to cause cancer, and birth defects or other reproductive harm. For more information, go to www.P65Warnings.ca.gov
This part fits 4 vehicles spanning 1997-2004.
| Year | Make | Model | Description |
|---|---|---|---|
| 1997-2002 | Ford | Expedition | Ford Expedition 4 Wheel Drive without Air Suspension Front Driver & Passenger Side 2 Piece Shock Absorber Set TRQ SBA60216 |
| 2004 | Ford | F150 Heritage Truck | Ford F150 Heritage Truck 4 Wheel Drive Front Driver & Passenger Side 2 Piece Shock Absorber Set TRQ SBA60216 |
| 1997-2003 | Ford | F150 Truck | Ford F150 Truck 4 Wheel Drive Front Driver & Passenger Side 2 Piece Shock Absorber Set TRQ SBA60216 |
| 1997-1999 | Ford | F250 Truck | Ford F250 Truck 4 Wheel Drive Front Driver & Passenger Side 2 Piece Shock Absorber Set TRQ SBA60216 |
| Brand Label | Part Number |
|---|---|
| KYB | 344368 |
| Monroe Shocks & Struts | 37133 |
| Gabriel | G63716 |
| Autopart International | KYB344368 |
| Unity Automotive | 212080 |
| Rancho | RS55233 |
| Gabriel | G60260 |
| Gabriel | G60259 |
| WORLDPAC | L4000132662KYX |
| Gabriel | 58716 |
| OSC | S344368 |
| WORLDPAC | L4000132662KYB |
| Sensen | 1214-0191 |
| Gabriel | 61613 |
| Transit | 78-37133 |
| Monroe Shocks & Struts | 34657 |
This item may be interchangeable with parts from other brands with the above part numbers. This information is provided only for reference and does not guarantee that the item you are purchasing is identical to parts with part numbers from the brands listed above. To confirm that this item fits your vehicle, use the above "Check Vehicle Fit" option.
Lifetime Warranty
This item is backed by our limited lifetime warranty. In the event that this item should fail due to manufacturing defects during intended use, we will replace the part free of charge. This warranty covers the cost of the part only.
FREE Shipping is standard on orders shipped to the lower 48 States (Contiguous United States). Standard shipping charges apply to Hawaii and Alaska.
Shipping is not available to a P.O. Box, APO/FPO/DPO addresses, US Territories, or Canada for this item.
Expedited is available on checkout to the United States, excluding Alaska, Hawaii.
Final shipping costs are available at checkout.
Created on:
Tools used
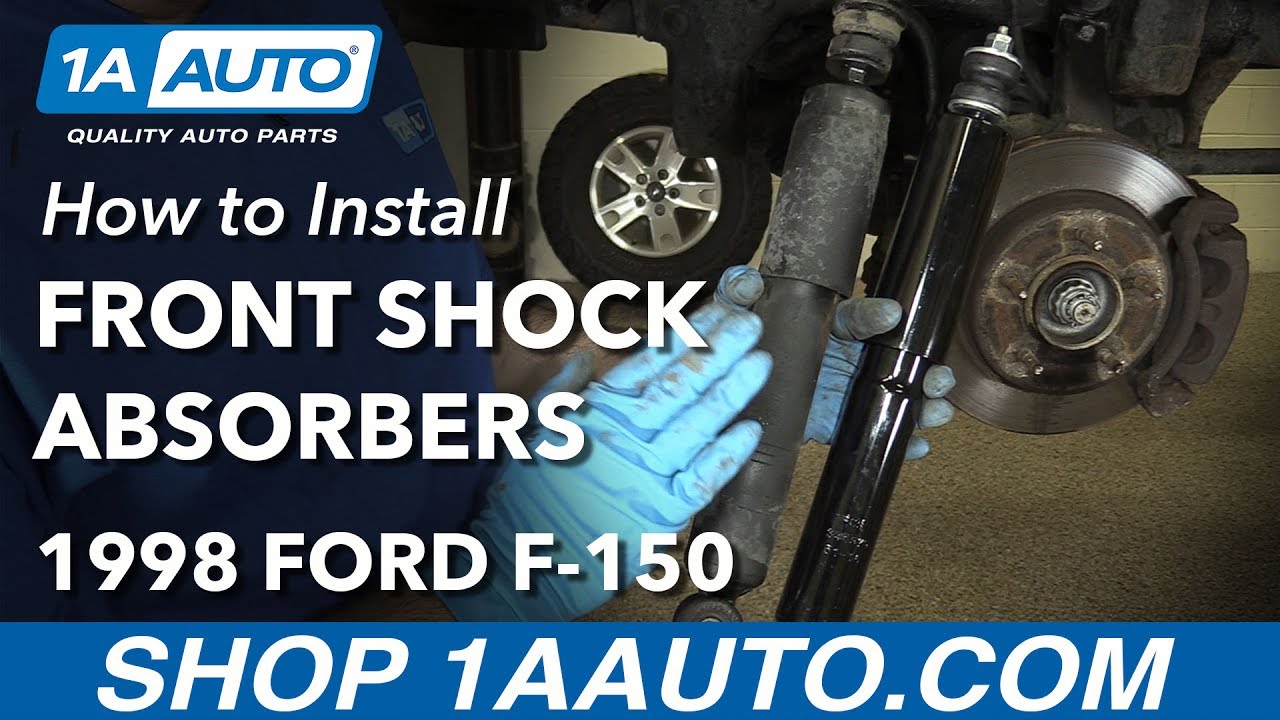
Hi, I'm Mike from 1A Auto. We've been selling auto parts for over 30 years. We're dedicated to delivering quality auto parts, expert customer service, fast and free shipping, all backed by our 100% satisfaction guarantee. Visit us at 1AAuto.com, your trusted source for quality auto parts.
So in order to start this project you want to go ahead and loosen the wheel and the lug nuts here. We're going to use a breaker bar with a 19 millimeter socket. So next we're going to go ahead and raise and support your vehicle. You can use a jack and jack stands. In this case here we're using a lift to make it a little bit easier. Just go ahead and remove the lug nuts here just by using that socket because we've already loosened those. With the lug nuts removed we can now go ahead and remove the wheel and tire.
We're going to go ahead and replace this front shock here. We're going to start with the upper mount area. If you notice, there is nut right here and there is a nut on the top to obviously secure and squeeze the bushings up here on the upper mount. We have a 18mm wrench to fit on this here. You may need to use this to prevent this from spinning around. It will fit right on there. In this case here, I'm going to go ahead and use our 17mm deep socket to fit over that stud and the upper nut with a ratchet wrench. I'll set this over here. I'm going to go ahead. We can see that the shock itself is not spinning so we don't have to – there we go. And that's where our wrench comes in. We're going to rotate that until it actually hits the upper mount right there and use that as leverage.
Let's go ahead and work on the bottom, removing this nut and bolt application from the bottom of the shock. What we're going to use is a standard ratchet. This is going to be a 3/8” drive with an 18mm deep socket. That's going to slip right on here. On the inside bolt head is going to be a 13mm. We'll go ahead and loosen and remove this bolt here. This bolt should slide right on out.
All right, so we might have to use a little pry bar here to try and get underneath. There we go. You got to put the pry bar right underneath the bottom of the shock tube and you can lift that right up and compress that. Pull it right up and out of the way. The shock should come right out for you.
Here we have the old part and the new part. You can see the new upper bushings and the nut with the locking nut on top of the threaded rod. On the bottom here, you have your new bushings already pressed in with the medal sleeve. Let's go ahead and get this installed.
You want to go ahead and remove this lock nut, then the main nut. You want to pay attention to the way that this is put together because this is the way that it needs to be installed on the vehicle. I'm going to go ahead and slip the bushings off here. You can see that these are designed so one has a little protrusion right here and it needs to sandwich the chassis as that comes off. You'll see how these go into the chassis on the installation.
Make sure that you have your metal sleeve on the bottom, the cup, then you have the bushing facing upward on that. Drop that right in through the top, into the lower control arm. Just line that up inside. Align that so it comes up and you can see it poke up through the top of the mount.
As you can see right here, the stud doesn't protrude all the way through the upper mount here but we have to get this busing and this steel plate on. You can see that it's not going to clear. Okay? Obviously, we still have to get the nut and the locking nut back on this. If we come on down here, you can actually see we're going to go ahead and raise the control arm. You can do this by using your regular jack because your vehicle will be supported by jack stands. We're basically going to compress the suspension a little bit, enough to push that shock stud right up through the mount.
Now that we have the shock up and pressed up inside, we have enough threads to fit this bushing through. Make sure that fits inside. Go ahead, put that nut on. This particular one is a 17mm. It might vary from the one in your vehicle with the shock that you're installing. I'm going to go ahead with a ratchet and a socket and snug this up. A good rule of thumb is you want to basically snug this up to the point where this rubber bushing and the lower bushing itself expand out to the diameter of the steel washer or maybe a little bit larger. That should be good right there. Pretty solid.
I'm going to go ahead and crank this up to line up the lower bolt hole with the shock itself. Okay, just going to use a small hammer and tap that bolt right through. Just use gentle taps because you don't want to mushroom out the head of that bolt over there. Okay, because we're reusing the factory bolt and nut, it's going to be an 18mm nut with a 13mm head for the bolt. You want to go ahead and tighten this up.
We're going to go ahead and install the last nut. This is actually a lock nut. That's actually going to thread right onto the top there. You can use a wrench on this here and you can use your ratchet on the top one and basically you just want to hold that there until that snugs up. Now we're going to go ahead and lower the lift or your jack.
All right, I'm going to go ahead and reinstall the tire. I'm going to go ahead and reinstall the lug nuts here. You want to get a few threads caught on all of these here. These lug nuts are 19 millimeters. So we're just going to snug these, bottom it out. Bottom the wheel out to the rotor. We're going to lower the vehicle down onto its own weight, and then do a final torque. With the vehicle on the ground, we're going to do a final torque of the wheel which is between 83 and 112 foot pounds. We're going to do it in a star pattern. All right, just double check the first one. She's all set.
Thanks for watching. Visit us at 1AAuto.com for quality auto parts, fast and free shipping, and the best customer service in the industry.
Cv axels fit perfectly!
Good fit.
Easy to put in. Drives a lot better !
4th pair of shocks (purchsed elsewhere) I have had to put on the front of the truck. after installing them and taking the truck for a test drive I noticed right away the ride seemed to be much smoother. I am hoping this will not have to be changed for a while!!
Shocks fit in snug. A bit difficult to install the bottom but we finally got it in with a bit of muscle. I can definitely feel a difference on my turns.
I installed these on my 2003 4x4 F150. They were easy to install and work fine.
Perfect fit Thanks
My name is Jason from Oklahoma I recently purchased the 2001 shocks for my F150 and while they were not correct for my particular truck the shipping was very quick and when I had to return the items the sales department was very knowledgeable and very quickly to refund my payments I will definitely shop with 1A Auto in the future
They were not real difficult to put on, and they fit just like it said they would.

SBA60216
Thanks a lot
