
Replaces






About TRQ:
TRQ is a trusted brand dedicated to making every repair a success story by combining premium parts with easy installation. Each TRQ part is engineered by a team of automotive experts to meet or exceed OEM standards, delivering enhanced performance and maximum longevity. With rigorous in-house testing, the brand ensures superior fit and function across every product line. TRQ also provides customers with best-in-class, step-by-step installation videos—so you can complete repairs with confidence, whether you're a first-time DIYer or an industry professional.
Our direct fit gas-charged strut assemblies help to restore your vehicle’s handling and ride quality to just like new.
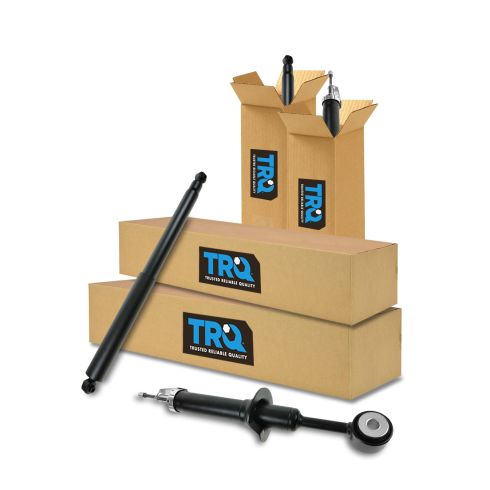
Our direct fit gas-charged shock absorbers help restore your vehicle's handling and ride quality to just like new.
Attention California Customers:
 WARNING: This product can expose you to chemicals including Chromium (Hexavalent Compounds), which is known to the State of California to cause cancer, and birth defects or other reproductive harm. For more information, go to www.P65Warnings.ca.gov
This part fits 3 vehicles spanning 2004-2008.
| Year | Make | Model | Description |
|---|---|---|---|
| 2004 | Ford | F150 Truck | Ford F150 Truck with New Body Style 4 Wheel Drive Front & Rear 4 Piece Shock Absorber Set TRQ SBA60196 |
| 2005-2008 | Ford | F150 Truck | Ford F150 Truck 4 Wheel Drive Front & Rear 4 Piece Shock Absorber Set TRQ SBA60196 |
| 2006-2008 | Lincoln | Mark LT | Lincoln Mark LT 4 Wheel Drive Front & Rear 4 Piece Shock Absorber Set TRQ SBA60196 |
| Brand Label | Part Number |
|---|---|
| KYB | 341601 |
| KYB | 344415 |
| Monroe Shocks & Struts | 911262 |
| Monroe Shocks & Struts | 71361 |
| Ford | 6L3Z18124LC |
| Gabriel | G51704 |
| Ford | 6L3Z18124N |
| Ford | 6L3Z18124L |
| Ford | 6L3Z18124NC |
| Ford | 6L3Z18124LD |
| Ford | 6L3Z18124ND |
| Ford | 4L3Z18124EA |
| Unity Automotive | 252110 |
| Unity Automotive | 212810 |
This item may be interchangeable with parts from other brands with the above part numbers. This information is provided only for reference and does not guarantee that the item you are purchasing is identical to parts with part numbers from the brands listed above. To confirm that this item fits your vehicle, use the above "Check Vehicle Fit" option.
Lifetime Warranty
This item is backed by our limited lifetime warranty. In the event that this item should fail due to manufacturing defects during intended use, we will replace the part free of charge. This warranty covers the cost of the part only.
FREE Shipping is standard on orders shipped to the lower 48 States (Contiguous United States). Standard shipping charges apply to Hawaii and Alaska.
Shipping is not available to a P.O. Box, APO/FPO/DPO addresses, US Territories, or Canada for this item.
Expedited is available on checkout to the United States, excluding Alaska, Hawaii.
Final shipping costs are available at checkout.
Created on:
Tools used
Brought to you by 1AAuto.com, your source for quality replacement parts and the best service on the Internet.
Hi, I'm Mike from 1A Auto. I hope this how-to video helps you out, and next time you need parts for your vehicle, think of 1AAuto.com. Thanks.
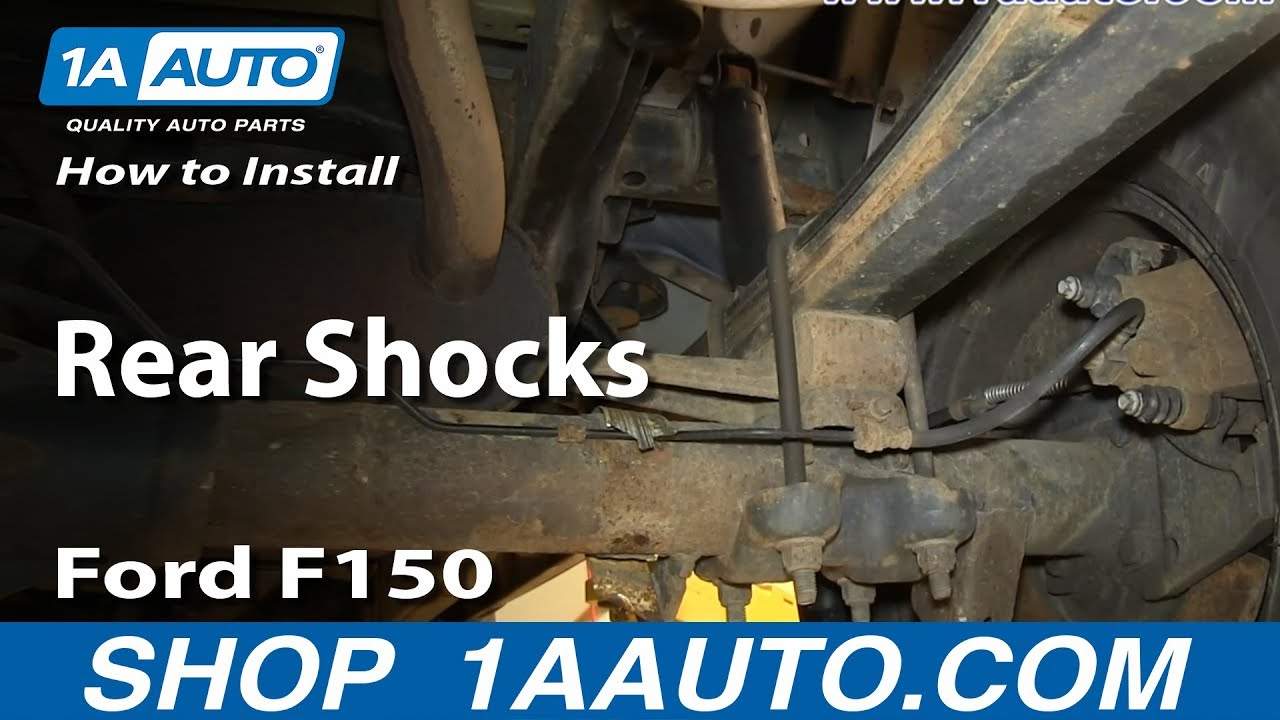
In this video, we're going to show you how to replace the rear shocks on this 2005 Ford F150 and we show you on the passenger side, but the driver side is the same procedure. We recommend that if you replace one of them, you replace the other one. The items you'll need for this are new rear shocks from 1AAuto.com and a 15 millimeter socket and ratchet and 18 millimeter wrench.
For these shocks, you actually don't even need to put your vehicle up in the air. You've got 15 millimeter bolts going into 18 millimeter nuts, same thing on the top and on the bottom. I've got my 18 millimeter wrench on there, I'm going to use another wrench, and hook it on for some extra leverage.
If you're working with the vehicle on the ground, you obviously don't need a jack under here, but, if you're working with the vehicle up in the air, you want to take your jack and just get it, because the shocks are actually holding the rear end up. You just take a little bit of pressure off the shocks. Now at this point, if your vehicle's on the ground, you want to be careful, because when you remove this if your shock is still pressurized it's going to want to push down. You saw it push down a little bit there. I just kept this nut on just for safety. Remove the nut from up there. Remove that bolt. Bring the shock down.
To reinstall is the reverse. Make sure you put the shock behind your emergency brake cable. You'll have to push up. Again, if your vehicle's on the ground, you're going to have to push up more. Push the shock up. Put the bolt through. Replace the nut at the top of the shock. If you had your vehicle lifted, you can remove this jack. We'll fast forward as Mike tightens the top and bottom bolts on the shock, just preliminarily for right now. Now, just make sure that the weight's back on your shocks entirely. Then, tighten them up the rest of the way as tight as you can get them with the wrenches. Then you're all set.
We hope this video helps you out. Brought to you by www.1AAuto.com, your source for quality replacement parts and the best service on the Internet. Please feel free to call us toll-free, 888-844-3393. We're the company that's here for you on the Internet and in person.
Tools used
Hi. I'm Mike from 1A Auto. We've been selling auto parts for over 30 years.
Hi, everyone. Sue here at 1A Auto, and today we're going to install rear shock in our 2011 Ford F150. If you need this part or any other part for your car, click on the link below and head on over to 1AAuto.com.
We're going to disconnect the top of the shock first. The outside of the head of the bolt is a 15 millimeter socket, and on the inside, the nut is an 18 millimeter. I've got my set-up here. I've got my 1/2 inch ratchet wrench. I'm just going to break it free.cSee if we can get it by hand. Perfect.
Now we're going to raise the vehicle up. I'm going to use a two post lift. You can use a floor jack and jack stands. It's going to be the same procedure down here. We have an 18 millimeter wrench and a 15 millimeter socket. I'm going to break that free. Bring it right down.
Here, we have our new shock from 1A Auto, and the factory shock that we just took out of our 2011 Ford F150. This comes shipped in a cardboard box with this attachment strap. You just got to push down on it, compress that shock, and slide it off. It will expand to the full length. Now, these are gas shocks, and you can see that this one's worn out. See the height difference.
It's always good whenever you get new shocks to compress them three times to get the gases to activate and let them expand before you install them. If you need this part or any other part for your car, click on the link below and head on over to 1aauto.com.
Prior to installation, you want to always compress a new shock two to three times to get the gases and oil activated. That way there's no air sitting there. It's like a soda can--you want to shake it up. I'm going to bring the top one, line it up in those bolt holes, and line the bottom one down.
Now, you're just going to take a little pry bar and pry it right in here. Get that bolt to line up. Now you can put the nut on.
I'm just going to snug it, and I'm going to lower it. Make sure that the front bolt, the top bolt goes through, and then I'll torque them both down. With the vehicle back down on the ground, I can take a small pry bar, put it in the top of the shock, and move it around to line up that bolt hole. Once I get it, see if we can hold it there long enough. I'm going to compress it quite, I think.
There you go. Put the nut on the back, and then I'm going to tighten this down. Once it's tightened, I'm going to torque it to 66 foot-pounds. Okay, that's snug. Now I'm going to get my torque wrench, and the torque is 66 foot-pounds. We're going to tighten the lower shock bolt, 66 foot-pounds.
Thanks for watching. Visit us at 1aauto.com for quality auto parts, fast and free shipping, and the best customer service in the industry.

SBA60196


