Replaces





Part Details
Specifications
About TRQ:
TRQ is a trusted brand dedicated to making every repair a success story by combining premium parts with easy installation. Each TRQ part is engineered by a team of automotive experts to meet or exceed OEM standards, delivering enhanced performance and maximum longevity. With rigorous in-house testing, the brand ensures superior fit and function across every product line. TRQ also provides customers with best-in-class, step-by-step installation videos—so you can complete repairs with confidence, whether you're a first-time DIYer or an industry professional.
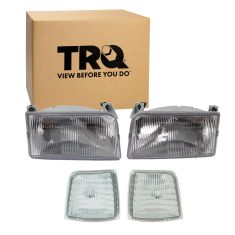
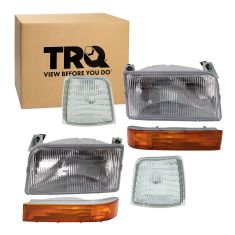
Assemblies may include halogen or incandescent test bulbs that should be replaced before installation.
Attention California Customers:
 WARNING: This product can expose you to chemicals including Chromium (Hexavalent Compounds), which is known to the State of California to cause cancer, and birth defects or other reproductive harm. For more information, go to www.P65Warnings.ca.gov
This part fits 4 vehicles spanning 1992-1997.
| Year | Make | Model | Description |
|---|---|---|---|
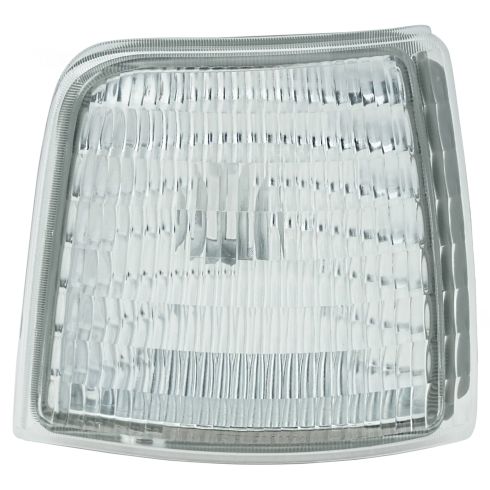
| 1992-1996 | Ford | Bronco | Ford Bronco Passenger Side Corner Light TRQ SLA87349 |
| 1992-1997 | Ford | F150 Truck | Ford F150 Truck Passenger Side Corner Light TRQ SLA87349 |
| 1992-1997 | Ford | F250 Truck | Ford F250 Truck Passenger Side Corner Light TRQ SLA87349 |
| 1992-1997 | Ford | F350 Truck | Ford F350 Truck Passenger Side Corner Light TRQ SLA87349 |
| Brand Label | Part Number |
|---|---|
| DIY Solutions | LHT04586 |
| Partslink Numbering System | FO2551108 |
| Ford | F2TZ15A201C |
| Ford | F2TZ-15A201C |
| Hollander | 116-3018R |
| TYC | 17-1124-01 |
| Eagle Eye Lights | FR109-U000R |
This item may be interchangeable with parts from other brands with the above part numbers. This information is provided only for reference and does not guarantee that the item you are purchasing is identical to parts with part numbers from the brands listed above. To confirm that this item fits your vehicle, use the above "Check Vehicle Fit" option.
Lifetime Warranty
This item is backed by our limited lifetime warranty. In the event that this item should fail due to manufacturing defects during intended use, we will replace the part free of charge. This warranty covers the cost of the part only.
FREE Shipping is standard on Orders shipped to the lower 48 States (Contiguous United States). Standard shipping charges apply to Hawaii, Alaska and US Territories. Shipping is not available to Canada.
Expedited is available on checkout to the United States, excluding Alaska, Hawaii and US Territories as well as P.O. Boxes and APO/FPO/DPO addresses. Final shipping costs are available at checkout.
Created on:
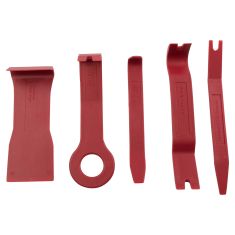
Tools used
Brought to you by 1AAuto.com, your source for quality replacement parts and the best service on the Internet.
Hi, I'm Mike from 1A Auto. I hope this how-to video helps you out, and next time you need parts for your vehicle, think of 1AAuto.com. Thanks.
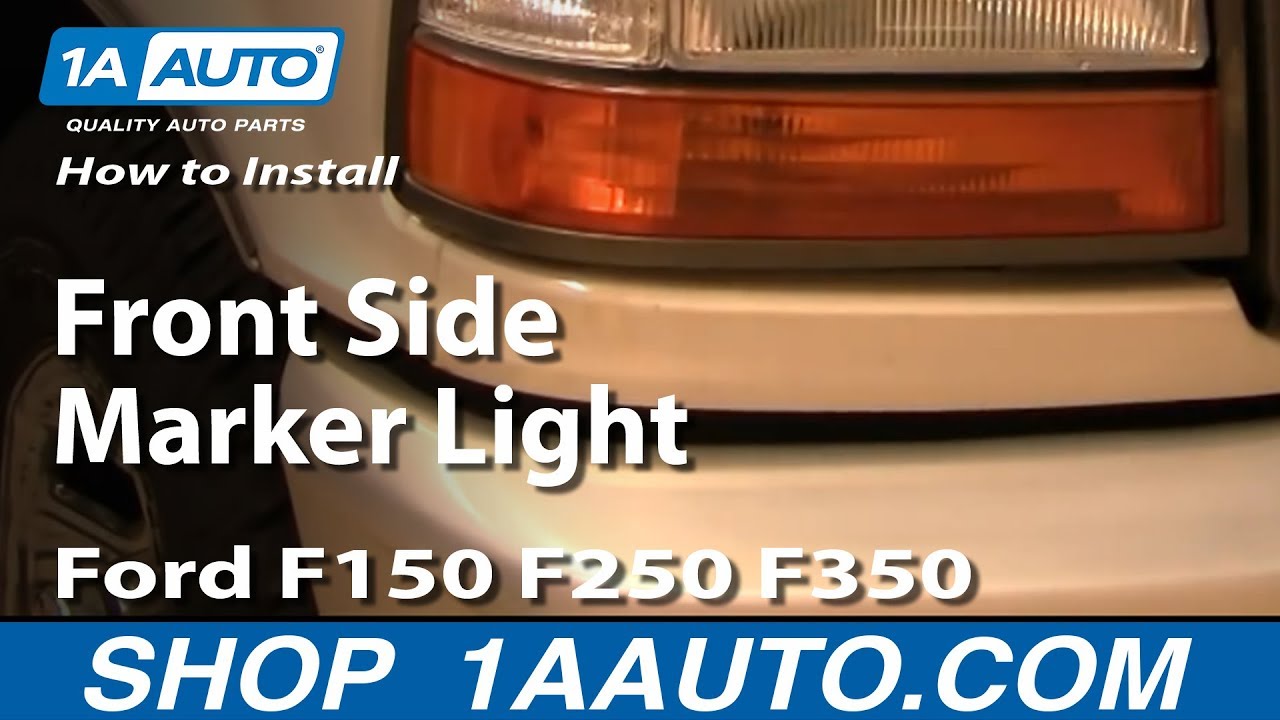
In this video, we're going to show you how to service the small side marker light. These are the clear lights on the sides of the headlights on '92 to '96 Ford F150s as well as the other sized trucks. The only tools you'll need include 10 and 11 millimeter deep sockets and a Phillips screwdriver.
We're going to start out working underneath the hood. We've got the hood open and we're between where the battery is and the back of the headlight and parking light. If you're looking to change the whole assembly, you'll need a long 10 millimeter socket. Right down in here, you put the socket in to a 10mm nut and undo that. Then do the same thing over on this side. Right in here and another 10 millimeter nut right there. Remove those too. I'm just going to fast-forward through some footage here of taking those two nuts out of the back side. It's hard to film. You can reach down in there with your wrench, your socket and ratchet. If you want, taking the battery out is an option. It lets you get down in there a little easier but just remove those two nuts and then go from there. Remove the two Phillips screws at the top of the headlight trim panel. I'm just removing the rest of the way one of the nuts on the backside.As I remove that, just pull the assembly parking lights away.
Pull it out. There's a socket right here. Turn it counterclockwise. There's one down here. Turn that one counterclockwise as well.
Here, I'm just showing you a quick problem you may or may not run into. One of the studs from the parking light, when I went to remove the nut, actually twisted out of the parking light. What I'm doing is just using a pair of vice grip or locking pliers, hooking them onto the stud, and then using my socket and ratchet to remove the nut and remove that out of there so I can put in the new one.
The side parking or side marker light is held in with two 11 millimeter bolts. I'll remove those, put the little brace aside, and remove the side marker light from the trim.
Nice new side marker light from 1A Auto to replace your broken or old and faded one. Just make sure you put it right in here. You want to make sure you press it and slide it in. I'm going to start this top one first. Then, in the middle, there's a little brace that goes on here. You start the bottom bolt in. To sum up, just remember to put that brace back on and put the bolt back onto the side marker light, tighten them up.
I'm just going to continue the kind of fast-forward here. Put the assembly close to your harnesses. Put the side markers in. You can do the main parking light afterwards. Just reach in behind. Put the bolts on, tighten them up and then make sure you plug in that side signal or the front signal light. Finish up by reinstalling the two screws on the top of the trim.
We hope this video helps you out. Brought to you by www.1AAuto.com, your source for quality replacement parts and the best service on the Internet. Please feel free to call us toll-free, 888-844-3393. We're the company that's here for you on the Internet and in person.

SLA87349