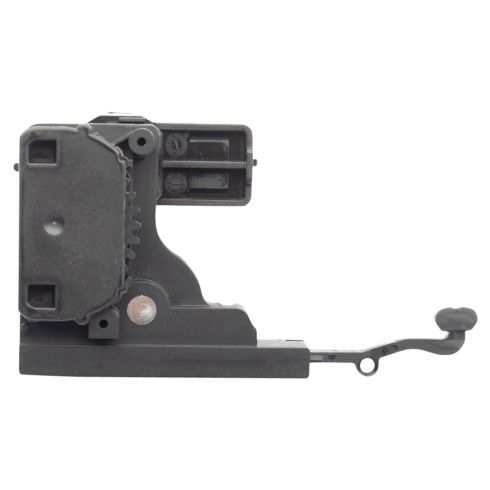
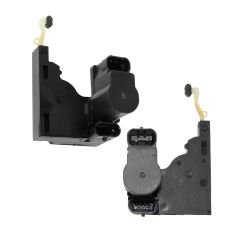
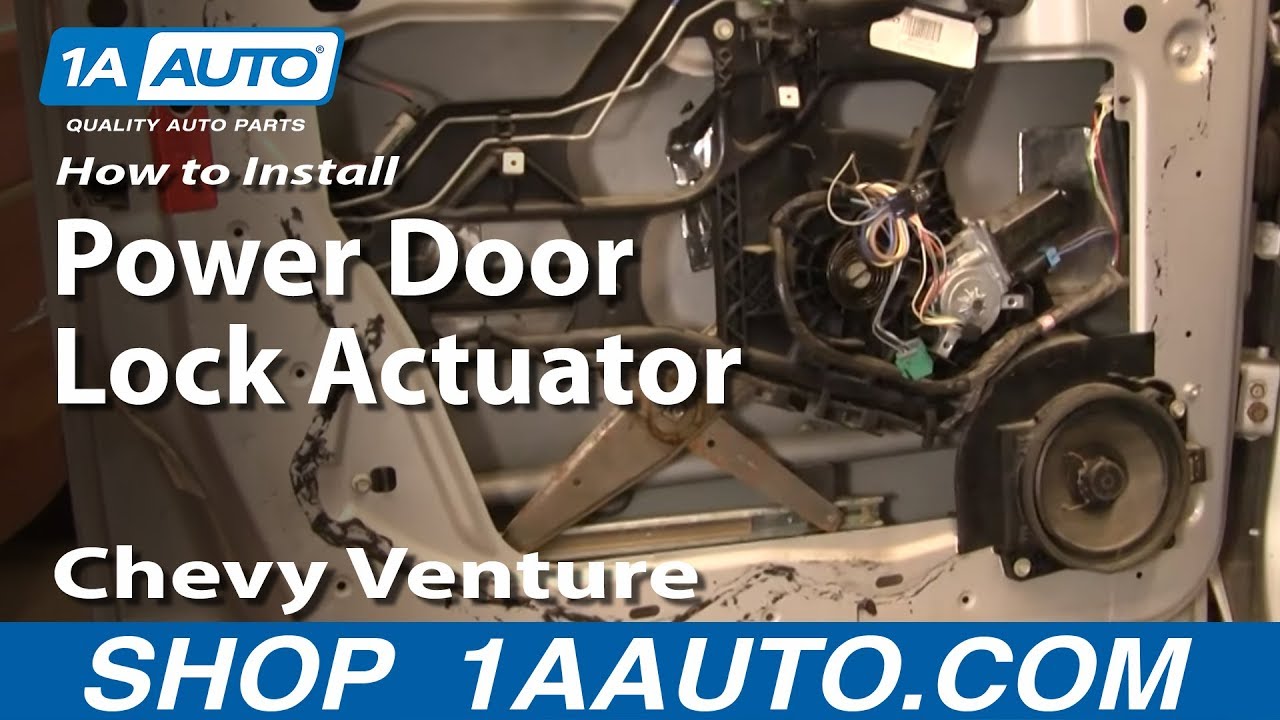
1ADLA00005-Driver Side Power Door Lock Actuator TRQ BDA30820

Replaces
1998 Chevrolet Venture Rear Driver Side without Keyless Entry Power Door Lock Actuator TRQ BDA30820

Product Reviews
Loading reviews
4.59/ 5.0
17
17 reviews
January 24, 2017
the power door lock actuator works fine. I am overall satisfied with product and service.
Door Lock Actuator
January 29, 2017
Easy to pick the correct part, video help was excellent.
Failed not once. But, twice.
June 23, 2017
The first unit was DOA and the second one lasted about 1 months. I purchased one from Amazon cheaper and it's still working. Buyer beware.
Corrected the problem
August 5, 2017
This was my first time ordering from 1aauto and from the phone call to ordering and receiving the correct parts in a timely manner I was very pleased with the service and the parts that I ordered fixed the problem on my 2004 Chevrolet express electric lock problem , I would recommend 1aauto to anyone looking for after market or hard to find parts , thanks again 1aauto.
February 6, 2018
Have not installed them yet. The original locks started working again
Perfect fit, great price!
March 31, 2018
This part looks & fits like OEM. I purchased this same part before from another supplier a few years ago, paid more, and while it still worked it began making an annoying gear grind noise within a week. The noise was not from improper installation and of course the defective part would cost me return shipping to get a replacement from the other supplier. The part from 1A Auto solved this noise problem and has been working perfectly as it should for over a few weeks now, and at less cost. I'm very satisfied - 1A Auto continues to be a great source for quality parts (and helpful videos too)!
Was exactly what I needed
September 29, 2018
Was easy to navigate this web site and find exactly what I needed. Got the part quickly and ordered more parts within a week. I trust this site and will continue to use 1A AUTO.
About gender cornners
September 5, 2019
Looking good,, Happy with product. Thanks
Perfect fit
August 19, 2020
Works great and easy to install, thanks to the installation video by 1A Auto on youtube. Took about an hour to install. without the video I would have spent several hours trying to figure it out.
Perfect fit
January 1, 2021
Perfect fit and function for my 2006 Chevy Avalanche.
Perfect Fit
January 30, 2021
Part did everything it was supposed to do, fit like it was supposed it, and feels like a quality part.
radio and door working like they should
May 22, 2021
radio goes off when door opens like it should, hope it lasts, great service and price from 1A auto
Works with a little adjustment (read below)
November 19, 2021
You can forget the "guarantee fit" thing. At least on my 2002 Chevy Silverado 2500HD There is a notch that must fit into a tab on the door unit for proper alignment. Problem notch was to narrow and had to have some backyard mechanic adjustment to widen it. Once that was accomplished it fit and has been working perfect ever since. Even in 5 degrees strong enough to do what it should. This could be only this units defect or all but simple fix. So I do recommend it for the cost.
Good product easy to install
December 28, 2021
Glad that I found these here. I still have my original remote and like use it all the time. It was easy to install. I think I replaced one under warranty. They are good to work with.
Excellent
November 24, 2022
Perfect fit. Great quality.
Great
February 25, 2023
Fit better then the oem
March 4, 2023
My 2002 Silverado Lt. extended Cab my side back door the door latch is broken or the rod has fallen off inside or broke. I can hear it flopping around inside the door I'm getting ready to take off the panel to see what is going on inside the door. If I have to replace the part that opens the door do you have that part and the video
Customer Q&A
The description says this is only for units with a single 2 prong connection but the pictures literally show a two prong connection (second picture) and a four prong (third picture), which is it? The one I removed has both connections with a factory
September 25, 2017
10
I just lubricated the OEM and it's been working fine. The assembly is expensive but probably worth it.
September 25, 2017
Ralph R
10
Yes
March 27, 2018
N I
There is a sensor located on the old actuator that is not on the new one. How do you get that sensor onto the new actuator? It's the long narrow white section attached to the actuator in the video but the new one does not have one attached.
January 17, 2018
10
If it's the white nylon piece with the oval black piece (shown in the upper left of the picture) the part is defective if that is missing. If it's something else ask me again. Herb
January 17, 2018
Herb K
10
Hi Samuel C .
What I did to install mines was take a sharp utility knife and scored a line between the black and the white plastic and then went back and forth with the blade until I was able to get the two separated once it was separated I put the part together on the new one and secured with Krazy Glue. This was second one fixing in the same manner and I have not had any problems out of them. Good luck with your install
January 17, 2018
Eric B
10
That actuator fits the front drivers side perfectly. The rear passenger actuator is different and had to be purchased directly from Chevy at 10 times the price. They fit a 2005 Chevy Trailblazer
January 18, 2018
MARLENE D
10
Hello Samuel unfortunately the actuator that I purchased was different from the one I had because my truck came with factory alarm and this actuator is for trucks without factory alarm. I had to purchase mine directly from the dealer to make it work so I did not end up using the actuator that I purchased on1a auto. After I receive my order I reviewed it and I noticed theres somewhere in the description that it specifically says only for vehicles that are not equipped with factory alarm. So thats what is the difference. I believe you have the same situation that I had before
January 18, 2018
Juan G
I need both rear door actuator for 2006 gmc sierra denali with factory alarm. Which ones can I order?
June 24, 2019
Chevrolet is a registered trademark of General Motors Company. 1A Auto is not affiliated with or sponsored by Chevrolet or General Motors Company.
See all trademarks.


