Replaces
Returns: Parts with electrical components cannot be returned once installed.
1 Year Warranty
This item is backed by our 1-year warranty. In the event this item should fail during intended use, we will replace the part free of charge. This warranty covers the cost of the part only.
Returns: Parts with electrical components cannot be returned once installed.
This item ships directly from supplier.
FREE Shipping is standard on Orders shipped to the lower 48 States (Contiguous United States).
Shipping is not available to Canada. This item cannot be Shipped to AK Alaska, HI Hawaii, US Territories, P.O. Boxes, APO/FPO/DPO addresses or Expedited due to size limitations.


Created on:
Tools used
Brought to you by 1AAuto.com, your source for quality replacement parts and the best service on the Internet.
Hi, I'm Don from 1A Auto. I hope this how-to video helps you out, and next time you need parts for your vehicle, think of 1AAuto.com. Thanks.
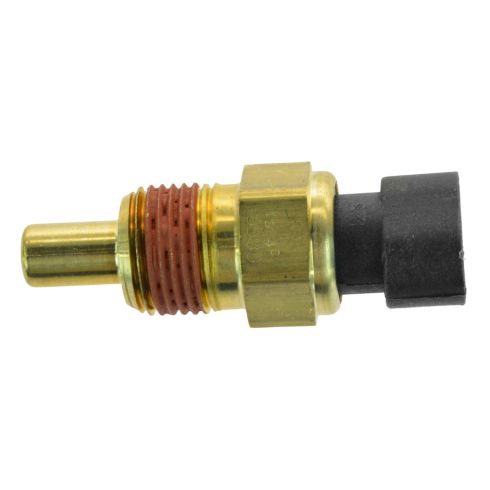
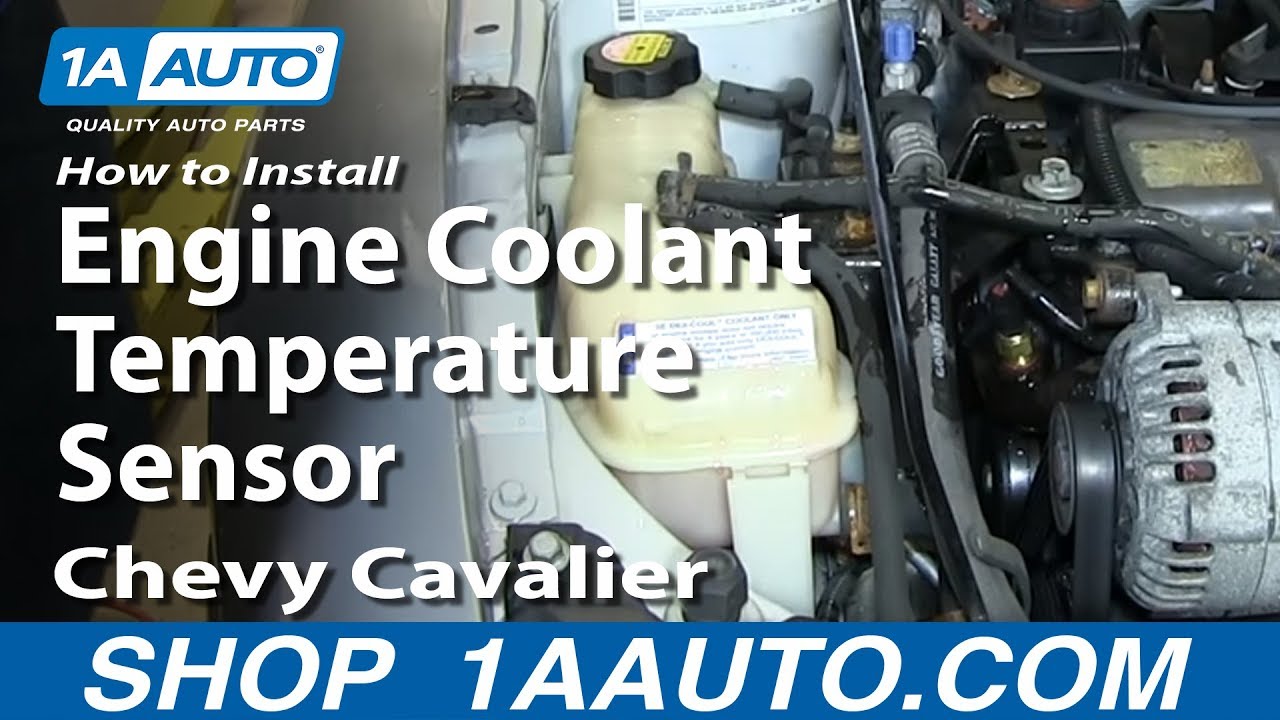
In this video, we're going to replace the ECT or Engine Coolant Temperature sensor on this 2000 Cavalier with the four-cylinder motor, the same as a lot of GM vehicles with this four-cylinder engine. The only tool you'll need is a 3/4 inch, deep socket and a ratchet.
The ECT sensor is located right behind the alternator on the passenger side. There is just a little clip. Reach in and unplug the sensor. Now, you just need a 3/4 inch socket, a deep socket is best. Start removing the sensor. The sensor is a little bit below the top of the water. So, you're going to get just a little bit of water that comes out. You want to have a catch pan underneath. As you'll see, Don will be ready with the new sensor right next to it. As he pulls out the old sensor, some water comes out.
He puts the new sensor right in. You can see it's the correct sensor; it matches the original. You want to tighten the new sensor up to about 20 to 25 foot pounds, tight, but not too tight.
As you saw, we lost a little bit of fluid, so once you're done with the repair, drive the vehicle a little bit, check the coolant, and add as necessary. Once you've got it tightened up, plug it back in and you should be all set.
We hope this video helps you out. Brought to you by www.1AAuto.com, your source for quality replacement parts and the best service on the Internet. Please feel free to call us toll-free, 888-844-3393. We're the company that's here for you on the Internet and in person.
Tools used
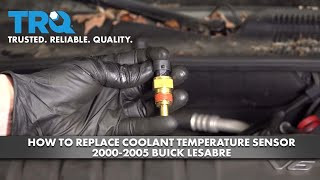
Hi, I’m Mike from 1A Auto. We’ve been selling auto parts for over 30 years!
To drain the coolant, I'm going to go down here to the lower radiator hose at the radiator outlet, undo the spring clamp with a pair of pliers, and pull this hose off. I already have a drain pan underneath the truck to catch any coolant or all of the coolant that will leak out. All right, and then we'll release the clamp with a pair of pliers. Work the hose off the radiator. Pull it back and forth.
After you drain this coolant, if you're not going to reuse it, just make sure you dispose of it properly. With the majority of the coolant drained out, I'm going to put the lower hose back onto the radiator, and just kind of slide it back into place. We're not going to clamp it yet.
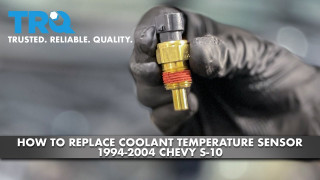
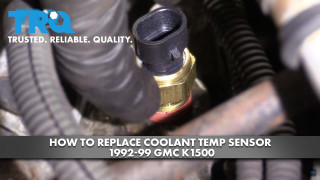
The coolant temp sensor on this 4.3 liter is down here on the side of the block. There's a connector to it that threads into the block. I'm going to take some brake parts cleaner, just sort of clean it off so you can have a better idea of what I'm doing, and kind of see it. There's an electrical connector on the top. I'm going to open it up. There it is. What I did, I had to find this little tab on the connector and pull it up to unlock it, and the connector came right out. We'll leave it up here, so we know where the connector is.
Engine coolant temp sensor is down here on the side of the block. There is an engine harness that normally runs along here and a bracket. We just pushed it out of the way and moved the engine harness up, just to give you a better idea of what we're doing. You don't have to move those things out of the way to replace it, but this makes it easier to see on video.
Take a 19mm deep socket—it's going to go over the sensor. Just kind of unthread it from the block. Before you do this, you want to make sure the coolant is drained because coolant will come of there. You could swap it, but it gets pretty messy, and you'd have to be pretty fast. I see it's still pretty tight, I'll loosen it some more. That is the coolant temp sensor if you want to know. This is our old coolant temp sensor.
Here's our brand new one from 1AAuto.com. See, they're identical in design, same style connector, same lock, two pin. Comes with new thread sealant. This'll go right in and work great for you.
Take the new sensor, install it in the same place. Get it started. It'll get harder to turn because of the thread sealant. Use the 19mm deep socket again to install it. I can see the red thread sealant is almost all the way in, and it's getting pretty tight. When I feel it getting tight, I'm going to stop.
Reinstall the harness. Coolant temp sensor is replaced. I've just got some slip joint pliers in here and reinstalling the clamp on the lower radiator hose, squeeze it together. Got to refill the system with the correct coolant. Open up the reservoir and then refill it. I'll just kind of refill it slowly and let any trapped air bubbles escape.
With the coolant filled to the full cold, I'm going to reinstall the cap. Start the truck up. It may suck some of the coolant back into the system. Then, I will shut the truck off and recheck the level, top it back off, then start it and let it run to bleed the system and come up to temperature. Just needs to be topped off a tiny bit. Let the engine come up to temperature and make sure the fluid level is correct afterwards. Top off as needed.
Thanks for watching. Visit us at 1AAuto.com for quality auto parts, fast and free shipping, and the best customer service in the industry.
Tools used
Brought to you by 1AAuto.com, your source for quality replacement parts and the best service on the Internet.
Hi, I'm Mike from 1A Auto. I hope this how-to video helps you out, and next time you need parts for your vehicle, think of 1AAuto.com. Thanks.
In this video, we're going to show you how to replace the coolant temperature sensor on this 2003 Chevy Monte Carlo with the 3.4 liter V6 engine, and the items you'll need for this, is a 19 millimeter deep socket and ratchet, and If you don't have one of those, it's going to be a slightly different procedure, and you're going to need a 10 and 13 millimeter socket and ratchet, a flat-blade screw driver, a pair of pliers, and a 19 millimeter wrench.
Your coolant temperature sensor is right down in here. You can actually get to it if you move this. You can reach your hand in. There is a tab on top, you can grab hold of with your finger and disconnect it. If you have a deep 19 millimeter socket, you can change it out without even having to remove the throttle-body, if you don't have that socket, we're going to show you real quick how to remove the throttle-body.
Now, just pull up on this hose and disconnect this harness, and then loosen up these two hose clamps. Pull this hose free from the engine, and then pull this hose free from your intake box, and just set that aside.
Next, remove those two ten millimeter bolts and this ten millimeter nut, right here. Now, pull this bracket down and set it aside, and then, pull out on this harness and pull it free. Do the same with this harness, and then push the tabs together on this hose clamp and slide it back. Do the same for the hose clamp on the other side. Now, just push that hose back, and then remove that 13 millimeter nut right there and then you want to remove that 13 millimeter bolt and this 13 millimeter stud bolt right here. We'll fast forward as Mike does that. Now, pull up this cable, and you want to just disconnect it from the top here, and then just lift the throttle body up and out. Lift up on the tab and disconnect the harness. Using your 19 millimeter wrench loosen up the sensor.
Once it gets to the point where you can pull it free, have the other one ready. Pull the old sensor free, and immediately push your new sensor into place and twist it in. We'll just fast forward as Mike tightens that up. Now, reconnect your harness. Take your throttle-body with the upper bolt in place and take this bracket and re-clip the wire to the top of the throttle-body, and then just run it down the track. Then, push the throttle-body back into place. Just tighten up this bolt. We will fast forward as Mike replaces the other bolts that hold the throttle-body into place, and tightens them up.
Now, push these hoses back on to this line, and just push the teeth together on the hose clamps and slide them back down into place. Then, we'll fast forward as Mike replaces the nut that holds that line into place and tightens it up. Now, take this bracket, and put it back into place, and replace the nut and two bolts that hold it into place. Re connect your harnesses, and then take your intake hose and push it back onto mass airflow sensor first, and then down onto the throttle-body. Then, just tighten up those hose clamps; you want to make sure the hose is all the way on before you do that. When you disconnected this line earlier, there's a good chance that it came free from back here, so just make sure that when you reconnect it up here that it's still connected back behind the engine there, and it just pushes right back into place. Now, reconnect this harness, and re-clip this to this bracket, and you're all set.
We hope this video helps you out. Brought to you by www.1AAuto.com, your source for quality replacement parts and the best service on the Internet. Please feel free to call us toll-free, 888-844-3393. We're the company that's here for you on the Internet and in person.
Tools used
Brought to you by 1AAuto.com, your source for quality replacement parts and the best service on the Internet.
Hi, I'm Don from 1A Auto. I hope this how-to video helps you out, and next time you need parts for your vehicle, think of 1AAuto.com. Thanks.
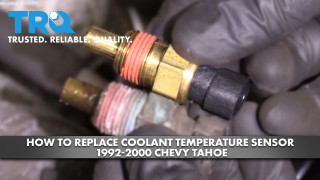
In this video we're going to show you how to replace the engine coolant temperature sensor on this 1996 Chevy Tahoe. It's the same part and process on these Tahoes from '95 to 2000. The items you'll need for this are a new coolant temperature sensor from 1AAuto.com, a 19 mm socket and ratchet, a pair of pliers, jack and jack stands, drip pan, coolant, a funnel, and a flat blade screwdriver.
Start off by removing your radiator cap. Then raise your vehicle and right here is the drain plug. You want to turn this and the coolant will start pouring. Using a pair of pliers twist that drain plug. Make sure your drip pan is underneath and let your coolant drain out. Your temperature sensor is located right here. Just pry down on the tab and pull up on the harness. Using a 19 mm socket and ratchet remove the sensor. On the right is the old temperature sensor.
On the left is the new one from 1A Auto. You can see that they're identical and they're going to fit exactly the same. Put your new temperature sensor into place and twist it in. You want to tighten this until it's nice and firm. It doesn't actually have to be seated to the top of the threading. Reconnect your harness. Tighten up your drain plug and then, using a funnel, replace the coolant and replace your radiator cap and you're all set.
We hope this video helps you out. Brought to you by www.1AAuto.com, your source for quality replacement parts and the best service on the Internet. Please feel free to call us toll-free, 888-844-3393. We're the company that's here for you on the Internet and in person.