





★★★★★
July 25, 2023
Great parts and service service online.

Replaces
Replaces Chevrolet Pontiac Saturn Front & Rear Ceramic Premium G-Coated Brake Pad & Rotor, Shoe & Drum Kit TRQ Performance BKA36354
$219.95
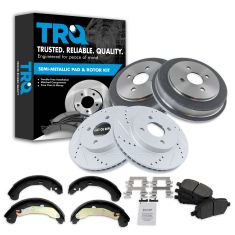
Replaces Chevrolet Pontiac Saturn Front & Rear Semi-Metallic Premium G-Coated Brake Pad & Rotor, Shoe & Drum Kit with Parking Shoes TRQ Performance BKA22084
$214.95
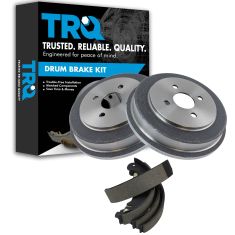
Replaces Chevrolet Pontiac Saturn Rear Brake Shoe & Drum Kit TRQ BKA10481
$113.95
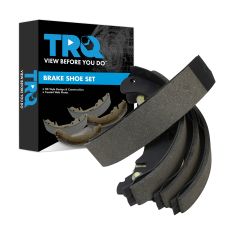
Replaces Chevrolet Pontiac Saturn Rear Brake Shoes TRQ BFA73806
$46.95
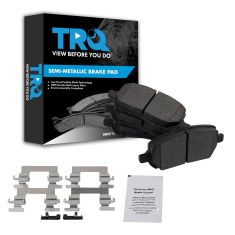
Replaces Chevrolet Pontiac Saturn Front Semi-Metallic Brake Pads TRQ BFA73706
$42.95
About TRQ:
TRQ is a trusted brand dedicated to making every repair a success story by combining premium parts with easy installation. Each TRQ part is engineered by a team of automotive experts to meet or exceed OEM standards, delivering enhanced performance and maximum longevity. With rigorous in-house testing, the brand ensures superior fit and function across every product line. TRQ also provides customers with best-in-class, step-by-step installation videos—so you can complete repairs with confidence, whether you're a first-time DIYer or an industry professional.
Attention California Customers:
 WARNING: This product can expose you to chemicals including Lead and Lead Compounds, which are known to the State of California to cause cancer, and birth defects or other reproductive harm. For more information, go to www.P65Warnings.ca.gov.
This part fits 5 vehicles spanning 2003-2008.
| Year | Make | Model | Description |
|---|---|---|---|
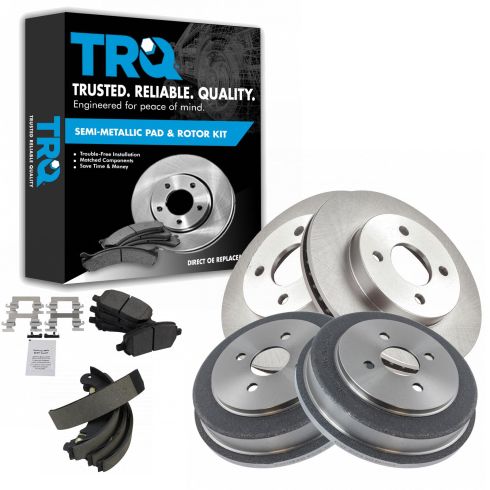
| 2005 | Chevrolet | Cobalt | Chevrolet Cobalt Front & Rear with Rear Drum Brakes Semi-Metallic Brake Pad & Rotor, Shoe & Drum Kit TRQ BKA11965 |
| 2006-2008 | Chevrolet | Cobalt | Chevrolet Cobalt Front & Rear with Rear Drum Brakes with 4 Lug Wheels Semi-Metallic Brake Pad & Rotor, Shoe & Drum Kit TRQ BKA11965 |
| 2007-2008 | Pontiac | G5 | Pontiac G5 Front & Rear with Rear Drum Brakes with 4 Lug Wheels Semi-Metallic Brake Pad & Rotor, Shoe & Drum Kit TRQ BKA11965 |
| 2003 | Saturn | Ion | Saturn Ion Front & Rear Semi-Metallic Brake Pad & Rotor, Shoe & Drum Kit TRQ BKA11965 |
| 2004-2007 | Saturn | Ion | Saturn Ion Front & Rear with Rear Drum Brakes Semi-Metallic Brake Pad & Rotor, Shoe & Drum Kit TRQ BKA11965 |
| Brand Label | Part Number |
|---|---|
| Raybestos Brakes | EHT956H |
| Aimco | 80109 |
| Bendix | PDR0766 |
| DuraGo | BR55083 |
| Wagner | BD126099 |
| Wagner | BD126100 |
| Raybestos Brakes | 9749 |
| Raybestos Brakes | 580137 |
| DuraGo | BD80109 |
| Bendix | PRT5419 |
| Aimco | 55083 |
| Chevrolet | 10366667 |
| Pontiac | 10366667 |
| Chevrolet | 18047640 |
| Pontiac | 22688724 |
| Pontiac | 25906723 |
| Saturn | 10366667 |
| Saturn | 22688724 |
| Chevrolet | 25906723 |
| Saturn | 22688646 |
| Raybestos Brakes | 9749FZN |
| Raybestos Brakes | 580137FZN |
| Raybestos Brakes | 9749P |
| Raybestos Brakes | 580137R |
| Raybestos Brakes | 580137P |
| Raybestos Brakes | 9749R |
| Centric Parts | 126.62072CSL |
| PowerStop | AR8288EVC |
| Bendix | PRT5899 |
| Wagner Brake | BD126100E |
| Centric Parts | 128.62072CR |
| BrakeBest | 580633FZN |
| Bosch | 25010559 |
| TruStar | 493335 |
| AutoZone | 55083 |
| Centric Parts | 128.62072CL |
| Casting Numbers | 325611 |
| BrakeBest | 580633R |
| Centric Parts | 128.62072R |
| Advance Auto Parts | YH145419P |
| Centric Parts | 127.62072R |
| ACDelco | 177-1009 |
| AutoZone | DL55083 |
| AutoZone | 55083DL |
| Newtek Automotive USA | 55083 |
| Centric Parts | 127.62072CL |
| Centric Parts | 127.62072L |
| Centric Parts | 227.62072L |
| Centric Parts | 127.62072CR |
| BrakeBest | 580137 |
| Saturn | 22702612 |
| Casting Numbers | 211474-C |
| Autoxtra | AX900646 |
| Centric Parts | 126.62072SL |
| BrakeBest | 25010559 |
| Wagner Brake | BD126100 |
| BrakeBest | BD126100 |
| Qualitee International | 64-93-335 |
| Centric Parts | 120.62072CRY |
| Promax | 20-55083 |
| BrakeBest | 580137FZN |
| Wagner Brake | SB580633 |
| Autoxtra | AX55083 |
| Casting Numbers | 326404 |
| Advance Auto Parts | YH145419C |
| Guardian | 52-126100 |
| BrakeBest | 81-126100 |
| Centric Parts | 320.62072 |
| General Motors | 25836294 |
| Omnicraft | QBRR217 |
| General Motors | 19303829 |
| Dura Corp | BR55083 |
| Mighty Distributing System | 55083 |
| Raybestos Brakes | 580633R |
| Qualis | 41250 |
| Centric Parts | 126.62072SR |
| Centric Parts | 126.62072CSR |
| Autoxtra | 80580137 |
| BrakeBest | 580137R |
| BrakeBest | 580633RGS |
| Bosch | 25010570 |
| BrakeBest | 25010570 |
| Centric Parts | 128.62072L |
| BrakeBest | 580137RGS |
| Qualis | 55083 |
| Ultra Brake | 55170 |
| Quality Brand | Q4172 |
| Brembo | 09.B606.10 |
| Advance Auto Parts | YH145419 |
| VIPAR - Vehicle Indusrty Parts & Manufacturing | X51482 |
| Advance Auto Parts | 145419 |
| UAP | 55083 |
| DuraGo | 900646 |
| Dura Corp | BR900598 |
| DuraGo | BR900646 |
| Dura Corp | BR5508302 |
| Promax | 14-55083 |
| Autopartsource | 593335 |
| TruStar | R93335 |
| General Motors | 25863339 |
| Centric Parts | 121.62072 |
| Centric Parts | 120.62072 |
| AutoZone | 55083DG |
| Brembo | 27326 |
| Winhere | 662908 |
| Bendix | 145419 |
| Monroe Brakes | BD126100 |
| DuraGo | BR5508302 |
| GREN | 486102 |
| Centric Parts | 227.62072R |
| Dura Corp | BR900646 |
| Newtek Automotive USA | 55152 |
| Hollander | 530-02125 |
| WABCO - Archived | PS126100 |
| Raybestos Brakes | MGD956CH |
| Raybestos Brakes | SGD956C |
This item may be interchangeable with parts from other brands with the above part numbers. This information is provided only for reference and does not guarantee that the item you are purchasing is identical to parts with part numbers from the brands listed above. To confirm that this item fits your vehicle, use the above "Check Vehicle Fit" option.
Lifetime Warranty
This item is backed by our limited lifetime warranty. In the event that this item should fail due to manufacturing defects during intended use, we will replace the part free of charge. This warranty covers the cost of the part only.
FREE Shipping is standard on orders shipped to the lower 48 States (Contiguous United States). Standard shipping charges apply to Hawaii and Alaska.
Shipping is not available to a P.O. Box, APO/FPO/DPO addresses, US Territories, or Canada for this item.
Expedited is available on checkout to the United States, excluding Alaska, Hawaii.
Final shipping costs are available at checkout.


Created on:
Tools used
Brought to you by 1AAuto.com, your source for quality replacement parts and the best service on the Internet.
Hi, I'm Mike from 1A Auto. I hope this how-to video helps you out, and next time you need parts for your vehicle, think of 1AAuto.com. Thanks.
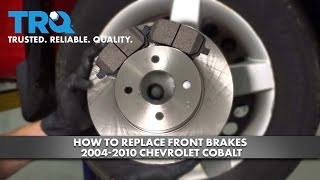
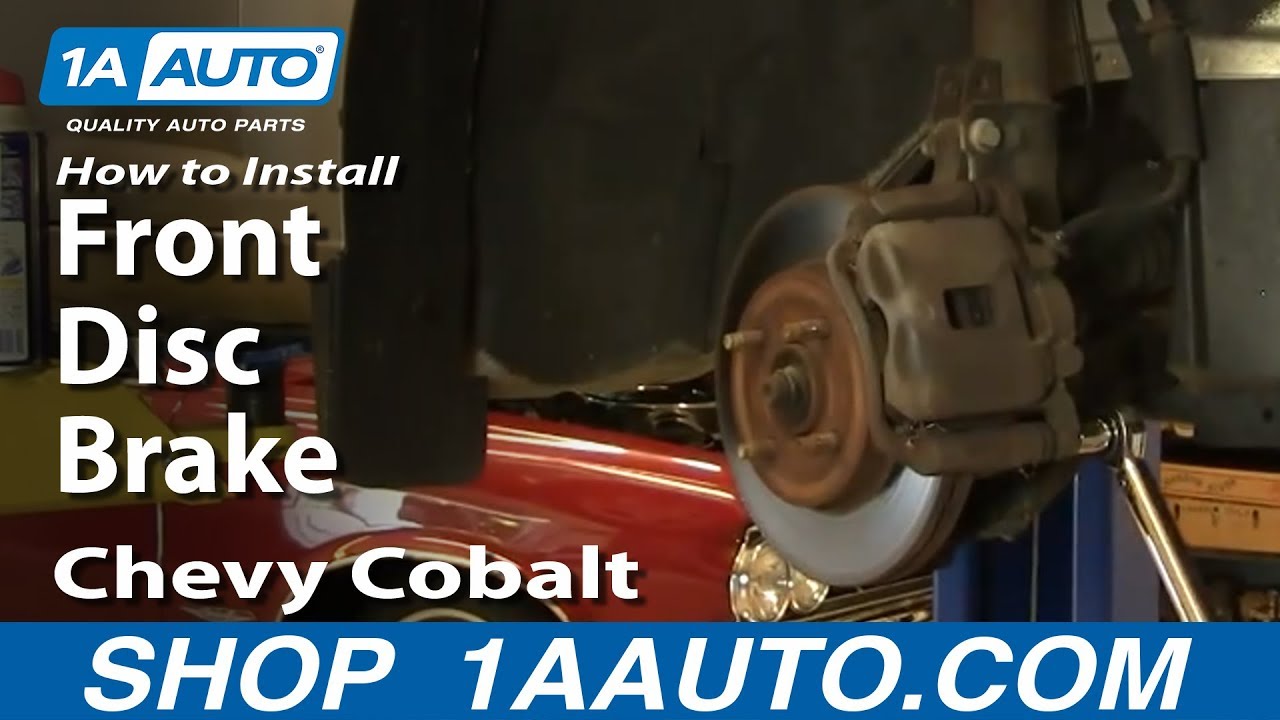
In this video we're going to show you how to service the front brakes on this 2005 Chevy Cobalt, pretty much the same for any Cobalt as well as the Pontiac G5 and we're going to show you the passenger side front. Obviously you always want to repeat it for the driver's side and do brakes in pairs. Tools you'll need are a jack and jack stands, 14, 15, and 19 mm socket . you could substitute your own tire iron for that 19 mm socket . ratchet and breaker bar or a pipe from some extra leverage, a large flat blade screwdriver or a small pry bar, a large C clamp and some wire brush and grease if you notice that your caliper slides are stuck a little bit as you'll see the top slide in mine is stuck so I had to pull it out, clean it and put it back in.
Start out by removing little caps that hold the wheel cover in place. I'm obviously missing two on this vehicle. Then, if you don't have the benefit of air tools, start with your wheel and tire on the ground, loosen the lug nuts then raise and support your vehicle and remove the lug nuts and the wheel and tire.
Then we can inspect the condition of the breaks but rotors, you want to run the back of your fingernail up along them. You'll feel some small grooves but you want to make sure there are no large grooves. Make sure there's not too much scaling of the rotor and the back side as well. Rotors are in good shape on this vehicle. You can see here that there's basically nothing left of the pad so we'll definitely be changing the pads on this.
What you'll want to do is remove this bolt and this bolt. Before you remove those bolts you can just take a large screwdriver and put it in here and slowly pry out and that you'll actually move the caliper out. It actually forces the piston back in and just helps loosen things up before you take it apart. These bolts are 14 mms and they should come off pretty easily. Just speed up here as I remove those the rest of the way. Caliper comes right off. Put that right up there for now and the pads just pull right out. You can see these are in pretty rough shape; they just fall apart as I take them out. You can use a screwdriver to knock them out. If you wanted to replace your rotor you'd remove two bolts here and here, they're 15 mm. You can use a ratchet; I'm also going to use a piece of pipe which gives me some extra leverage. Speed it up here again. So, I used that pipe for some extra leverage, got the bolts going then used my socket and ratchet and just my fingers the rest of the way. The rotor comes right off, if you're having problems with your brakes pulsating generally replacing the rotors will help. The brakes on this car are pretty smooth they just need new pads so rotor back on, put this in place, start your bolts from the inside of the car to the outside. Torque these caliper bracket bolts to 80 foot pounds. You want to pull these off. Depending on which brakes you order, they may or may not come with new stainless steel slides. If they don't come with new ones just wire brush the old ones. These do come with new ones. Pull the old ones out. Just fast forward here as I just snap in those slides, the new slides into place.
Here are the new pads from 1A Auto. See a lot more life left. Depending on which pads you order you may have to install this wear indicator. You want to put it at the top of the inside pad and it just clips right on. This pad right on the inside top, slide it in place. Put the outer one in place down, squeeze them together. Now we need to reset the piston. As your brakes wear, the way you can adjust them is that this piston works its way out of the caliper. I just stuck an old brake pad in there, the large C-clamp. Slowly tighten the C-clamp and it forces the piston back into the caliper.
Now the caliper goes right on over the pads. There are slides right here in your caliper brackets and lo and behold it looks like these are going to slide nice and easily. I just took and freed up the pistons nice and easy, that should pull this one right out, clean it up, put a little grease on it. I cleaned this one up, put a little bit of bearing grease on it, stuff it in there, get the boot to go back in so the caliper bracket Turn the caliper down and put it on want to probably squeeze the slides in into place. I'll speed it up here as I put those bolts in. Just kind of move the caliper around, push the bolts in and they'll start threading in and then preliminarily tighten them up. These small bolts should be tightened to 20 foot pounds. Fast forward again, straighten out the wheels, put the wheel and tire in place, I put a little penetrating oil on there just to keep the threads clear. Thread on the lug nuts and then preliminarily tighten them up. With the wheel back on the ground, torque the lug nuts to 100 foot pounds then replace your wheel cover and you can just kind of hand put the caps back on, that'll hold it in place. Always pump the brakes up, make sure you get a good firm brake pedal then try stops from 5 and 10 miles an hour before road testing the vehicle.
We hope this helps you out. Brought to you by www.1AAuto.com, your source for quality replacement parts and the best service on the Internet. Please feel free to call us toll-free, 888-844-3393. We're the company that's here for you on the Internet and in person.
Great parts and service service online.
Great price and quality
Super happy!!
Easy install but still needs more work. Make sure you have all the right tools it will be more smooth of an install
the parts are pretty good and very okay to what I see by the description
After pricing locally and looking around online this complete set for a complete front to back brake job was hands-down the best deal that could be found!!! Very good high-quality products and once again not disappointed one bit from 1aAuto!!!!
All items fit perfectly on my 2007 Chevy Cobalt LS 2.2
1aauto is a great alternative to local part stores. Easy online ordering with fast shipping and quality parts cheap makes this a no brainer.
Best value, easy to install.
Wonderful product..perfect fit...cheapest i found and great quality...love the site
