
★★★★★
August 20, 2023
Great
Great replacement

Replaces






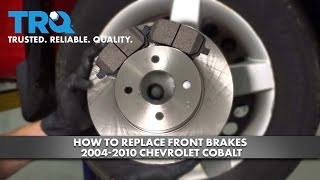
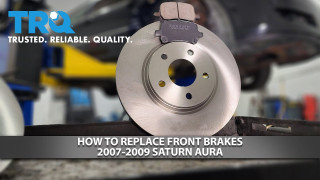
Part Details
Specifications
About TRQ:
TRQ is a trusted brand dedicated to making every repair a success story by combining premium parts with easy installation. Each TRQ part is engineered by a team of automotive experts to meet or exceed OEM standards, delivering enhanced performance and maximum longevity. With rigorous in-house testing, the brand ensures superior fit and function across every product line. TRQ also provides customers with best-in-class, step-by-step installation videos—so you can complete repairs with confidence, whether you're a first-time DIYer or an industry professional.
Product Features
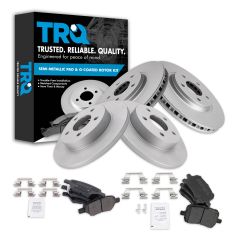
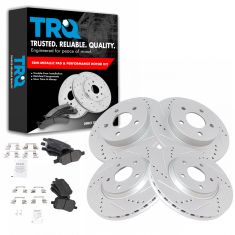
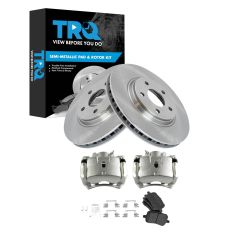
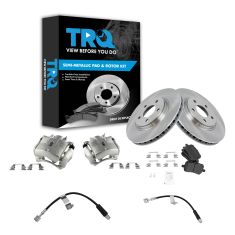
TRQ brake kits are designed to restore your brake system to like-new performance. TRQ brake pads are positive molded, thermal scorched, chamfered, and utilize a multi-layer shim for enhanced performance and service life. TRQ rotors have a non-directional finish that reduces the break-in period for new rotors as well as reducing vibrations throughout the rotor’s lifecycle. All products are fit and road-tested in our Massachusetts R&D facility to ensure we deliver on our promise of Trusted Reliable Quality.
Attention California Customers:
 WARNING: This product can expose you to chemicals including Lead and Lead Compounds, which are known to the State of California to cause cancer, and birth defects or other reproductive harm. For more information, go to www.P65Warnings.ca.gov.
This part fits 18 vehicles spanning 2004-2012.
| Year | Make | Model | Description |
|---|---|---|---|
| 2005-2007 | Chevrolet | Cobalt | Chevrolet Cobalt Front & Rear with Rear Disc Brakes Semi-Metallic Brake Pad & Rotor Kit TRQ BKA11531 |
| 2008 | Chevrolet | HHR | Chevrolet HHR Front & Rear with Rear Disc Brakes with Single Piston Front Calipers Semi-Metallic Brake Pad & Rotor Kit TRQ BKA11531 |
| 2009 | Chevrolet | HHR | Chevrolet HHR SS Front & Rear with Single Piston Front Calipers Semi-Metallic Brake Pad & Rotor Kit TRQ BKA11531 |
| 2010 | Chevrolet | HHR | Chevrolet HHR Front & Rear with Rear Disc Brakes with Single Piston Front Calipers Semi-Metallic Brake Pad & Rotor Kit TRQ BKA11531 |
| 2004-2007 | Chevrolet | Malibu | Chevrolet Malibu Front & Rear with 296mm Diameter Front Rotors with Rear Disc Brakes Semi-Metallic Brake Pad & Rotor Kit TRQ BKA11531 |
| 2008 | Chevrolet | Malibu | Chevrolet Malibu LS Front & Rear Semi-Metallic Brake Pad & Rotor Kit TRQ BKA11531 |
| 2008 | Chevrolet | Malibu | Chevrolet Malibu Hybrid Front & Rear Semi-Metallic Brake Pad & Rotor Kit TRQ BKA11531 |
| 2008 | Chevrolet | Malibu | Chevrolet Malibu Classic LS Front & Rear with 296mm Diameter Front Rotors Semi-Metallic Brake Pad & Rotor Kit TRQ BKA11531 |
| 2008 | Chevrolet | Malibu | Chevrolet Malibu Classic LT Front & Rear with 296mm Diameter Front Rotors Semi-Metallic Brake Pad & Rotor Kit TRQ BKA11531 |
| 2008 | Chevrolet | Malibu | Chevrolet Malibu LT Front & Rear Semi-Metallic Brake Pad & Rotor Kit TRQ BKA11531 |
| 2008 | Chevrolet | Malibu | Chevrolet Malibu LTZ Front & Rear Semi-Metallic Brake Pad & Rotor Kit TRQ BKA11531 |
| 2009-2012 | Chevrolet | Malibu | Chevrolet Malibu Front & Rear Semi-Metallic Brake Pad & Rotor Kit TRQ BKA11531 |
| 2007-2008 | Pontiac | G5 | Pontiac G5 Front & Rear with Rear Disc Brakes with 5 Lug Wheels Semi-Metallic Brake Pad & Rotor Kit TRQ BKA11531 |
| 2005 | Pontiac | G6 | Pontiac G6 Front & Rear Semi-Metallic Brake Pad & Rotor Kit TRQ BKA11531 |
| 2006-2007 | Pontiac | G6 | Pontiac G6 Front & Rear with 296mm Diameter Front Rotors with 4 Wheel ABS Brakes Semi-Metallic Brake Pad & Rotor Kit TRQ BKA11531 |
| 2008-2010 | Pontiac | G6 | Pontiac G6 Front & Rear Semi-Metallic Brake Pad & Rotor Kit TRQ BKA11531 |
| 2007-2009 | Saturn | Aura | Saturn Aura Front & Rear Semi-Metallic Brake Pad & Rotor Kit TRQ BKA11531 |
| 2005-2007 | Saturn | Ion | Saturn Ion Front & Rear with Rear Disc Brakes Semi-Metallic Brake Pad & Rotor Kit TRQ BKA11531 |
| Brand Label | Part Number |
|---|---|
| Raybestos Brakes | EHT1160H |
| Raybestos Brakes | EHT1033H |
| Aimco | 55093 |
| Wagner | BD126136 |
| Wagner | BD126138 |
| Aimco | 55094 |
| Bendix | PRT5563 |
| Wagner | BD126581 |
| Wagner | BD126578 |
| DuraGo | BR55093 |
| Raybestos Brakes | 580243 |
| Wagner | BD126566 |
| Raybestos Brakes | 580184 |
| Bendix | PRT5528 |
| DuraGo | BR55094 |
| Chevrolet | 15808204 |
| Chevrolet | 10365723 |
| Pontiac | 25957440 |
| Saturn | 15808204 |
| Saturn | 10365723 |
| Pontiac | 15808204 |
| Chevrolet | 25809846 |
| Chevrolet | 25957440 |
| Saturn | 15243254 |
| Pontiac | 10365723 |
| Chevrolet | 15243254 |
| Pontiac | 15243254 |
| Pontiac | 20881786 |
| Chevrolet | 22820406 |
| Chevrolet | 20881786 |
| Chevrolet | 15243704 |
| Pontiac | 25809846 |
| Raybestos Brakes | 580184P |
| Raybestos Brakes | 580184FZN |
| Raybestos Brakes | 580243R |
| Raybestos Brakes | 580184R |
| Raybestos Brakes | 580243P |
| Raybestos Brakes | 580243FZN |
| FMSI | CD1033 |
| FMSI | CD1160 |
| Raybestos Brakes | MGD1160CH |
| DIY Solutions | BFS01094 |
| Raybestos Brakes | SGD1160C |
| Raybestos Brakes | MGD1033CH |
| Raybestos Brakes | SGD1033C |
This item may be interchangeable with parts from other brands with the above part numbers. This information is provided only for reference and does not guarantee that the item you are purchasing is identical to parts with part numbers from the brands listed above. To confirm that this item fits your vehicle, use the above "Check Vehicle Fit" option.
Lifetime Warranty
This item is backed by our limited lifetime warranty. In the event that this item should fail due to manufacturing defects during intended use, we will replace the part free of charge. This warranty covers the cost of the part only.
FREE Shipping is standard on orders shipped to the lower 48 States (Contiguous United States). Standard shipping charges apply to Hawaii and Alaska.
Shipping is not available to a P.O. Box, APO/FPO/DPO addresses, US Territories, or Canada for this item.
Expedited is available on checkout to the United States, excluding Alaska, Hawaii.
Final shipping costs are available at checkout.
Created on:
Tools used
Brought to you by 1AAuto.com, your source for quality replacement parts and the best service on the Internet.
Hi, I'm Don from 1A Auto. I hope this how-to video helps you out, and the next time you need a part for your vehicle, think of 1AAuto.com. Thanks.
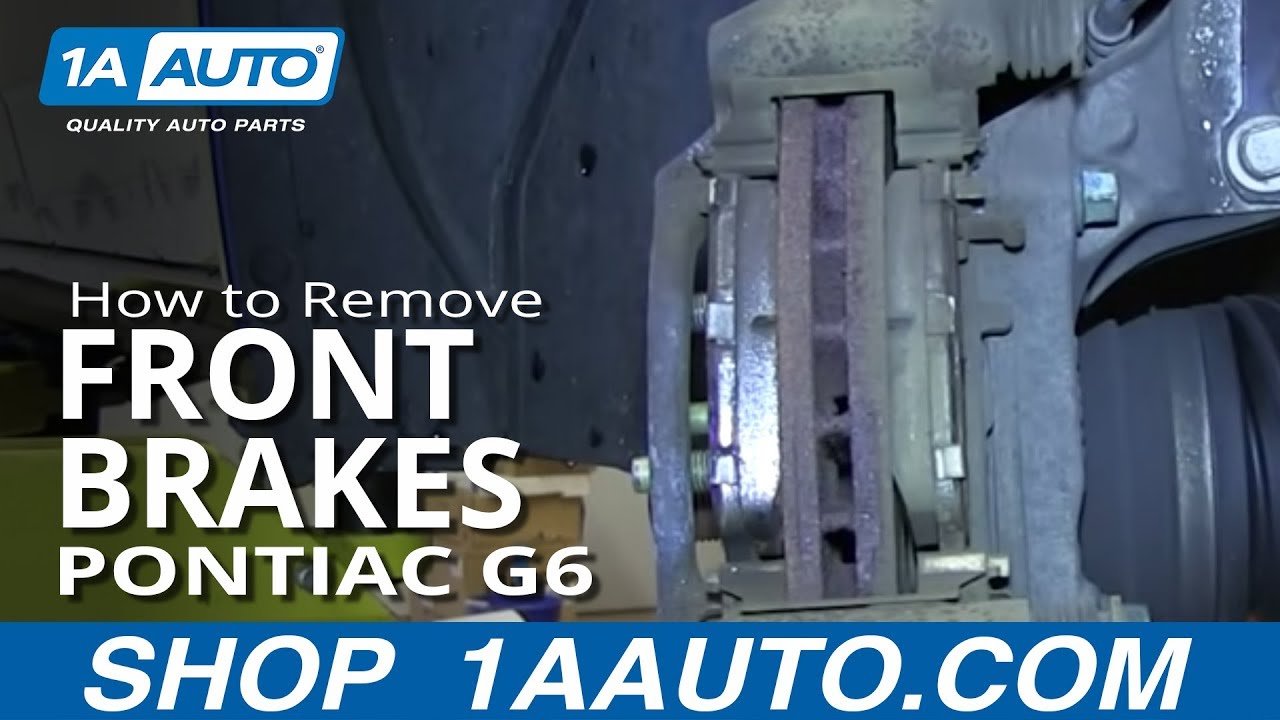
In this video, we're going to show you how to remove, inspect, and replace front brake pads and rotors on a 2007 Pontiac G6. It's fundamentally the same from 2005 to 2010, and from the left side to the right side. The items that you are going to need are jack and jack stands, 19mm, 15mm, and 14mm socket and ratchet, flat blade screwdriver, C-clamp, and some brake grease.
Remove the plastic caps on the lug nuts with a 19mm socket. I'll fast-forward as I take those all off. Use a 19mm socket and socket wrench. If you have an air tool, go ahead and use that. You're going to remove the five lug nuts, and I'll fast-forward through that.
By hand, turn the hub assembly so that you can gain better access behind it. Doing a general front brake inspection, look through the window to see how much thickness is on the inside pad. Check your rotor. Run your finger along and check for any deep grooves or gouges. Then, check the outer pad thickness from where I'm pointing.
Use a 14mm socket and socket wrench, and remove the two bolts that hold the caliper to the caliper bracket. I'll fast-forward through removing those two 14mm bolts. Pull the caliper up and off of the caliper bracket and put it up and to the side.
Take a screwdriver and pry the pad away from the rotor. Do that for both the inner and outer pad. Remove the upper and lower metal brake pad guides. Using a 15mm socket and socket wrench, remove the two bolts that hold the caliper guide to the spindle assembly. I'm going to fast-forward as I take out those two 15mm bolts. Pull the caliper bracket up and out. Remove the brake rotor.
Our brakes were fine, so we're going to reinstall them. Go ahead and put your new rotor on. Then you can use a lug nut to keep it pressed against the hub while you finish up the brake work. I'm positioning the caliper so that I can use a C-clamp to push the piston back into the caliper. You can do this with a C-clamp, or you can do it with a pair of large water pump channel lock style pliers. What you're going to want to do is put the screw clamp onto the piston, tighten it, which forces the piston back into place.
I'm going to reposition the wheel so that I can get that access to the back of it. Before I go ahead and put that caliper bracket back on, I want to make sure that the slides are well greased. I'll pull them out with the boot, and check to make sure that there's grease on them. If there isn't, I will do that, and go ahead and push that boot back onto the caliper bracket. I'm going to do that for both of those just to make sure everything is good. Then, I'm going to go ahead and put that caliper bracket back on with the 15mm bolts. I'm going to fast-forward as I reinstall those two 15mm bolts. I'm going to torque the two 15mm bolts to approximately 65 foot-pounds.
Clean up the metal slides that you took off the caliper bracket with a wire brush. Then reinstall them to both the top and bottom. Take your pads and lube up with a little brake grease the ends that will get in contact with those caliper slide brackets, and then, go ahead and slide them into place. Go ahead and take your caliper and slide it over the brake pads and onto the caliper bracket, lining it up with the two slides, top and bottom.
Reinstall the bolts that hold the caliper to the caliper bracket. I'm going to go ahead and fast-forward through that. Torque the two caliper bolts to roughly 35 foot-pounds.
Reinstall the wheel and tighten up the lug nuts. I'm going to use an air gun, so I will fast-forward through this. I'm going to torque the five lug nuts to roughly 100 foot-pounds, and I'm going to do it in a star pattern. Now, reinstall your hub cap, and I'm going to do that with that 19mm socket, and I'm just going to screw them in by hand.
Also, we want to make sure that you line up the valve stem with the notch in the hub cap for the valve stem. I'm going to fast forward through tightening that up.
We hope this video helps you out. Brought to you by www.1AAuto.com, your source for quality replacement parts and the best service on the Internet. Please feel free to call us toll-free, 888-844-3393. We're the company that's here for you on the Internet and in person.

BKA11531
Great replacement
excellent performance and good cuality material
Worked great. Perfect. Nothing better than having every single piece required.
Parts that I got fit perfect. It would be nice to have a hardware (bolts and such) option because those were hard to find and I needed replacements. Otherwise parts fit and work great so far.
Worked until my son totaled the car on ice.
Perfect fit. Easy installation, and best price by far, compared to all the local auto retailers around me.
Work very well, only have about 500 miles on them so not sure on the longevity.
Did the job and still going strong!
Best site for car parts
so very happy with not just this product, but all there product in witch me and my family have purched for all of our cars trucks and suv, we always get great deals on everything and they ship everything my family and i have purchased within three bissness days witch in itself is great, However the one problem i have had was fix so fast and esily i didnt have to even leave my house they handled everything with ease and my problem was solved in 3,5 bisnness days, i always recomend 1A AUTO to everyone and have gone as far as purchasing things for others and they to now use 1A AUTO, i will continue not only using this site for all my needed parts cuase they are trust worthy very great price for an even more amazing budled deal.... THANK YOU A1 AUTO, joshua miller
These are only correct for the vehicles they are listed for. The pads and rotors may be different than what is on your vehicle.
Yes, this part will fit your vehicle.
Yes it does. It is OEM part replacement
