About TRQ: TRQ is a trusted brand dedicated to making every repair a success story by combining premium parts with easy installation. Each TRQ part is engineered by a team of automotive experts to meet or exceed OEM standards, delivering enhanced performance and maximum longevity. With rigorous in-house testing, the brand ensures superior fit and function across every product line. TRQ also provides customers with best-in-class, step-by-step installation videos—so you can complete repairs with confidence, whether you're a first-time DIYer or an industry professional.
Product Features
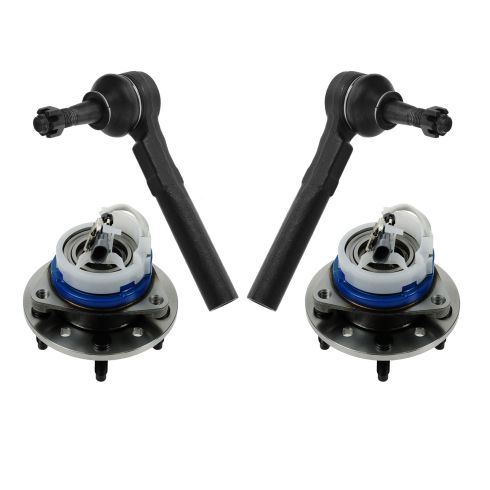
100% New: Manufactured to tighter tolerances for extended service life
Upgraded Elastomer: Premium seals to extended service life
Moly Greased: Specifically-designed grease shield to reduce premature wear
Restored Performance: Refreshed steering system for improved road-feel
Description
TRQ drivetrain kits are manufactured using premium raw materials to restore original performance. Each TRQ drivetrain component is designed to be a direct, maintenance-free replacement to the stock unit. To extend the service life of your drivetrain, TRQ recommends replacing wheel hubs, bearings, and constant velocity (CV) drive axles at the same time to ensure even wear of components and improved ride comfort. All products are fit and road-tested in our Massachusetts R&D facility to ensure we deliver on our promise of Trusted Reliable Quality.
Install Tip: When replacing steering components, have a professional alignment performed afterwards. This ensures proper tracking and even tire wear.
Our steering and suspension components are pre-greased and sealed for long life and do not require the extra maintenance typically required by greaseable versions.
Attention California Customers:
WARNING: This product can expose you to chemicals including Lead and Lead Compounds, which are known to the State of California to cause cancer, and birth defects or other reproductive harm. For more information, go to www.P65Warnings.ca.gov.
This part fits
5 vehicles spanning 1997-2005.
Fits these Makes
Select vehicle
Year
Make
Model
Description
2004-2005
Chevrolet
Classic
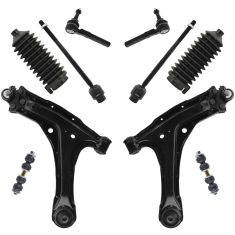
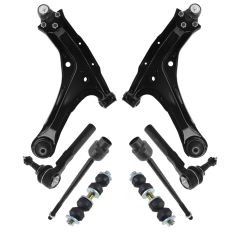
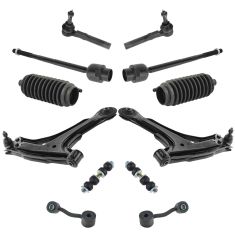
Chevrolet Classic Front 4 Piece Steering & Drivetrain Kit TRQ PSA58458
1997-2003
Chevrolet
Malibu
Chevrolet Malibu Front 4 Piece Steering & Drivetrain Kit TRQ PSA58458
Pontiac Grand Am Front 4 Piece Steering & Drivetrain Kit TRQ PSA58458
Part Interchange
Brand Label
Part Number
MOOG Hub Assemblies
513137
Timken
513137
ACDelco
FW153MX
ACDelco
FW153
Chicago Rawhide
BR930080
General Motors
12413060
Mevotech
H513137
General Motors
7470562
Green Ball
3002FW
General Motors
12413040
General Motors
7470018
Raybestos Brakes
713137
General Motors
7470561
General Motors
88957259
General Motors
12429202
GMB
730-0002
Drive Tech America
NT513137
SKF
BR930080
General Motors
12429201
SKF
BAR-5126
MOOG Chassis Products
ES3455
DIY Solutions
SUS07339
General Motors
26055104
General Motors
26086073
Mevotech
MES3455
Hollander
538-01416
Mevotech Supreme
MES3455
Mevotech Supreme
H513137
This item may be interchangeable with parts from other brands with the above part numbers.
This information is provided only for reference and does not guarantee that the item you are
purchasing is identical to parts with part numbers from the brands listed above.
To confirm that this item fits your vehicle, use the above "Check Vehicle Fit" option.
Lifetime Warranty
This item is backed by our limited lifetime warranty. In the event that this item should fail due to manufacturing defects during intended use, we will replace the part free of charge. This warranty covers the cost of the part only.
FREE Shipping is standard on orders shipped to the lower 48 States (Contiguous United States). Standard shipping charges apply to Hawaii and Alaska.
Shipping is not available to a P.O. Box, APO/FPO/DPO addresses, US Territories, or Canada for this item.
Expedited is available on checkout to the United States, excluding Alaska, Hawaii.
Final shipping costs are available at checkout.
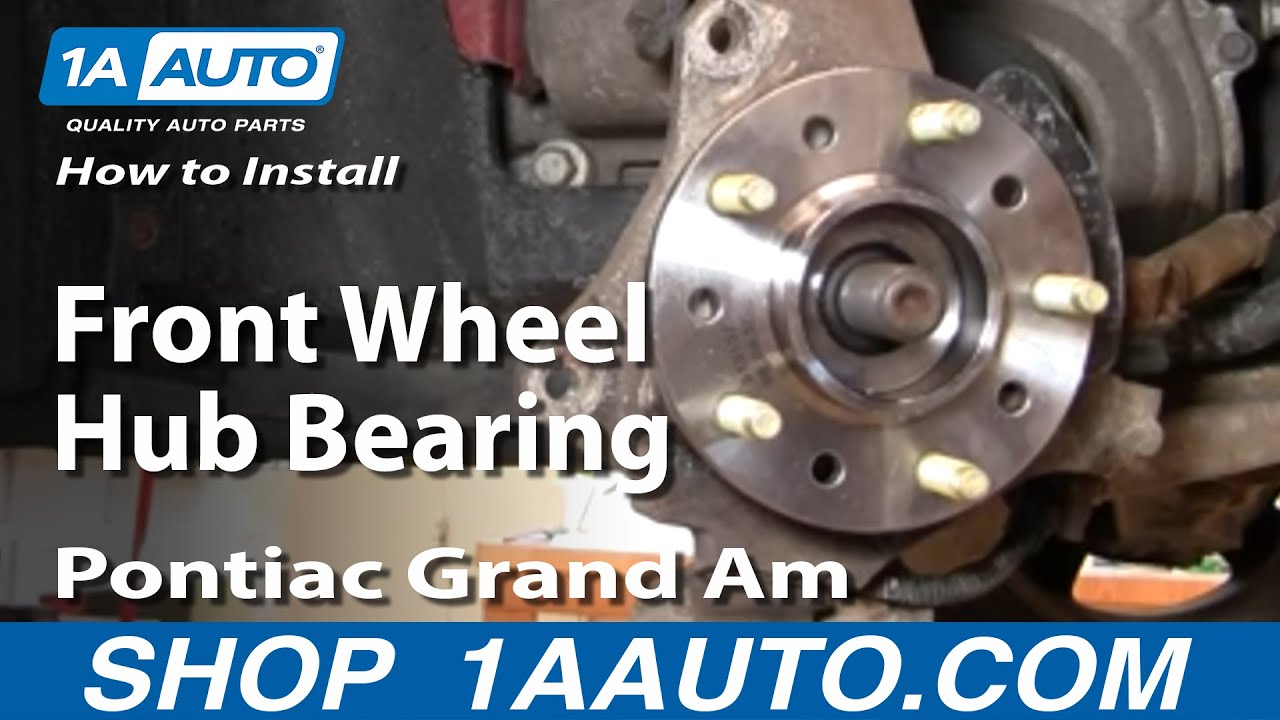
How to Replace Wheel Bearing Hub Assembly 1999-2005 Pontiac Grand Am
Created on:
Tools used
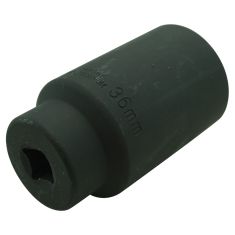
35mm Socket
13mm Socket
Socket Extensions
Torque Wrench
Jack Stands
19mm Socket
32mm Socket
Flat Blade Screwdriver
34mm Socket
Lug Wrench
Ratchet
Floor Jack
1/2 Inch Breaker Bar
1. Install the hub
Thread through the ABS harness.
Start the bolts and make sure the shield plate is in the correct place.
Turn the wheel as needed to get better access to thread in the bolts.
Torque the bolts between 55-60 foot pounds.
Connect the ABS harness and clip the bracket in place.
2. Reassemble the brakes.
Put the rotor back on.
Secure the caliper onto the brake disk.
Bolt into place and torque to 55 ft lbs.
3. Put the wheel back on
Torque the lug nuts to 75 ft lbs.
The center hub nut should be torqued to 85 ft lbs.
Brought to you by 1AAuto.com, your source for quality replacement parts and the best service on the internet.
Hi, I'm Mike Green. I'm one of the owners of 1A Auto. I want to help you save time and money repairing or maintaining your vehicle. I'm going to use my 20 plus years experience restoring and repairing cars and trucks like this to show you the correct way to install parts from 1AAuto.com. The right parts, installed correctly, that's going to save you time and money. Thank you and enjoy the video.
Okay, so part two, replacing and installing the hub on this '99 Pontiac Grand Am. This video will help you with just about any GM front-wheel drive car from about '93 to present. Maybe the parts are a little different, maybe the size of the wrench is a little different, but the procedure is about the same, and again we cover removing the hub in our other videos, same name, just part one.
Okay, here's a list of tools you're going to need. You are going to need 3/8'' drive tools because it's a little hard to reach one of the bolts in the hub, and you are going to need to use torque wrenches because you want to make sure you get these, these are all Driveline parts, so you want to make sure everything's put back together correctly.
This connector here needs to go in this way so we push that through. This bottom one is our easiest one, I'm just pushing the bolt through and pushing the hub on and getting this bolt started in. Obviously you want to make sure this plate's in the right place. Going to swap around here, and I'm going to get the bottom, the rear bottom bolt in, push it through, and thread it on. Then I'm going to go around to the other side and I'm going to turn the wheel and now I can get this top on in and through. Push on the hub so it's back against the steering knuckle that prevents you from cross turning anything. Okay, so now I've got my socket and 13 millimeter wrench and I'll get each one of them somewhat tight first then I'll tighten them up. These should be between 55 and 60 foot-pounds. This center hub nut should be between 75 and 85 foot-pounds. I did put my hub on and I tightened it with an impact wrench but then I loosened it up a half-turn or so, so it's not exactly tight. You actually have to wait until you put the tire on the ground to torque that up.
Now I'm going to torque my three hub mounting bolts and I'm torqueing them to 55 foot-pounds. In fact I can actually reach this one pretty well from the backside here, so I will. I can reach it but I can't see it. There it is. Okay, and now I'm going to connect my ABS sensor, take my harness from the hub, and I'm going to click it on to the bracket here which sounds easy but is just a little bit weird here. Okay, kind of clicked the wrong part on. There it is, clipped on and now I'm going to plug in the ABS harness from the car. So now I'll put the rotor back on. Now be careful not to touch the rotor with your dirty fingers. Then we're going to bring the brake caliper back down and gently take some force to press it back down on to the disc. Put those bolts back in. I'll put my two bolts back in, tighten those up, those are about 55 foot-pounds, going to put my wheel back on and then I'll lower it to the ground and go from there.
So what I'm doing here is before I put the wheel on, I'm just popping off this center cap, that way I'll be able to get through there. So I'll quickly run through, three bolts in the back of the hub, we torque those. ABS sensor is plugged in, brake caliper is on and torqued, and now I'm going to put the wheel on and the next thing you'll see is it down on the ground and we'll be torqueing up the lug nuts and the center bolt.
We've got the car on the ground; I'm going to go 85 pounds with this center nut as you can see. Then I'm going to back off to 75 pounds for the lug nuts, you want to do those in a star pattern. Put our center cap back on, and we're all set.
Brought to you by www.1AAuto.com, your source for quality replacement parts and the best service on the internet. Feel free to call us toll free (888)844-3393, the company that's here for you on the internet and in person. Thank you.
PSA58458
In Stock
Product Reviews
5.0/ 5
★★★★★★★★★★
2 reviews
5★
100%
4★
0%
3★
0%
2★
0%
1★
0%
★★★★★July 20, 2023
Drive train parts
Parts arrived on time and parts were better quality than I expected the videos were a lot of help Definitely will be buying more parts from here
★★★★★February 27, 2018
Hubs
Good quality material OEM fitment. Im very happy with my purchase
Showing 1–2 of 2 reviews
Customer Q&A
Got a question about this part? Post it and get answers from our team.
No questions have been answered for this product yet.
Customer service
877-844-3393
Monday - Friday 8:00am - 9:30pm ET Saturday - Sunday 8:00am - 4:30pm ET
Ask a Question
Check Your Email
We sent a verification email to .
Click the Verify Email button in the email to submit your question.
This extra step helps prevent spam.
Chevrolet is a registered trademark of General Motors Company. 1A Auto is not affiliated with or sponsored by Chevrolet or General Motors Company.See all trademarks.
Select Your Vehicle
Specify your vehicle's year, make and model to guarantee fit.








 WARNING: This product can expose you to chemicals including Lead and Lead Compounds, which are known to the State of California to cause cancer, and birth defects or other reproductive harm. For more information, go to www.P65Warnings.ca.gov.