Replaces


Part Details
About TRQ:
TRQ is a trusted brand dedicated to making every repair a success story by combining premium parts with easy installation. Each TRQ part is engineered by a team of automotive experts to meet or exceed OEM standards, delivering enhanced performance and maximum longevity. With rigorous in-house testing, the brand ensures superior fit and function across every product line. TRQ also provides customers with best-in-class, step-by-step installation videos—so you can complete repairs with confidence, whether you're a first-time DIYer or an industry professional.
Product Features
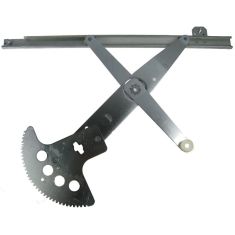
Note: This window regulator is designed to work with factory style motors only. Due to variations in aftermarket designs, replacement motors may not have the correct gear style.
Attention California Customers:
 WARNING: This product can expose you to chemicals including Lead and Lead Compounds, which are known to the State of California to cause cancer, and birth defects or other reproductive harm. For more information, go to www.P65Warnings.ca.gov.
Lifetime Warranty
This item is backed by our limited lifetime warranty. In the event that this item should fail due to manufacturing defects during intended use, we will replace the part free of charge. This warranty covers the cost of the part only.
FREE Shipping is standard on orders shipped to the lower 48 States (Contiguous United States). Standard shipping charges apply to Hawaii and Alaska.
Shipping is not available to a P.O. Box, APO/FPO/DPO addresses, US Territories, or Canada for this item.
Expedited is available on checkout to the United States, excluding Alaska, Hawaii.
Final shipping costs are available at checkout.

Created on:
Tools used
Brought to you by 1AAuto.com, your source for quality replacement parts and the best service on the Internet.
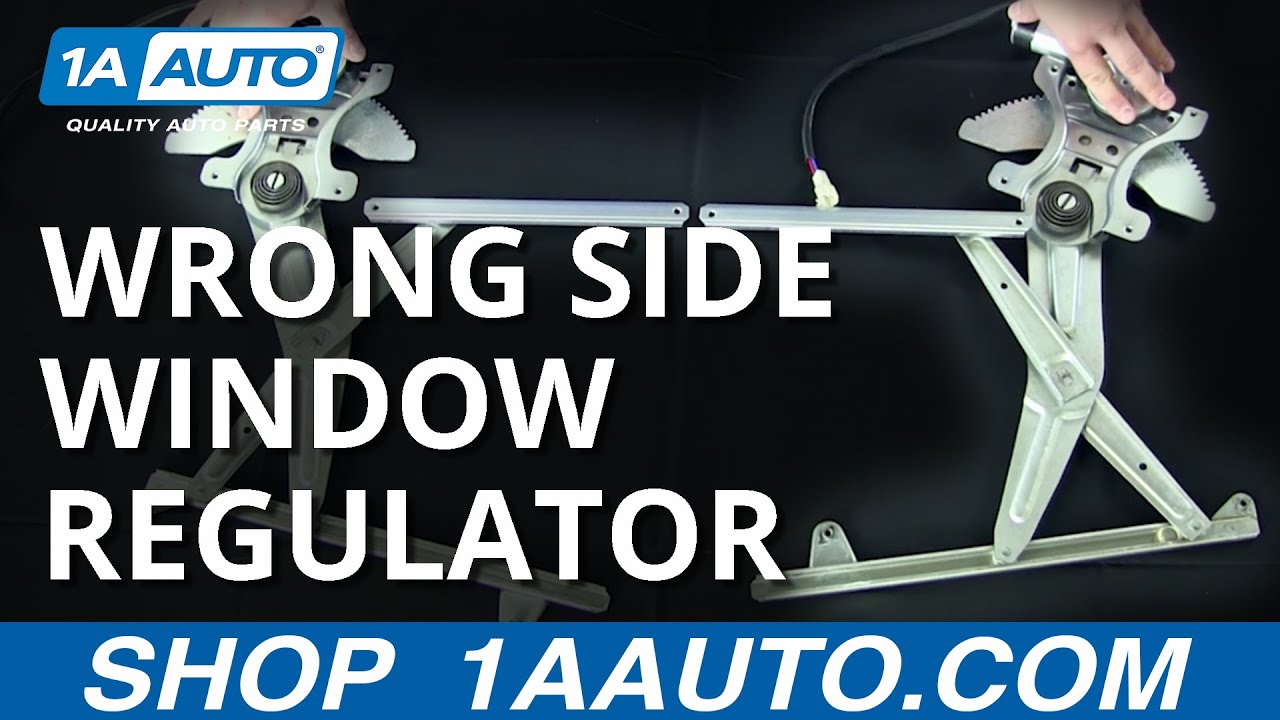
Hey, I'm Brian, I'm here to give you guys a little tutorial on some window regulators. The specific design is the scissor design. We actually get a lot of calls on these products here and the common question is: The part I received seems different than the part in my vehicle.
The scissor design actually has a flip design and we're actually going to show you how to fix this here. The most common thing that you want to do, or the first step you want to do is lay the parts out side by side. Try not to match them up in the car because this can get confusing. Take it out, lay them side by side, and what you actually see here is a same exact part for the same model vehicle in the same door. As the appearance shows here, they seem to be mirrored.
If you look down at the bottom here, we have the power window motor. This is the piece that is actually powered to lift and lower your glass. The next section down here is . you actually have your gear drive. Here's your mounting plates on both. As you can see, it's identical. You have your tension spring here. If you notice on the upper section here, it's kind of reversed. You're going to think normally, I get the wrong side door. You're going to give us a call and you want to express that to one of our customer service reps. I'm going to show you how to fix this.
Basically, pick this up by the base and you want to scissor or flip. This is how you're going to fix the issue. It's going to actually match the component as shown there. You can now see that both of these components here are the same part and you're ready for installation.
You should be good to go. Click on Subscribe or check us out at 1AAuto.com. We'd be more than happy to have you join on board and join the 1AAuto team.
Thanks for tuning in. We hope this video helps you out. Brought to you by www.1AAuto.com, your source for quality replacement parts and the best service on the Internet. Please feel free to call us toll-free, 888-844-3393. We're the company that's here for you on the Internet and in person.
Tools used
Brought to you by 1AAuto.com, your source for quality replacement parts and the best service on the Internet.
Hi, I'm Mike Green. I'm one of the owners of 1A Auto. I want to help you save time and money repairing or maintaining your vehicle. I'm going to use my 20-plus years experience restoring and repairing cars and trucks like this to show you the correct way to install parts from 1AAuto.com. The right parts installed correctly: that's going to save you time and money. Thank you and enjoy the video.
In this video we're going to show you how to replace the window regulator on this 2001 Chevy Malibu same as any '97 to '03. We show you the front driver's door which is similar to the passengers door as well. Tools you'll need are pretty basic, flat blade screw driver, Philips screw driver, 7mm and 10mm sockets with ratchet and an extension as well as a pair of pliers.
Using an 8mm wrench, disconnect your negative battery cable. This is more just to protect your battery from running down while you have the door open.
We're going to fast forward through removing the door panel. If you want to see this in regular speed you just check out our other videos but there's probably enough here to figure it out. Remove the switch, unplug it, remove the bezel around the door handle, a couple other bezels and pull the door panel off. You'll want to remove your water shield, just pull it down enough so you can see everything. I do remove it all the way just to make it get it out of the way for filming.
To remove the regulator you're going to want to take the power window motor off which is basically pushing on these tabs and pulling the motor off. You're going to want to take this spring off and then once you take that spring off you can move the window down a little bit and remove that 10mm nut and then this 10mm nut here. Let's just get this out of the way for right now. Push it down and pull out, pull up on this tab, pull out and then I put the screwdriver right in here at the top and then use another screwdriver and push this tab over here. Window motor pulls out and so the wire doesn't get disconnected. This spring you can either . what you want to do is just be careful, pry it off some, grab it with some pliers. Then, you're going to want to pull your wrist. The other thing you can do is just pry it right off with the screwdriver. Just be careful because it could go flying. Once that's off, you can move your window up and down with no problem. Here's that first 10mm nut. Disconnect it from the window sash. Just loosen that. Loosen this front one up here. Now, the window can come up and just lift it right up into place and now, just be careful reaching in here, because you can get your hands cut. You can support your regulator a little bit, and take this here twist it clockwise. It should come out. That comes out and then your gear comes down, your regulator slides forward and out, and comes right out.
The new regulator from 1A Auto is made just like your old one, all the plastic and everything is nice and brand new so it'll fix any of the looseness problems. Put it in. You need to make sure this wheel here goes into this track and now lift this up. Make sure your gear comes through here. Your gear is right here. Lift it up into place. You'll have to move your regulator around a little bit while you push this through. You can pull the regulator on, turn that clockwise, which locks it on.
You can bring your regulator up to just about as high as it will go. You want to leave it down just a little bit so you can slide the window down. Put your window motor back on, a little post the window motor, these holes in the window motor go on to. Push it into place and move your regulator up and down just a little bit. Now, you can actually take your window and slowly move it down until the sash connectors are going down right over there. Same thing here and take the original nuts off of the regulator, off your old one. Start this one on here, start this one here, and tighten those up, nice and firm. Reconnect your window motor; pull this stuff down out of here. This spring is going to go on like this so that that is basically opposite where it needs to go. This is probably one of the most difficult parts. Grab on to the end of the spring, hold on tight, bring it right around and on. Make sure it's pushed on there correctly and you're all set.
You can put the water shield back on. Make sure you feed the speaker wire through and reconnect the speaker and then also make sure you feed all the other harnesses through the correct spots. Like the beginning, we're going to fast forward through putting the door panel on. Make sure you pull those harnesses through and then everything kind of goes back in reverse order. In addition to this just make sure you reconnect your negative battery cable and you'll be all set to go. If you want to see replacing this door panel in regular speed just check out our other videos.
We hope this video helps you out. Brought to you by www.1AAuto.com, your source for quality replacement parts and the best service on the Internet. Please feel free to call us toll-free, 888-844-3393. We're the company that's here for you on the Internet and in person.

WRA51303