




★★★★★
June 25, 2026
Works good

Replaces
Replaces Chevrolet Buick Front & Rear 16 Piece Steering, Suspension, & Drivetrain Kit TRQ PSA59133
$494.95
Replaces Chevrolet Impala Olds Intrigue Front & Rear 4 Piece Strut & Spring Assembly Set TRQ SCA57015
$449.95
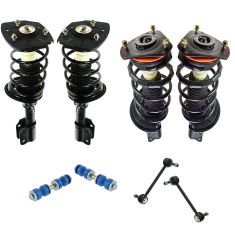
Replaces Chevrolet Buick Front & Rear 8 Piece Suspension Kit TRQ PSA85359
$449.95
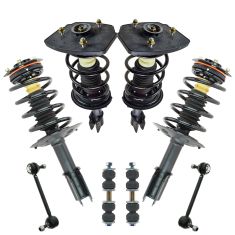
Replaces Chevrolet Impala Olds Intrigue Front & Rear 8 Piece Suspension Kit TRQ SCA67070
$448.95
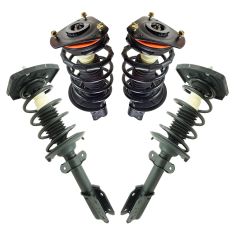
Replaces Chevrolet Buick Front & Rear 4 Piece Strut & Spring Assembly Set TRQ SCA04228
$419.95
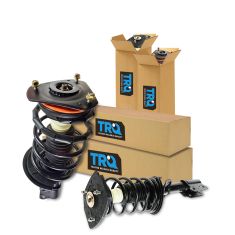
Replaces Chevrolet Buick Front & Rear 4 Piece Strut & Spring Assembly Set TRQ SCA57204
$401.95
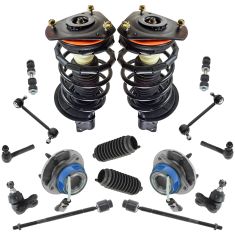
Replaces Chevrolet Pontiac Front & Rear 16 Piece Steering, Suspension, & Drivetrain Kit TRQ PSA59608
$394.95
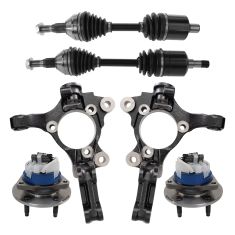
Replaces Chevrolet Buick Pontiac Olds Front 6 Piece Drivetrain Kit TRQ PSA77580
$389.95
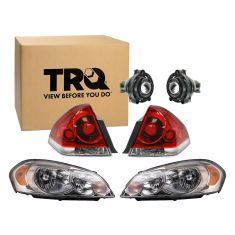
Replaces Chevrolet Impala Impala Limited 6 Piece Lighting Kit TRQ LKA83717
$375.95
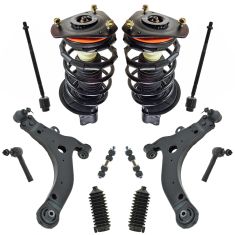
Replaces Chevrolet Pontiac Front 12 Piece Steering & Suspension Kit TRQ PSA59043
$374.95
Part Details
Specifications
About TRQ:
TRQ is a trusted brand dedicated to making every repair a success story by combining premium parts with easy installation. Each TRQ part is engineered by a team of automotive experts to meet or exceed OEM standards, delivering enhanced performance and maximum longevity. With rigorous in-house testing, the brand ensures superior fit and function across every product line. TRQ also provides customers with best-in-class, step-by-step installation videos—so you can complete repairs with confidence, whether you're a first-time DIYer or an industry professional.
Attention California Customers:
 WARNING: This product can expose you to chemicals including Lead and Lead Compounds, which are known to the State of California to cause cancer, and birth defects or other reproductive harm. For more information, go to www.P65Warnings.ca.gov.
This part fits 2 vehicles spanning 2006-2016.
| Year | Make | Model | Description |
|---|---|---|---|
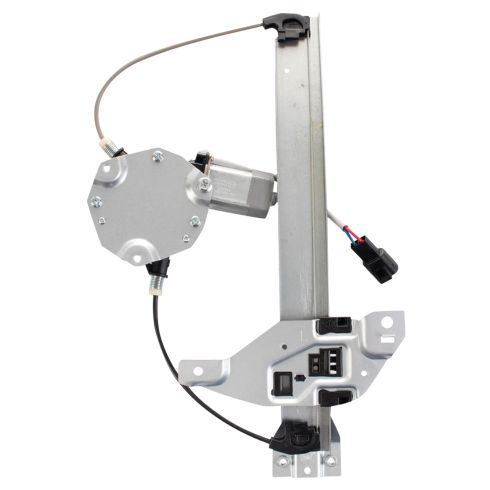
| 2006-2013 | Chevrolet | Impala | Chevrolet Impala Rear Driver Side Power Power Window Motor & Regulator Assembly TRQ WRA52311 |
| 2014-2016 | Chevrolet | Impala Limited | Chevrolet Impala Limited Rear Driver Side Power Power Window Motor & Regulator Assembly TRQ WRA52311 |
| Brand Label | Part Number |
|---|---|
| Chevrolet | 23336824 |
| General Motors | 23336824 |
| General Motors | 20927599 |
| ACDelco | 11R834 |
| ACI | 384124 |
| Echlin | WLR4001 |
| ACI | 82298 |
| CARDONE Reman | 821030BR |
| General Motors | 10338753 |
| Dorman - OE Solutions | 748-510 |
| General Motors | 25890047 |
| General Motors | 25922333 |
| Kool Vue | REPC491706 |
| ACDelco | 25922333 |
| General Motors | 15845319 |
| ACDelco | 11A518 |
| AISIN | RPAGM053 |
| SKP | SK748510 |
| TYC | 660682 |
| Hollander | 135-00118L |
| Hollander | 617-00183L |
| General Motors | 19180071 |
| A Premium | APWR0255 |
This item may be interchangeable with parts from other brands with the above part numbers. This information is provided only for reference and does not guarantee that the item you are purchasing is identical to parts with part numbers from the brands listed above. To confirm that this item fits your vehicle, use the above "Check Vehicle Fit" option.
Lifetime Warranty
This item is backed by our limited lifetime warranty. In the event that this item should fail due to manufacturing defects during intended use, we will replace the part free of charge. This warranty covers the cost of the part only.
FREE Shipping is standard on orders shipped to the lower 48 States (Contiguous United States). Standard shipping charges apply to Hawaii and Alaska.
Shipping is not available to a P.O. Box, APO/FPO/DPO addresses, US Territories, or Canada for this item.
Expedited is available on checkout to the United States, excluding Alaska, Hawaii.
Final shipping costs are available at checkout.


Created on:
Tools used
Brought to you by 1AAuto.com, your source for quality replacement parts and the best service on the Internet.
Hi, I'm Mike from 1A Auto. I hope this how-to video helps you out, and next time you need parts for your vehicle, think of 1AAuto.com. Thanks.
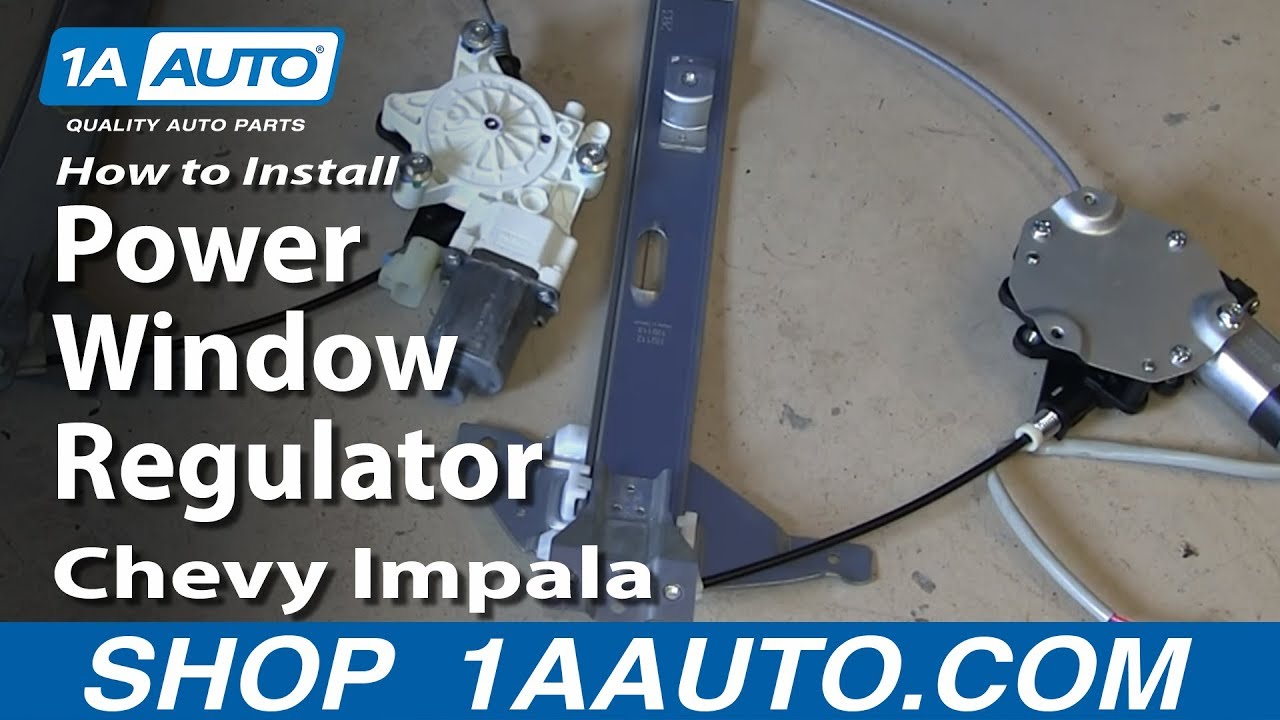
In this video, we're going to show you how to replace a rear power window regulator on this 2006 Chevy Impala. It's pretty much the same for any 2006 to 2012 and the regulator usually what happens is you'll hear a popping and then a grinding noise and obviously your window stops working and you know it's your regulator if you can grab the window and pull it up and down some. We'll be showing how to do the driver's side rear, the passenger's side rear is the same procedure. You'll need a new window regulator from 1AAuto.com, flat blade screwdriver, 7mm and 10mm socket with a ratchet and extension, needle nosed pliers and T30 Torx driver.
To start, there are three trim panels. There's one right in behind the door. Just use a small flat blade screwdriver and pry out the little trim panel. There's also a panel right in the door pull area, just kind of rubber that pulls right up. Then there's a small trim panel down near the rear of the door. Pull that out. There's a T30 screw behind the door handle, two in the door pull cup and a 7mm bolt right back in there. We're going to speed up here as I remove those three T30 screws and the 7mm screw. Use your flat blade screwdriver again and carefully pull the little triangle piece of trim at the top off. It's better to use a putty knife or even a door panel clip tool, if you have one, to pry out on the door panel and you'll release some clips. Once they come off, then you'll need to lift the door panel up and go in behind once you get it up off the doorsill. Go in behind. The cable snaps in. You just need to squeeze a couple of tabs with some pliers and pull the cable back and out and then the ball right up out of the socket. For the lock switch, if you just pry on the tabs a little bit, or you can disconnect the harness, bring that out and the door panel is off. Carefully remove the water shield. You want to be careful not to rip it because you do want to reuse it again and it provides a vital of function of keeping water outside of your vehicle.
Now if your regulator's gone bad this is usually the point where you can start seeing the problem. Generally what happens with these window regulators is the cable snaps in some way and you'll hear a popping noise and then kind of a grinding of the motor but the window won't move anywhere. What you'll find is basically you can grab onto the window and pull it up or push it down at will. What you want to do is pull the window up or push it down until you can get these two bolts, they're 10mm, right here. I'm going to fast forward as we remove those two bolts. Once they're removed, you can pull the window up from the window regulator and then put it up top and secure it with some tape, just so it doesn't fall down while you're working. Disconnect the window regulator from the power window motor. You can use a small screwdriver, if it helps to pry the tab. There are six bolts, 10mm, that hold the window regulator rail and motor on. I'll fast forward. There's only one of the bolts that you actually have to remove; most of them you can just loosen and then you can slide the rail and the window motor up and pull the bolts through the door.
The new regulator from 1A Auto is on the right and the original is on the left. They're exactly the same. The connectors are going to be the same. We'll want to transfer the bolts that are in the original regulator over to the new regulator so that it's ready to be installed.
Then, reinstalling the new regulator is basically a reverse of the procedure. Put it in the door and line up the bolts. You can see, here, we have to just loosen up a couple of the bolts a little bit later in the clip to get the thing to go down in. There you go. We'll fast forward as we install that one bolt and then tighten up the rest of them. Reconnect the harness and then we're going to use a plastic wire tie just to secure it. Since the replacement regulator has that pigtail on it, we just want to secure it in there so that pigtail doesn't have a chance to get caught up with the window when it's going up and down. We'll secure it with a wire tie and then cut the extra off. Now we can un-tape the window and slide it down carefully to line up with the regulator. Fast forward as we insert those two 10mm bolts that hold the regulator to the window and tighten those up and put your water shield back in place.
To reinstall your door panel, bring the door panel close to the door and put the ball and socket from the door latch cable back in, snap the cable back into its bracket and then put the lock switch back in place. The top of the door panel goes onto the window ledge and then there are series of pins that hold the door panel onto the door. First we'll get the door panel up and secured onto the window ledge and, pretty much, once you do that, it's lined up. You can just tap it down and then the pins should be lined right up. Just use a firm fist to set those. We'll fast forward as we put the four screws. Again, the one 7mm goes in the back of the door, two T30s down in the door pull cup, and a T30 in behind the door handle. Then finished off by putting the trim panels back on
We hope this video helps you out. Brought to you by www.1AAuto.com, your source for quality replacement parts and the best service on the Internet. Please feel free to call us toll-free, 888-844-3393. We're the company that's here for you on the Internet and in person.
Works good
Worked great no issues putting it in
Works like new but did take 2 weeks to get to Oregon.
Fit exactly right and works great!
Easy install due to great video. Thank you!
I can't comment on the longevity, as I just installed it, but it was an exact replacement and there was no fiddling with it to try and "make it work." The price I paid was half of what the other local brick and mortar stores were selling it for. It was a fairly simple install - and if you pay attention to how the old one comes out, the new one goes in just as easily.
The price was great, especially since I hit a sale price and it arrived right on schedule. My son had no trouble installing it. Window works just fine. My son has used your company before with great success which is why he said I should get my window from you. Thanks, Diana
Working as it should
Fit like the original and works great!
Worked great! Thanks
Im not sure I used mine for rear drivers side.
No - old hardware (5 screws) must be removed from part being replaced and used on new regulator.
