

★★★★★
June 7, 2026
Buy it again
Needed to paint, works good

Replaces







Part Details
Specifications
About TRQ:
TRQ is a trusted brand dedicated to making every repair a success story by combining premium parts with easy installation. Each TRQ part is engineered by a team of automotive experts to meet or exceed OEM standards, delivering enhanced performance and maximum longevity. With rigorous in-house testing, the brand ensures superior fit and function across every product line. TRQ also provides customers with best-in-class, step-by-step installation videos—so you can complete repairs with confidence, whether you're a first-time DIYer or an industry professional.
Product Features
TRQ side mirrors and mirror components are designed to match the function, fixture, and performance of the original version for easy installation. TRQ mirrors are DOT certified, comply with all federal safety standards, and are independently lab tested to ensure our products comply with all government regulations. All products are fit and road-tested in our Massachusetts R&D facility to ensure we deliver on our promise of Trusted Reliable Quality.
Exact fit - To obtain proper fit and function confirm your vehicle has the exact mirror options listed.
Paint To Match Note:
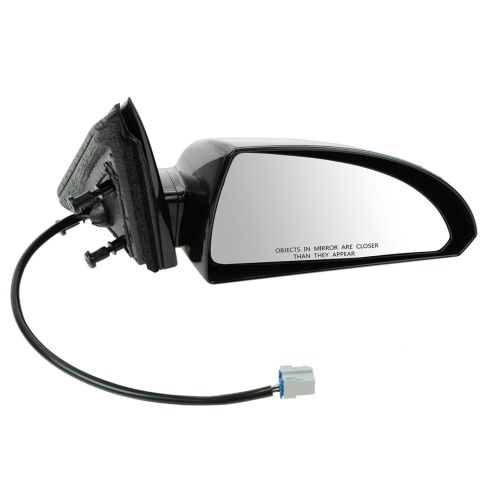
"Paint-to-match finish" refers to a smooth, paintable surface. This item is not painted. Paint offers better coverage and adhesion, but it is not necessary for installation.
Attention California Customers:
 WARNING: This product can expose you to chemicals including Chromium (Hexavalent Compounds), which is known to the State of California to cause cancer, and birth defects or other reproductive harm. For more information, go to www.P65Warnings.ca.gov
This part fits 3 vehicles spanning 2006-2016.
| Year | Make | Model | Description |
|---|---|---|---|
| 2006-2008 | Chevrolet | Impala | Chevrolet Impala Passenger Side Power Smooth Base Mirror without Heat TRQ MRA05452 |
| 2009-2013 | Chevrolet | Impala | Chevrolet Impala Passenger Side Power Smooth Base Mirror without Heat, with Smooth Cover TRQ MRA05452 |
| 2014-2016 | Chevrolet | Impala Limited | Chevrolet Impala Limited Passenger Side Power Smooth Base Mirror without Heat, with Smooth Cover TRQ MRA05452 |
| Brand Label | Part Number |
|---|---|
| Chevrolet | 20759190 |
| DIY Solutions | MIR00682 |
| TYC | 1390131-1 |
| Partslink Numbering System | GM1321306 |
| Hollander | 128-02011R |
| General Motors | 15789251 |
This item may be interchangeable with parts from other brands with the above part numbers. This information is provided only for reference and does not guarantee that the item you are purchasing is identical to parts with part numbers from the brands listed above. To confirm that this item fits your vehicle, use the above "Check Vehicle Fit" option.
Lifetime Warranty
This item is backed by our limited lifetime warranty. In the event that this item should fail due to manufacturing defects during intended use, we will replace the part free of charge. This warranty covers the cost of the part only.
FREE Shipping is standard on orders shipped to the lower 48 States (Contiguous United States). Standard shipping charges apply to Hawaii and Alaska.
Shipping is not available to a P.O. Box, APO/FPO/DPO addresses, US Territories, or Canada for this item.
Expedited is available on checkout to the United States, excluding Alaska, Hawaii.
Final shipping costs are available at checkout.
Created on:
Tools used
Brought to you by 1AAuto.com, your source for quality replacement parts and the best service on the internet.
Hi, I'm Don from 1A Auto. I hope this how to video helps you out, and the next time you need a part for your vehicle think of 1AAuto.com. Thanks.
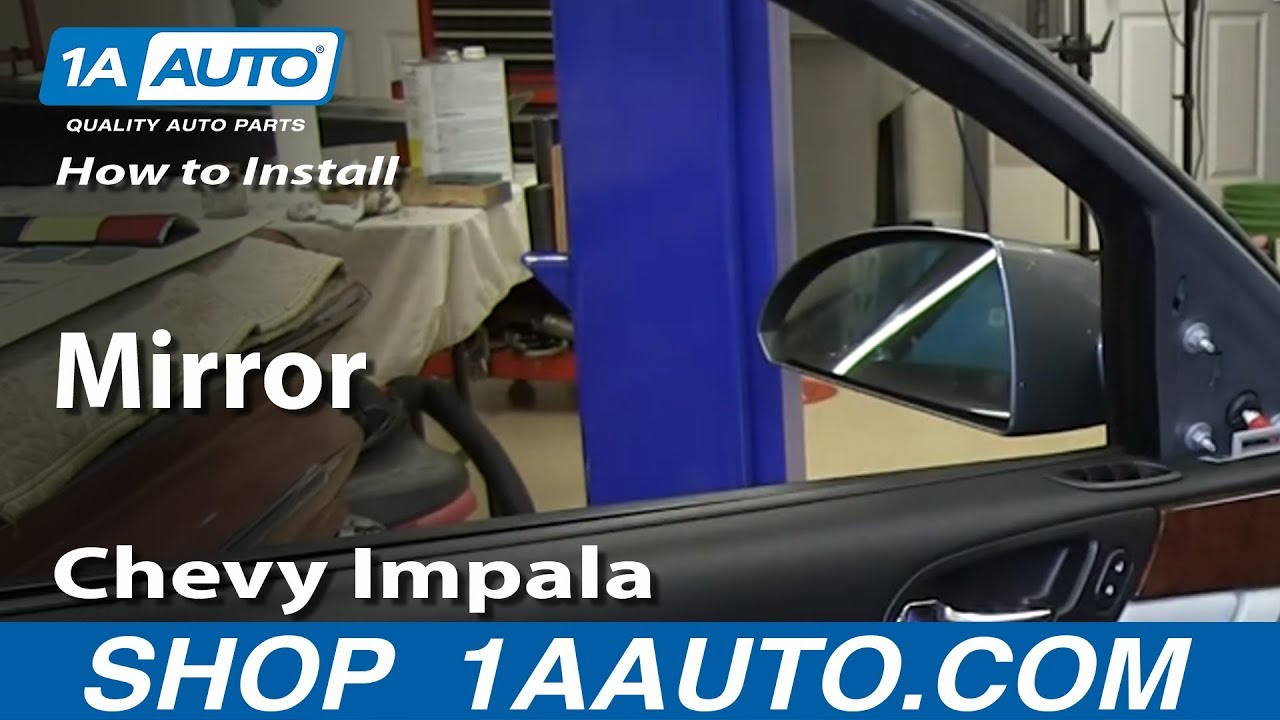
In this video we're going to show you how to replace a mirror assembly on this 2006 Chevy Impala. Pretty much the same for a 2006 to 2011 Impala. We're going to show you the driver side; passenger side is the same procedure. Tools you'll need are, you'll need a new mirror or mirrors from 1AAuto.com, small flat blade screw driver, 8 and 10 mm sockets, ratchet and extension, a T30 Torx driver, and a pair of pliers.
Start by pulling up on a door handle and there's a little panel that you just use a small screw driver to pop out and that kind of pries right out and there's another small panel at your door pull that pulls up and out. Using the same small screw driver pry out on the reflector at the bottom corner. We'll fast forward here. Behind where you took the reflector off there is a 8 mm screw to remove and then there are 3 T30 Torx screws, 2 of them are at the door pull and then one of them is behind where the door handle, the inside door handle is. Remove all 3 of those. Use a small flat blade screw driver or some other flat tool to carefully pry on the triangle at the top of the door. Starting at a top front corner, pull firmly and you'll start to release the clips. You just slide your hand in all the way around and keep pulling the door panel until it's free from the door. Once the clips are on their outer perimeter free then you can pull the door panel up off the window ledge and out some more.
Now, using a pair of pliers, there's little tabs on the cable housing; pinch the tabs and pull the cable housing through the back side of the door handle and then pull the cable up and out. Then there is a lock; you pull the white part of the lock back which unlocks the connector and then you can pull the connector free and take the panel off. Here we're using a razor blade to just to cut the tape that holds the harness to the clip and then pull back a little tab and disconnect the mirror harness. Now, pretty simply, there are 3 bolts that hold the mirror. They're fairly easy, they're 10 mm bolts; remove those. Now remove the mirror from the car.
Okay, old mirror on the right and new mirror from 1A Auto on the left. You can see the connectors are exactly the same, kind of plug in and install the same. As we circle around, you can see that the mirror from our vehicle was painted gray to match body color. Obviously you can install the mirror just in black and it will be a functional replacement. You could be as crude as just going to a hardware store buying a can of spray paint that is a close match and spraying the mirror that way. If you wanted a better match, you can go to an automotive part store that has a paint department; they can help you match the color of your vehicle, put paint in an air charged spray can, and you can respray the mirror yourself.
Now to install the new mirror, it's a reverse of the procedure. Feed the harness through and pull it through carefully; make sure not to pinch or strip any of the wires or anything. Then work the studs in to place and start the bolts on. After you get those on, you want to tighten them up nice and firm, but don't over tighten them. Use some electrical tape or even plastic wire ties and secure the harness to the clip in the door, and then reconnect your harness. To reinstall the door panel, bring it close to the door. Reengage the ball into the door handle and then snap then snap the cable housing in place. Now reach down in and reconnect your harness. You push the 2 connectors together and then flip the white clip up and over to lock it in place. Now, be sure to line up the door lock hole with the door lock knob and then push the door panel down on to the window sill, make sure it goes on there correctly, and then set the clips around the outside edge.
Now reinstall the 3 T30 Torx screws, one in behind the door handle and then the 2 behind the door pull. Then once you have those done, reinstall the 8 mm bolt or screw that goes in behind the reflector on the back of the door. Finish up by reinstalling the triangle trim piece up on the top, the little trim piece that goes in behind your door handle, the trim piece that goes in to the door pull cup, and finally the reflector on the back side.
We hope this helps you out. Brought to you by www.1AAuto.com, your source for quality replacements parts and the best service on the internet. Please feel free to call us toll-free 888-844-3393. We're the company that's here for you on the internet and in person.

MRA05452
Needed to paint, works good
Nice fit and match.
Great
The mirror works great and I had no problem putting it on the car
perfect fitonline installation video helped also
fit just right. thanks
PERFECT FIT !!! My Chevy dealer said it was an exact replacement , which is great since GM no longer has these. Thanks to you guys my right side "cop spotter" is again on guard.
Perfect OEM replacement my car was already painted Black so I didn't need to paint match. The Foam backing that the screws are fastened to is used as a buffer between the mirror and door frame do not discard.
Write Completely satisfied with product and with 1 aauto review here. It must be at least 4 characters long. Consider whether you would Completely satisfied with product and with 1 aauto this product and what you like or dislike about it.
Arrived quickly, easy to assemble based on 1A Auto video instructions.
I took off the inside door panel took off 3 nuts unplugged the wire harness old mirror is free, reversed the process for the new mirror
No, but a local auto body shop can color match for you
They come black only. Was easy to prep, mask and paint to match my car.
