Replaces

Replaces 2014-16 Chevrolet Impala Limited Police Front Ceramic Premium G-Coated Brake Pad & Rotor Kit TRQ BKA01695
$354.95
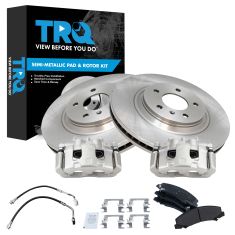
Replaces 2014-16 Chevrolet Impala Limited Police Front Semi-Metallic Premium G-Coated Brake Pad & Rotor Kit TRQ BKA01696
$354.95
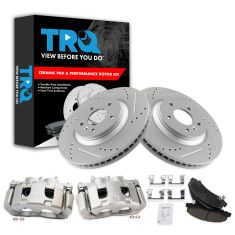
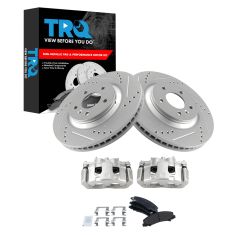
Replaces Chevrolet Buick Cadillac Front Ceramic Premium G-Coated Performance Brake Pad & Rotor Kit with Calipers TRQ Performance BKA26142
$344.95
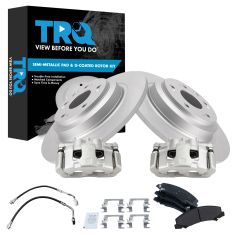
Replaces 2014-16 Chevrolet Impala Limited Police Front Semi-Metallic Brake Pad & Rotor Kit TRQ BKA01694
$344.95

Replaces 2014-16 Chevrolet Impala Limited Police Front Ceramic Brake Pad & Rotor Kit TRQ BKA01693
$339.95
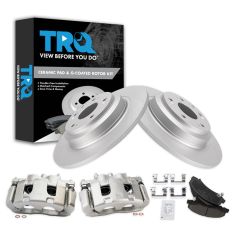
Replaces Chevrolet Buick Cadillac Front Semi-Metallic Premium G-Coated Performance Brake Pad & Rotor Kit with Calipers TRQ Performance BKA26302
$334.95

Replaces Chevrolet Impala Impala Limited Driver & Passenger Side 6 Piece Lighting Kit TRQ LKA83717
$334.95
Replaces Chevrolet Buick Cadillac Front Ceramic Premium G-Coated Brake Pad & Rotor Kit with Calipers TRQ BKA25597
$319.95
Part Details
Specifications
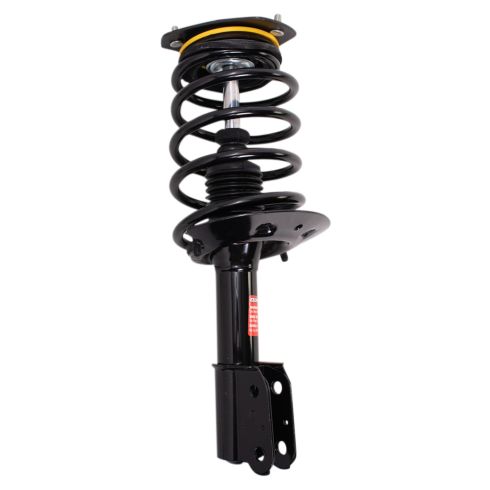
Why Buy Monroe Quick-Strut Assemblies?
Monroe Quick-Strut assemblies are high quality and easy-to-install. Some of its benefits include:
Lifetime Warranty
This item is backed by our limited lifetime warranty. In the event this item should fail due to manufacturing defects during intended use, we will replace the part free of charge. This warranty covers the cost of the part only.
FREE Shipping is standard on orders shipped to the lower 48 States (Contiguous United States). Standard shipping charges apply to Hawaii and Alaska.
Shipping is not available to a P.O. Box, APO/FPO/DPO addresses, US Territories, or Canada for this item.
Expedited is available on checkout to the United States, excluding Alaska, Hawaii.
Final shipping costs are available at checkout.

Created on:
Tools used
Brought to you by 1AAuto.com your source for quality replacement parts and the best service on the internet. Hi I'm Don from 1A Auto. I hope this how-to video helps you out. And the next time you need a part for your vehicle think of 1AAuto.com. Thanks.
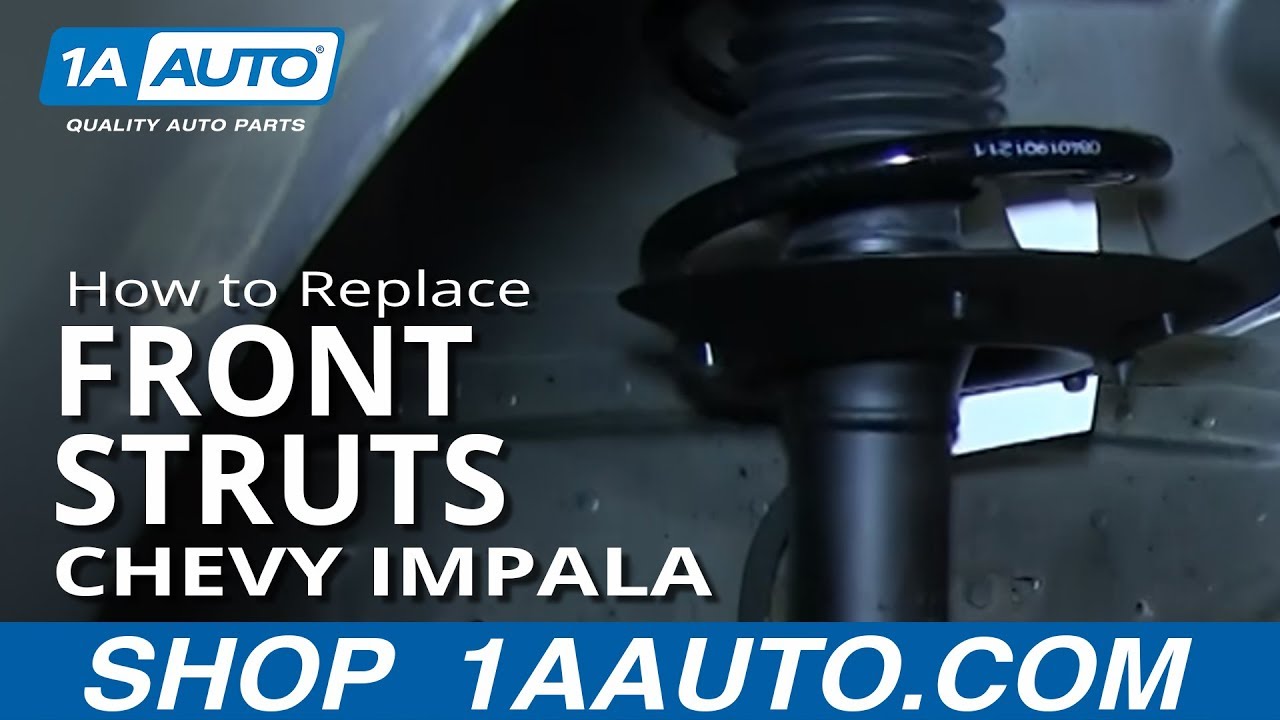
In this video we're going to show you how to replace the front struts on a 2006 Chevy Impala. It's the same operation for the left side and the right side and we always recommend that you do replace struts in pairs. In order to do this repair you're going to need some new struts from 1A Auto. A 21 and 19 and 13 millimeter socket and socket wrench. A hammer. A pry-bar. A pipe for extra leverage if you need it. As well as a torque wrench.
Remove the hubcap by hand using a 19 millimeter socket. If you don't have the benefit of air-tools you'll want to loosen the lug-nuts with the vehicle on the ground first. Then raise and support the vehicle and remove the lug-nuts from the tire. Locate the two 21 millimeter nuts. Using a 21 millimeter socket, a socket wrench and a pipe for extra leverage to remove the two nuts on the strut. I will go ahead and fast-forward as I remove those.
Use a hammer to knock free the two bolts that go through the strut and spindle. Use a long screw-driver or pry-bar to pry the spindle free from the strut. Locate and remove three 13 millimeter nuts on the strut-top. As you're removing the last nut, hold the strut so that it doesn't just come falling down. Here you see a side by side of the old part and the new part from 1A Auto. Going back in with the strut. Start from the bottom. Line up the three holes. And then start your three 13 millimeters nuts up top. Once you get them all started go ahead and tighten them up and I'll fast-forward as I do that. Now line up the strut with the spindle and match up the holes. You might have to pull down or push up on the spindle and hub assembly there to line them up. Go ahead and put in your two bolts. Then once you get the bolts in use a hammer to seat them into that spindle and lower strut assembly.
Now reinstall the two 21 millimeter nuts and go ahead and tighten them down. Torque the two nuts to a hundred foot pounds. Reinstall the wheel and the five lug-nuts. Torque your wheel lug-nuts to a hundred foot pounds. Once you're done torqueing the lug-nuts in a star pattern reinstall your hubcap. And make sure you see the little notch in the hubcap and put it over the valve-stem. And once you've done that you can start with just the socket itself tightening up those five 19 millimeter lug-nut cap-covers.
And after you replace your struts it is recommended that you get an alignment on your vehicle. We hope this helps you out. Brought to you by www.1AAuto.com your source for quality replacement parts and the best service on the internet. Please feel free to call us toll-free 888-844-3393. We're the company that's for you on the internet and in person.