Replaces
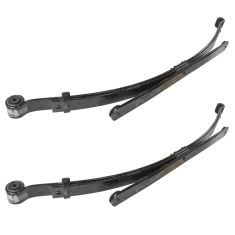
Replaces Chevrolet GMC Rear Driver & Passenger Side Leaf Spring 2 Piece Set General Motors OEM GMSFK00016
$839.95
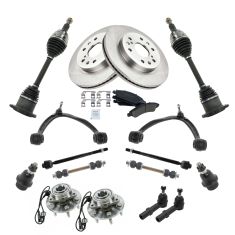
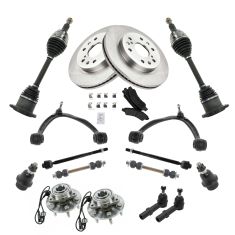
Replaces Chevrolet GMC Cadillac Front Steering, Suspension, & Brake Kit TRQ PSA72862
$719.95
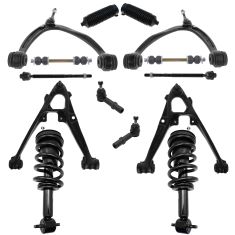
Replaces Chevrolet GMC Front 14 Piece Steering & Suspension Kit TRQ PSA81017
$704.95
Replaces Chevrolet GMC Cadillac Front Steering, Suspension, & Brake Kit TRQ PSA72861
$694.95
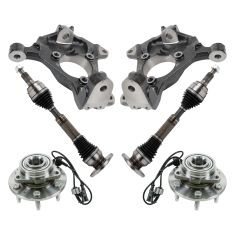
Replaces Chevrolet GMC Cadillac Front 6 Piece Drivetrain Kit TRQ PSA77566
$609.95

Replaces 2007-13 Chevrolet GMC Tonneau Cover Trail Ridge TRC510
$594.95
Part Details
Specifications
1 Year Warranty
This item is backed by our 1-year warranty. In the event this item should fail during intended use, we will replace the part free of charge. This warranty covers the cost of the part only.
FREE Shipping is standard on Orders shipped to the lower 48 States (Contiguous United States). Standard shipping charges apply to Hawaii, Alaska and US Territories. Shipping is not available to Canada.
Expedited is available on checkout to the United States, excluding Alaska, Hawaii and US Territories as well as P.O. Boxes and APO/FPO/DPO addresses. Final shipping costs are available at checkout.


Created on:
Tools used
Brought to you by 1AAuto.com, your source for quality replacement parts and the best service on the Internet.
Hi, I'm Mike from 1A Auto. I hope this how-to video helps you out, and next time you need parts for your vehicle, think of 1AAuto.com. Thanks.
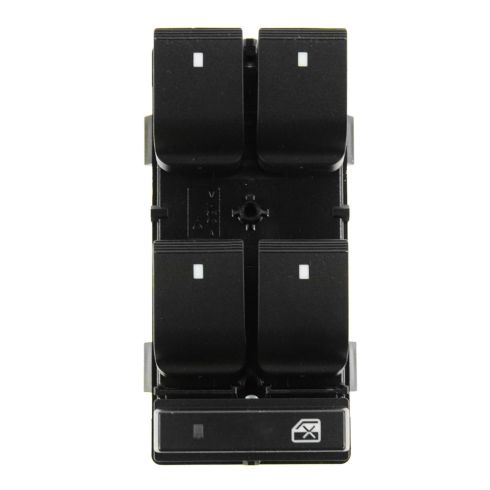
In this video, we're going to show you how to replace the switch panel on this 2011 Chevy Silverado 1500. It's the same process on a large variety of GM trucks and SUVs from 2008 to 2012. The tools you'll need include a flat blade screwdriver and a 10mm socket and ratchet.
Using a flat blade screwdriver, you just want to pry off this pull handle trim panel. Now you have access to these two 10mm bolts, you just want to go ahead and remove those. You want to pry up that switch panel and just disconnect these harnesses. Just push in the tab on the top and pull back on them. For this lead, there's a tab on the back of it. You just want to pry out that tab, and then the clip will actually pull up and out.
To remove the switches from this panel, there's four tabs around the switches, and you want to just pry out those tabs with a flat blade screwdriver, and that will release it.
Old part's on the right, with the new part from 1A Auto on the left. You can see they're identical, and they'll fit in exactly the same. Push your new set of switches down into the panel. You just want to reconnect those harnesses.
Then you just want to make sure your harnesses are pushed in there, and push the switch panel right down. Then we'll fast-forward as he puts that pull handle back into place, replaces the two 10mm bolts and the trim panel.
We hope this video helps you out. Brought to you by www.1AAuto.com, your source for quality replacement parts and the best service on the Internet. Please feel free to call us toll-free, 888-844-3393. We're the company that's here for you on the Internet and in person.