
★★★★★
June 12, 2026
Awesome!!!
These are awesome!!!

Replaces







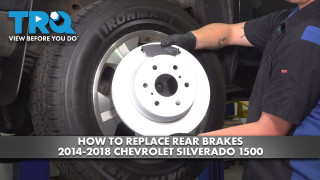
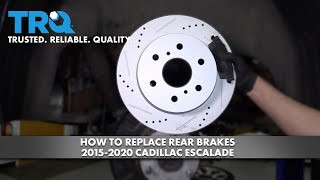
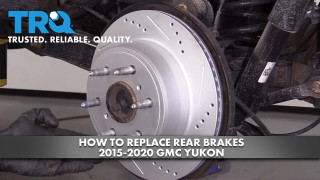
About TRQ:
TRQ is a trusted brand dedicated to making every repair a success story by combining premium parts with easy installation. Each TRQ part is engineered by a team of automotive experts to meet or exceed OEM standards, delivering enhanced performance and maximum longevity. With rigorous in-house testing, the brand ensures superior fit and function across every product line. TRQ also provides customers with best-in-class, step-by-step installation videos—so you can complete repairs with confidence, whether you're a first-time DIYer or an industry professional.
Product Features
Attention California Customers:
 WARNING: This product can expose you to chemicals including Lead and Lead Compounds, which are known to the State of California to cause cancer, and birth defects or other reproductive harm. For more information, go to www.P65Warnings.ca.gov.
This part fits 10 vehicles spanning 2014-2020.
| Year | Make | Model | Description |
|---|---|---|---|
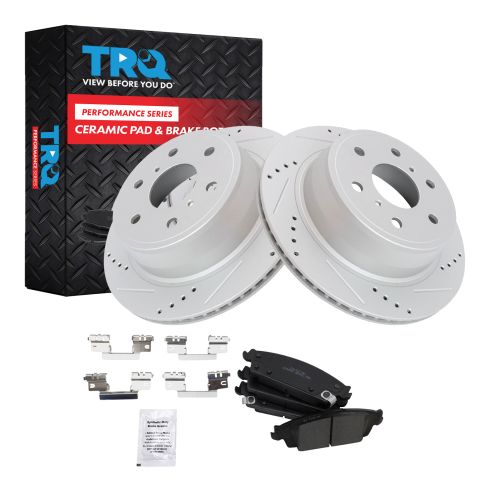
| 2015-2020 | Cadillac | Escalade | Cadillac Escalade Rear Ceramic Premium G-Coated Brake Pad & Rotor Kit TRQ Performance BKA18561 |
| 2015-2020 | Cadillac | Escalade ESV | Cadillac Escalade ESV Rear Ceramic Premium G-Coated Brake Pad & Rotor Kit TRQ Performance BKA18561 |
| 2014-2018 | Chevrolet | Silverado 1500 | Chevrolet Silverado 1500 Rear Ceramic Premium G-Coated Brake Pad & Rotor Kit TRQ Performance BKA18561 |
| 2019 | Chevrolet | Silverado 1500 Legacy | Chevrolet Silverado 1500 Legacy Rear Ceramic Premium G-Coated Brake Pad & Rotor Kit TRQ Performance BKA18561 |
| 2015-2020 | Chevrolet | Suburban | Chevrolet Suburban Rear Ceramic Premium G-Coated Brake Pad & Rotor Kit TRQ Performance BKA18561 |
| 2015-2020 | Chevrolet | Tahoe | Chevrolet Tahoe Rear Ceramic Premium G-Coated Brake Pad & Rotor Kit TRQ Performance BKA18561 |
| 2014-2018 | GMC | Sierra 1500 | GMC Sierra 1500 Rear Ceramic Premium G-Coated Brake Pad & Rotor Kit TRQ Performance BKA18561 |
| 2019 | GMC | Sierra 1500 Limited | GMC Sierra 1500 Limited Rear Ceramic Premium G-Coated Brake Pad & Rotor Kit TRQ Performance BKA18561 |
| 2015-2020 | GMC | Yukon | GMC Yukon Rear Ceramic Premium G-Coated Brake Pad & Rotor Kit TRQ Performance BKA18561 |
| 2015-2020 | GMC | Yukon XL | GMC Yukon XL Rear Ceramic Premium G-Coated Brake Pad & Rotor Kit TRQ Performance BKA18561 |
| Brand Label | Part Number |
|---|---|
| Chevrolet | 23453018 |
| Raybestos Brakes | MGD1707CH |
| Cadillac | 23164777 |
| Chevrolet | 84176464 |
| Bendix | PRT5729 |
| Raybestos Brakes | 581032 |
| Aimco | 55133 |
| Raybestos Brakes | EHT1707H |
| Wagner | BD126457 |
| Chevrolet | 23164777 |
| GMC | 23164777 |
| DuraGo | BR55133 |
| Raybestos Brakes | 580422 |
| FMSI | CD1707 |
| Chevrolet | 23135903 |
| Wagner | BD180316 |
| Raybestos Brakes | 580422FZN |
| Raybestos Brakes | 580422PER |
| Raybestos Brakes | 581032PER |
| Raybestos Brakes | 580422P |
| Raybestos Brakes | 581032R |
| Raybestos Brakes | 580422R |
| Raybestos Brakes | 581032FZN |
| Raybestos Brakes | 581032P |
| Sangsin Brake | SP4011 |
This item may be interchangeable with parts from other brands with the above part numbers. This information is provided only for reference and does not guarantee that the item you are purchasing is identical to parts with part numbers from the brands listed above. To confirm that this item fits your vehicle, use the above "Check Vehicle Fit" option.
Lifetime Warranty
This item is backed by our limited lifetime warranty. In the event that this item should fail due to manufacturing defects during intended use, we will replace the part free of charge. This warranty covers the cost of the part only.
FREE Shipping is standard on orders shipped to the lower 48 States (Contiguous United States). Standard shipping charges apply to Hawaii and Alaska.
Shipping is not available to a P.O. Box, APO/FPO/DPO addresses, US Territories, or Canada for this item.
Expedited is available on checkout to the United States, excluding Alaska, Hawaii.
Final shipping costs are available at checkout.
Created on:
Tools used
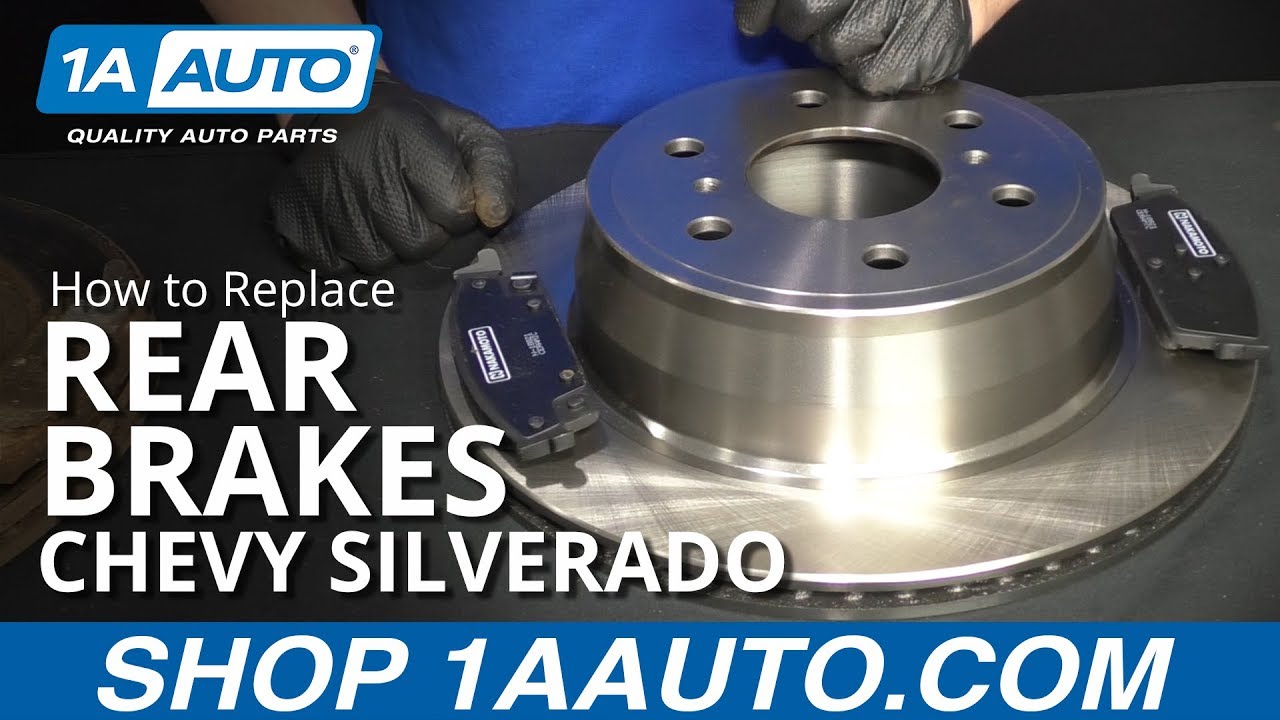
What's up, guys? I'm Andy from 1A Auto. In this video, I'm going to show you how to replace the rear brakes on this 2015 Chevy Silverado. If you need these parts or other parts for your vehicle, click the link in the description and head over to 1aauto.com.
Loosen up these lug nuts. Take a 22 millimeter socket and a breaker bar. Just go around. Just loosen them. Don't take them all the way out.
Now, we're going to raise and support the vehicle. Just make sure these are all loose. Yep. I'll just take the lug nuts off. Just grab the wheel, pull it off. You want to take these two caliper bolts out on the back side of here. We're going to use a 13 millimeter socket, and on the stud you can actually use a 20 millimeter wrench, which not a lot of wrench sets have 20 millimeters, so you could use a 13/16ths if you don't have one. So, I'm going to loosen this up. Make sure you have your ratchet on loosen. Take that. And I'm going to hold the stud with a wrench and loosen up the bolt.
Take that bolt out. I'm going to grab the caliper. I'm just going to rock it back and forth a little bit. It'll compress the piston just a little and I can slide it out. Then I'm going to grab a caliper hook. We sell these at 1aauto.com. Just stick it onto something so it doesn't fall. Just hook it into there on the frame and that's good. It's not going to fall.
I'm just going to take these brake pads out. Just use a straight blade screwdriver. These pads are pretty rusted in there, so you can use a little pry bar. Get these out. If you have trouble getting these out you can always take them out after you get the caliper bracket off.
There we go. Now, use a 18 millimeter socket and a breaker bar to take these two caliper bolts off. Now I'll switch over to a ratchet with the same 18 millimeter socket. Alright. Then you can take the caliper bracket and just slide it up.
Alright. We're going to take these off. These hold the rotor on. We don't need to put them back on. They just put those there for the factory so the rotors don't fall off. Just take a straight cutter. Sometimes they're a little difficult to grab. Grab it and just cut them off. There we go. Do the same with this one. Now we can take a hammer and hit on the rotor right there to pop it off. This one is a little bit loose already.
Now, you can also take some bolts, they'll thread right into here. These happen to be the caliper bolts. And you can tighten this up. Now, if the rotor's not budging at all, just tighten this a little bit and then hit it with a hammer. This will help you get the rotor off. There is parking brake shoes underneath here and sometimes there's a rust ridge on the rotor itself, and that is what prevents you from getting these off. And sometimes if you're going to replace the rotor, it's not a big deal, you can hammer it from the back side here. Just try to spin it.
Alright, there we go. Got it out. Just worked it back and forth using the hammer. There is a lot of rust in there and in the shoes. See that rust ridge? That's what the shoes were getting caught on. So, it's not necessarily that the shoes were adjusted out too far, it's just that rust ridge, because even the adjuster, it's not even pushed out that much. So, even if I got in there, there's a little door right here, loosen that up, probably wouldn't have made a difference. So, you've just got to work at it.
Here we have the old brakes. Here we have the new pads and rotors from 1aauto.com. Compare the brake pads. The shapes are the same. It's the same pad material on the other side. Same squealer. Compare the rotors. Rotor hats are the same height, has the cooling fins the same, and then it's got the drum for the parking brake on the inside, it's the same as the old one. Get yours at 1aauto.com.
So, we want to clean up this caliper bracket before we reinstall it. Take a wire brush and we're going to clean up these clips. If you have new clips, brake anti-squeal, anti-rattle clips, then you can replace those. So, I'll just clean these up. Once those are cleaned up, I'm just going to take a straight blade pocket screwdriver, get underneath the clip. We're going pull the clip off just like that. I'm going to clean the backside of the clip, just use the wire brush, get some of that off. And then also on the bracket itself, use the wire brush. If it's real rusty here, you're going to want to take a file, file some of the surface rust off. I think those are cleaned up pretty good. Take some caliper grease, we'll just grease this up underneath here before we put the clips back on. It's going to prevent any further corrosion. And put the clips back on. And then we can do the same with the other side.
Now, we're going to clean the slide pins. Just grab the slide pin, pull it out, and take some brake parts cleaner and a rag. Clean this pin off. Make sure it's not corroded and there's not too much rust build up or anything. If it is, bring it over to a wire wheel or something. And then we want to clean down in there. Just to take a little brake parts cleaner, spray it in there. Take a rag, clean it out, take a little brake grease, put it on the pin, reinstall the pin. The boot got stuck in there. I'm going to pull the boot out. You want to make sure the seal's on the pin. Sometimes these get stuck. Don't rip it. Here we go. Slide it on. There we go. It's nice and sealed. Then we'll do the same with the other side.
Before we install the rotor, we want to clean this hub surface. Just take a wire brush, clean it like this. Get as much of the rust off as possible. So, this surface is really rusty. What I'm going to do is I'm going to take some of these sanding disks. We actually sell these in kits through 1aauto.com. You can take these, put them on your grinder, your little die grinder, and then just carefully go around the hub. You don't want to sand too much, but just get a lot of the surface rust off.
I'm just going to take some brake parts cleaner and clean this all off. Let it dry off. I'll just wipe it down with a rag, just get some of the excess off. Okay, I'm going to use a little bit anti-seize just on here. I don't like to put on too much because it gets all over the place. So, just put a thin coat right around the hub area, because this is the area where it corrodes. So, just put a little ... you can put it all over there if you want. I just don't like it because it gets ... once it gets on everything, it goes everywhere. So, I just put a little bit on.
I'm going to stick this rotor on backwards. I'm just going to take some brake parts cleaner, clean the outside. There is a protective coating on it to prevent it from rusting. So, we'll just clean that off. Flip it around. Slide it on the front. Now, if you have to adjust the parking brake, there's an adjuster right there. You can take a screwdriver and adjust it tighter or looser. These should just barely drag when you slide them on. Just a little bit of drag and then you can adjust accordingly. There is a little cap on the back there. You can take the cap off and adjust them. Spray down this front side, wipe it off of the rag.
Take this caliper bracket, slide it in position. You can put some thread locker on these bolts. Reinstall the bolts. Just taking a 18 millimeter socket and ratchet and I'm going to tighten these up before I torque them. Now I'm going to use a torque wrench with that same 18 millimeter socket. I'm going to torque these to 148 foot pounds.
Now we're going to install the pads, but before, I'm just going to take a little brake grease and apply it to the ends of the pads on both sides. Now, this pad is the outside pad. It has these little nubs on the middle of there. The inside pad does not have those. Just slide that in position. Make sure it slides good. This is the pad that goes on the inside. The piston sits right there. It does not have those little pins that come out. It has them right there. Put some brake pad grease on the ends of these as well. Then I'll install this on the inside. It's good.
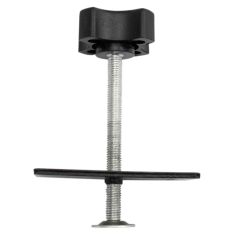
Now we can take this caliper, slide it off the caliper hook, that out. Just make sure you check the dust boot, make sure there's no cracks or rips, tears. We're going to take this caliber compressor that we actually sell 1aauto.com. We sell multiple different kinds. This one's pretty cool. So, you get the caliper tool in there and we're going to slowly ratchet this and that's going to compress the piston back into the caliper. It's going to push brake fluid through the hose, through the brake lines, back up into the master cylinder. It's always a good idea to check the reservoir after you're done the brake job to make sure the brake fluid level is where it should be. Just do this slow. And now that pistons all the way into that caliper, so I'll reverse this ratchet style tool and then it can slide this out. Now, I'll take the caliper, slide it in position. Just like that.
Take the caliper bolts. You can put thread locker on these. That there. And I'll take my 20 millimeter wrench, or a 13/16ths if you don't have one of those, and a 13 millimeter socket and a torque wrench, torque these to 38 foot pounds.
We can reinstall the tire, put the lug nuts back on. Just take my 22 millimeter socket, tighten these lug nuts down a little bit. Now I'm going to take a 22 millimeter socket and a torque wrench and I'm going to torque these in a cross pattern so that the wheel gets tightened evenly to a 140 foot pounds. Then I can go around again, just double check.
Afterwards, we want to make sure we pump the brake pedal. There's going to be an air gap between the caliper piston and the brake pads. We want to eliminate that air gap by pushing down on the brake pedal. After that, we want to check the fluid level in the reservoir for the master cylinder. Make sure the fluid level's at the proper location and adjust accordingly, and then you'll be good to go.
Thanks for watching. Visit 1aauto.com for quality auto parts shipped to your door. The place for DIY auto repair. And if you enjoyed this video, please click the subscribe button.


These are awesome!!!
Nice ??
Easy installation with the TRQ YouTube videos. I saved almost $1000 over what the dealer had quoted and with upgraded rotors to boot!
OEM spec'd parts that perform greater than the parts replaced. Great prices & great looking parts. I'm on my fifth vehicle, using parts from 1AAUTO. Thankful everyday I found you guys!!
Very happy with the TRQ Performance Brake Systems for my 2017 Sierra Denali. Installation went smoothly. I think the red calipers look good with the chrome wheels and black truck.
The pads rotors and clips were high Quality. no missing parts or pieces. The fit was perfect. The videos available to watch had some good tips to save time and effort. First time customer definitely not a last time customer.
Very nice product and easy installation.
Good kit good value
Shipped fast, easy install, quality parts. Bought these for the front and back. They broke in well without squeaking. Probably have a 1,000 miles on them and they are doing fine.
Fit like a charm, delivery was next day as stated, all good highly recommend

BKA18561
