About TRQ: TRQ is a trusted brand dedicated to making every repair a success story by combining premium parts with easy installation. Each TRQ part is engineered by a team of automotive experts to meet or exceed OEM standards, delivering enhanced performance and maximum longevity. With rigorous in-house testing, the brand ensures superior fit and function across every product line. TRQ also provides customers with best-in-class, step-by-step installation videos—so you can complete repairs with confidence, whether you're a first-time DIYer or an industry professional.
Returns: Parts with electrical components cannot be returned once installed.
Attention California Customers:
WARNING: This product can expose you to chemicals including Di(2-ethylhexyl)phthalate (DEHP), which is known to the State of California to cause cancer, and birth defects or other reproductive harm. For more information, go to www.P65Warnings.ca.gov.
This part fits
8 vehicles spanning 2002-2009.
Fits these Makes
Select vehicle
Year
Make
Model
Description
2004-2007
Buick
Rainier
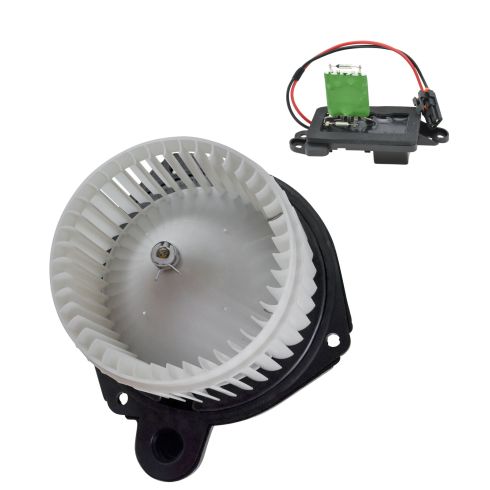
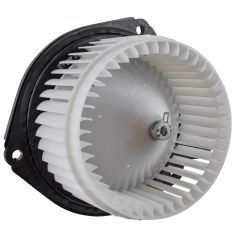
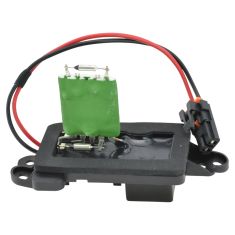
Buick Rainier with Manual Climate Control Front HVAC Blower Motor Kit TRQ HMA80801
2002-2009
Chevrolet
Trailblazer
Chevrolet Trailblazer with Manual Climate Control Front HVAC Blower Motor Kit TRQ HMA80801
2002-2006
Chevrolet
Trailblazer EXT
Chevrolet Trailblazer EXT with Manual Climate Control Front HVAC Blower Motor Kit TRQ HMA80801
2002-2009
GMC
Envoy
GMC Envoy with Manual Climate Control Front HVAC Blower Motor Kit TRQ HMA80801
2002-2006
GMC
Envoy XL
GMC Envoy XL with Manual Climate Control Front HVAC Blower Motor Kit TRQ HMA80801
2004-2005
GMC
Envoy XUV
GMC Envoy XUV with Manual Climate Control Front HVAC Blower Motor Kit TRQ HMA80801
2003-2008
Isuzu
Ascender
Isuzu Ascender with Manual Climate Control Front HVAC Blower Motor Kit TRQ HMA80801
2002-2004
Oldsmobile
Bravada
Olds Bravada with Manual Climate Control Front HVAC Blower Motor Kit TRQ HMA80801
Part Interchange
Brand Label
Part Number
Standard Motor Products
RU-377
ACDelco
15-81772
Standard Motor Products
RU377
Buick
15373437
Wells
DR755
Wells
3A1296
Standard Ignition
RU-377
Partslink Numbering System
GM3126125
Buick
89018747
GMC
89018747
Oldsmobile
89018747
Chevrolet
89018747
Hollander
615-00690
Hollander
615-00637
BWD
RU1070
General Motors
89018604
General Motors
15415789
ACDelco
15-81095
General Motors
89018439
WVE
3A1296
Dorman - OE Solutions
973-008
General Motors
89019100
Airtex
3A1296
TechSmart
RU377T
Four Seasons
20299
General Motors
15373437
General Motors
22807121
TYC
700231
This item may be interchangeable with parts from other brands with the above part numbers.
This information is provided only for reference and does not guarantee that the item you are
purchasing is identical to parts with part numbers from the brands listed above.
To confirm that this item fits your vehicle, use the above "Check Vehicle Fit" option.
Lifetime Warranty
This item is backed by our limited lifetime warranty. In the event that this item should fail due to manufacturing defects during intended use, we will replace the part free of charge. This warranty covers the cost of the part only.
Returns: Parts with electrical components cannot be returned once installed.
FREE Shipping is standard on orders shipped to the lower 48 States (Contiguous United States). Standard shipping charges apply to Hawaii and Alaska.
Shipping is not available to a P.O. Box, APO/FPO/DPO addresses, US Territories, or Canada for this item.
Expedited is available on checkout to the United States, excluding Alaska, Hawaii.
Final shipping costs are available at checkout.
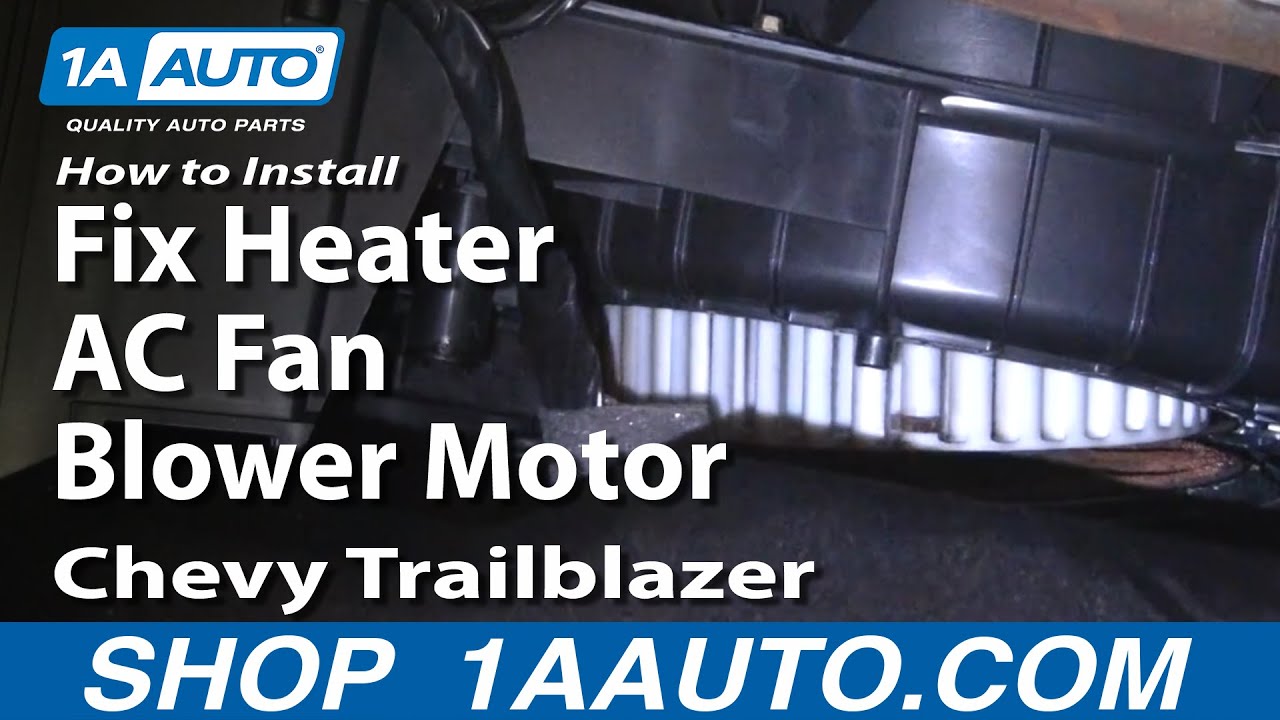
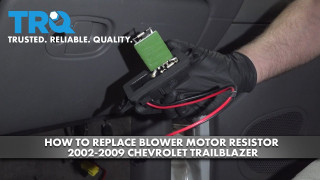
How to Replace Heater Blower Motor 2002-09 Chevy Trailblazer
Created on:
Tools used
Socket Extensions
7mm Socket
Ratchet
1. Remove the AC Fan Blower Motor
Under the passenger side dash, unbolt the plastic cover using your 7 mm socket and ratchet.
Unclip the wiring from the plastic panel.
Open the glove compartment and unhook it to let it drop down.
Use your socket, ratchet and extension to unbolt the blower motor.
Unplug the wiring harness from the blower motor and pull the blower motor down and out.
2. Install the blower motor
Insert the blower motor up into place.
Plug in the wiring harness.
Bolt into place with your 7 mm socket and ratchet.
Rehook your glove box back in and close it.
Clip the wiring brackets back to the plastic cover.
Bolt the plastic cover back on with your socket and ratchet.
Brought to you by 1AAuto.com, your source for quality replacement parts and the best service on the Internet.
Hi, I'm Mike Green. I'm one of the owners of 1A Auto. I want to help you save time and money repairing and maintaining your vehicle. I'm going to use my 20+ year's experience, restoring and repairing cars and trucks like this to show you the correct way to install parts from 1AAuto.com. The rights parts installed correctly. That's going to save you time and money. Thank you and enjoy the video.
In this video, we're going to show you how to remove and reinstall your heater and A/C blower motor on this 2004 Trailblazer, same as most Trailblazers, Envoys, Rainiers, and Olds Silhouette. Tools you'll need 7 mm socket and a 7/32 socket with a ratchet and extension.
First you want to remove two 7 mm bolts. One there and then one over there. Now this panel pulls down and you can see there are some connectors here. You can just kind of pry them away from the panel. You take this one; you can actually pry down on this little tab and then pull it off. Then this comes out. Open up your glove compartment. Okay, this little hook just pulls up and you can move your glove box down. You'll want a 7/32 with an extension and a ratchet and you're just going to reach up underneath. And we'll fast forward as I remove that bolt.
This one over here you can see. Then there's actually one, the third one is down in behind, so you're going to want to reach up from underneath. Let's see here, where is it at? Okay, it's right there. Okay, now once it's out, that's usually the easiest time to unplug your lead here, which to unplug it you want to press right there. The lead comes off and there's your motor out. Okay, now we're going to, just going to take the lead out and just pull this plastic casing out. So to reinstall, open our glove compartment back up. Basically what I'm doing, taking my motor, this little tube coming down here, that's where your rubber hose hooks on to. I'm going to put my motor up in, make sure that no wires or anything get up in there, getting caught. I'm just reaching in behind. There's my tube, push that up on, I'm holding the motor up on. I have to get this plastic cover up in there without getting any wires. The easiest way to do this, alls you're seeing is the glove compartment. I'm looking up under here and just moving all the wires out of the way, then I put the plastic cover up and in. Kind of rotate it.
Now I can start on this first bolt here that's holding it on. I'll take my extension and put my second bolt into it. Looking right through here, I can barely see this hole. Start my second bolt. Now I'm going to put my third one up in there. Okay, now I'm going to speed it up as I kind of tighten them by hand and then start tightening one with the wrench and then I'll slow it back down to connect the lead. They don't have to be extremely tight. Just make sure all my leads and everything are okay. I'm going to bring this, my lead to the motor through. It does clip up into a clip. You see my hand right in here; I'm just pushing it into its little plastic clip where it stays.
And I'll hit the fast forward button again as I tighten up the last two bolts and then close the glove compartment. Okay, now here I'm just going to speed through putting our harnesses, clipping them back into that panel and put the panel back up in there. Start the bolts and then tighten them back up.
We hope this helps you out. Brought to you by www.1AAuto.com, your source for quality replacement parts and the best service on the Internet. Please feel free to call us toll free 888-844-3393. We're the company that's here for you on the Internet and in person.
Product Reviews
4.9/ 5
★★★★★★★★★★
9 reviews
5★
89%
4★
11%
3★
0%
2★
0%
1★
0%
★★★★★August 30, 2025
Overall Satisfactory Experience
Parts were of quality and a direct replacement. Online ordering was simple and delivery was better than expected. Thanks!!
★★★★★October 23, 2024
Reliable products
The quality of the product was superior to any I had purchased before. I had gone through several resistors till I purchased from 1A Auto.
★★★★★August 15, 2024
Perfect fit!
Went in great. Very easy to replace.
★★★★★July 4, 2023
The video was great old one came out new one went just in time for a heat wave
Thank you best $65 I've spent
Sam G
★★★★★September 28, 2022
Great transaction. When I needed a replacement.
★★★★★September 26, 2022
Perfect fit, works very well
★★★★★August 17, 2021
this product is working great for me. I am a big guy and I was able to install both units very easily within 30 mins. the family was very happy I completed this project when I stated.
★★★★★March 4, 2021
hvac parts
I have ordered parts from 1AAuto in the past for two reasons price and service. I have always been satisfied.
★★★★★December 18, 2020
Installation of HVAC Blower Motor Kit
Being retired now, this job was a little nerving. Area was compact and hard to work on. With a little help from the Mrs., I finally completed the job! Works like a charm now
Showing 1–9 of 9 reviews
Customer Q&A
Got a question about this part? Post it and get answers from our team.
PaulApril 26, 2023
Is the plastic fan cage included?
Yes, the fan cage is included in this assembly.
Emma · April 27, 2023
Showing 1–1 of 1 question
Customer service
877-844-3393
Monday - Friday 8:00am - 9:30pm ET Saturday - Sunday 8:00am - 4:30pm ET
Ask a Question
Check Your Email
We sent a verification email to .
Click the Verify Email button in the email to submit your question.
This extra step helps prevent spam.
Buick is a registered trademark of General Motors Company. 1A Auto is not affiliated with or sponsored by Buick or General Motors Company.See all trademarks.
Select Your Vehicle
Specify your vehicle's year, make and model to guarantee fit.







 WARNING: This product can expose you to chemicals including Di(2-ethylhexyl)phthalate (DEHP), which is known to the State of California to cause cancer, and birth defects or other reproductive harm. For more information, go to www.P65Warnings.ca.gov.