Replaces


Recommended for your 2003 Chevrolet Monte Carlo
Returns: Parts with electrical components cannot be returned once installed.
Left Hand Drive:
All of our auto parts are intended for Left Hand Drive USDM vehicles. If your vehicle is Right Hand Drive, please ensure the part is correct for your specific vehicle.
Attention California Customers:
 WARNING: This product can expose you to chemicals including Di(2-ethylhexyl)phthalate (DEHP), which is known to the State of California to cause cancer, and birth defects or other reproductive harm. For more information, go to www.P65Warnings.ca.gov.
Lifetime Warranty
This item is backed by our limited lifetime warranty. In the event that this item should fail due to manufacturing defects during intended use, we will replace the part free of charge. This warranty covers the cost of the part only.
Returns: Parts with electrical components cannot be returned once installed.
FREE Shipping is standard on orders shipped to the lower 48 States (Contiguous United States). Standard shipping charges apply to Hawaii and Alaska.
Shipping is not available to a P.O. Box, APO/FPO/DPO addresses, US Territories, or Canada for this item.
Expedited is available on checkout to the United States, excluding Alaska, Hawaii.
Final shipping costs are available at checkout.
Created on:
Tools used
Brought to you by 1AAuto.com, your source for quality replacement parts and the best service on the Internet.
Hi, I'm Mike from 1A Auto. I hope this how-to video helps you out, and next time you need parts for your vehicle, think of 1AAuto.com. Thanks.
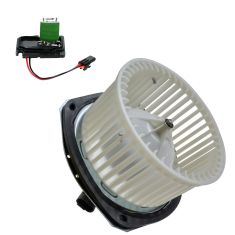
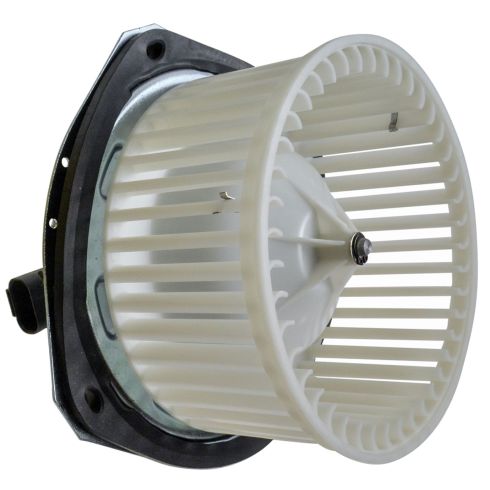
In this video, we're going to show you how to replace the Blower Motor on this 2003 Chevy Monte Carlo. It's the same part and similar process on this Monte Carlos from 2001 to 2003.The items you'll need of this is a new Blower Motor from 1AAuto.com, a T20 Torx Driver and a flashlight.
Start off by just pushing in these two tabs, you can see we're missing one, but you just push them in and pull the panel down, twist out the socket, and just pull the bulb free. Your blower motors right here, and it's held in with three T20 Torx bolts. We'll just fast-forward as Mike removes those. Now, reach back, find the harness, pull it forward, and just push the tab on the harness and disconnect it. Then, using a flat blade screwdriver, pry open on this clip, push that harness all away aside, and pull the blower motor down and out. Then just disconnect this hose, pull your harness through it, and then just remove the rest of the hose from the other end.
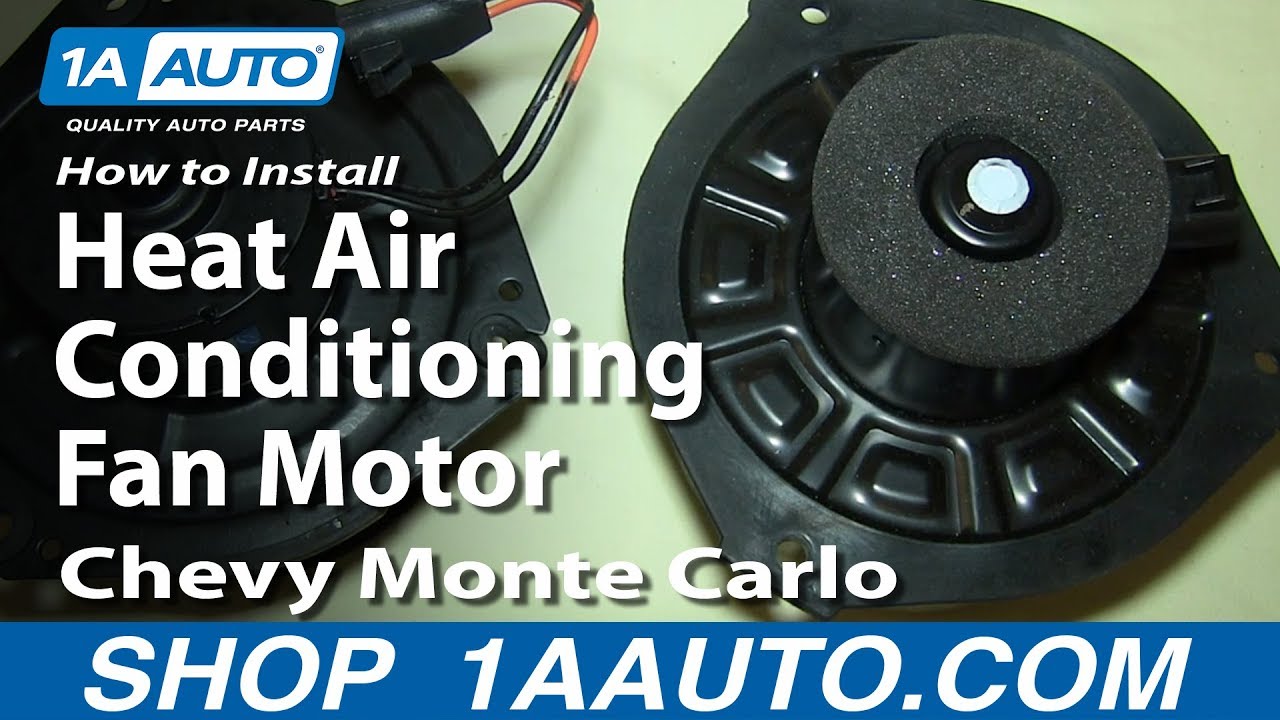
On the left is the blower motor you've removed; on the right is the new one from 1A Auto. The one we removed was already replaced, so you probably won't see that pigtail if you have an original motor in your car. It might change how you disconnect the blade just a little bit. Our new one from 1A Auto though, on the other hand, is just like the original, and will bolt in place and hook back up to the original harness no problem. Now, to make it easier to put the new blower motor in, you want to just pull out on this clip. Now, push the blower motor up into place. Just pull that harness aside.
Then replace those three T20 Torx screws. We'll fast-forward here as I put those in. I do start the first two that are easier to get to first. Put them in by hand and a few turns. Actually, I tighten them up snug with the driver, and that makes it easier to get the third one in and then tighten them all up. Reconnect the hose back, and then reconnect it to your blower motor, and put this loop back around the blower motor. Then find your harness and reconnect it. Now, put this clip back into place, put your harnesses back into the clip, and then just re-clip it. Push the bulb back into your socket, twist the socket back into this panel, feed the panel back, and then push up into place. You're all set.
We hope this video helps you out. Brought to you by www.1AAuto.com, your source for quality replacement parts and the best service on the Internet. Please feel free to call us toll-free, 888-844-3393. We're the company that's here for you on the Internet and in person.

HMA84801