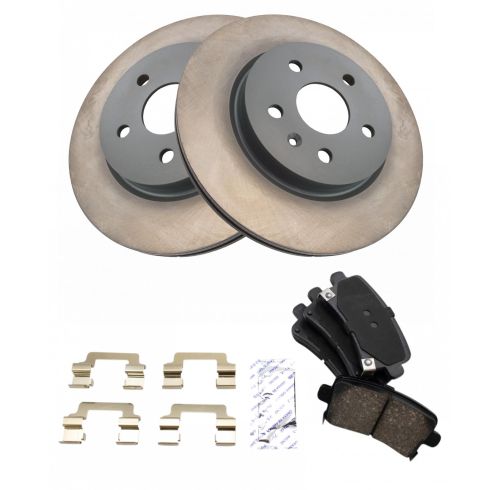
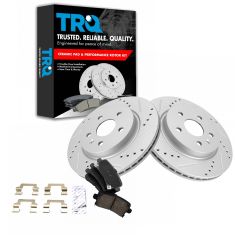
Okay, friends, to get started on these rear brakes, you're gonna want to safely raise and support the vehicle so you can remove the wheel. Remove all five lug nuts and get the wheel off.
At this point, let's go ahead and spray down the rotor with a little bit of penetrant. We're going to get around these studs, especially around this bolt right here, and then, of course, around the center as well.
The next thing we need to do is remove our caliper slider bolts. There's one here and one located up top. This lower one you're gonna wanna use a wrench for. All right. So that one's ready to come out. Do the same to the upper. Remove both bolts, and then we'll remove the caliper as well.
There we are. Now that the caliper's off, we want to thoroughly inspect this area here along the piston. Make sure you don't see any fluid. If you see fluid, it's probably brake fluid. If that's the case, you need a new caliper. Set this aside so it's putting no pressure on the flex hose. Now it's going to be time to push back the caliper piston. What you're going to notice on the piston is that it has two little cutouts. That's so you can push it back. This isn't a regular caliper where you can just squeeze it, you need a special tool that looks like this. With this tool, I'm gonna go ahead and put this in here, and then I'm gonna put the two little ears into the slots that are on the caliper piston. After that, I'm gonna turn on this so it brings this up against the caliper. Once I've done that, I can continue on by tightening this. And that'll drive in the caliper piston.
Now that the pistons pushed all the way back, you want to make sure that you have these two holes lined up so they're in a straight line with the hole in the caliper up there. After that, just apply a thin amount of grease along the mating points. You wanna go right here and then, of course, on the ears where they're going to be touching against the pads once we get this all back together. We'll set this aside once again, so it's putting no pressure on the flex hose. Now let's get the pads out of here. Now let's remove our caliper bracket bolts. There's our bracket. Let's remove this bolt.
Now it's gonna be time to remove the rotor. If it's stuck, just go ahead and put your lug nut back on there a little bit, take a nice hammer, and come from the backside. Let's go ahead and spray this down. And then, of course, we're going to use a nice wire brush, get in between the lug studs and the hub. And then we'll just clean down the rest of the area that mates up against the road. After you're done scraping it down, go ahead and clean it down with some parts cleaner. Once that's done, apply a little bit of copper Never-Seez and pay special attention to the mounting hole.
Okay, friends, at the bench, we're going to go ahead and strip down this bracket. On the bracket, you're gonna see that there's tins. You want to get in between here, and go ahead and pry those off. We're going to make sure we recycle those properly. After that, you're going to continue on by removing your slider pins. Give them a nice little twist, and you should be able to pull them right out. As you do that, make sure you put them along their corresponding sides. What you're going to notice when you take them out is that one of the slider pins is gonna have a little rubber bushing, that needs to go into the same hole as you removed it from. After we've done that, go ahead and grab on to this boot, we're going to try to break it free from the caliper bracket itself. Just come right under here.
We'll set this aside as well. Typically, I like to check these and make sure that they're not damaged. If you have access to new ones, well, just go ahead and replace them. Let's continue on by cleaning up this area of the bracket right along here, and then the hole inside right there. We'll do the same on all four corners. Now with a nice collection bucket, put a little bit of parts cleaner inside here. Then a nice bore brush and clean out the inside of those slider tubes. At this point, we're just gonna go ahead and clean down the sliders. As we're doing this, we wanna make sure that we don't see any pitting or anything like that. And you also want to make sure you clean up inside this area right there. You want to make sure you have a nice clean area, so you have a good seal. Just use a little bit of caliper grease inside this area, and then along the outside portion.
Take your slider boot and push it right on there and give it a nice spin. That's gonna help make sure that the grease has worked in. Continue on by leaving your slider pins, get the entire shaft, and then especially down along that area where the boot's gonna ride. We'll slide that right in here. Give it a few good spins, and do the same to the other side. Let's continue on to lubing the areas where the tins are going to be hitting up against. Let's put our caliper tins on. Now let's go ahead and clean down that brand new rotor. Make sure you get both sides of the braking surfaces.
Now let's get the rotor on here and, of course, install our mounting bolt. Now let's install our caliper bracket. We'll snug up the bolts, and then we'll torque them to 74 foot-pounds. Now it's going to be time to install your brake pads. You want to pay special attention to these right here. These are called your wear indicators. You want one of the pads to have them and the other pad not to. The one that does have them, put it on the inner aspect of the brakes. Let's go ahead and put the caliper up and over those pads.
Start in both of our slider bolts here. We'll snug them up, and then we'll torque them to 20 foot-pounds. All right. Now let's get our wheel up on here. We'll start all the lug nuts, and we'll torque them to 110 foot-pounds. Torqued.
Hey, friends, so now you got left is to do the other side of the car. After that, go ahead and pump up the brake, check your brake fluid, then take it for a road test.