Brought to you by 1AAuto.com, your source for quality replacement parts and the best service on the Internet.
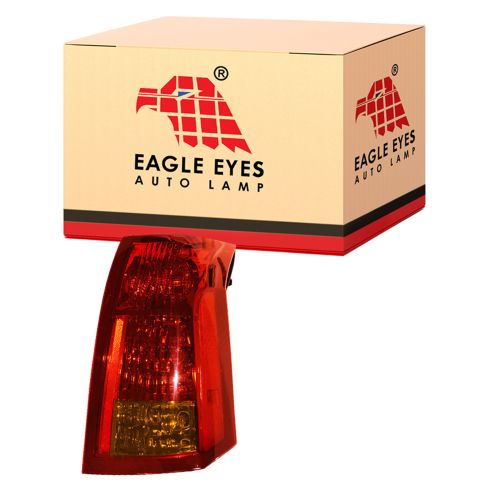
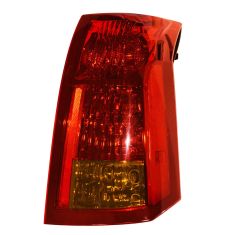
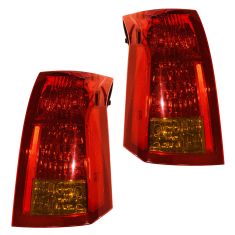
In this video we're going to show you taillight, both replacing the whole taillight if you've had one broken, as well as replacing the bulbs, if you have a bulb out. This is on a 06 CTS, same as any 03 to 07, same as the CTSV as well. The only tool you'll need is a 10mm socket with a ratchet or a wrench.
To replace a taillight or service taillight bulb the hardest part really is getting to the back of the taillight. I'm going to start by removing your spare tire cover. Pull that up out of the way. There are a few of these. You need to untwist these and they pull off. You're going to take off four of them: one there, one up here, another one up here, and another one here.
I'm going to be working on the passenger's side. I'm going to take this one off over here as well. If you're working on the driver's side, you'd want to take this one off. Fast forward as I remove those trim plugs. Once you take the four off in the back, you're going to pull this rear panel out, just put it like that. Take this one off over here. Now you can take this insulation and pull forward off that stud and back. Now you can see the back of your taillight. Right here is the connector. Take that off the body, pull back on this tab, that comes apart. There are two 10mm nuts, one there, and one up there, remove those. You have a 10mm socket with a ratchet. Once you get them started they come off pretty easy.
The last thing I want to do is I'm going to push my harness through here and my taillight comes right out. If you're looking to change these bulbs, they all have little lock tabs, press the tab down, twist counter clockwise, pull it out, the bulb pulls out, new one can push in.
Maybe you get into a little bit of an accident, at 1A Auto we sell the brand new taillight. Everything's going to go in. Everything's going to mount the same. It's going to plug in all correctly. Get your harness connection through.
To put the plug in, I'm pushing the plug through, put the lock on there and seal it correctly, and then carefully pull up on this seal here. Guide your light in, look in behind so you can see the studs go into the holes, everything goes in correctly, start tightening your nuts on here.
I want to fast forward here, as it's all pretty self-explanatory. Start both the 10mm nuts on the back, and then use your ratchet and socket, and you want to tighten them evenly, so don't tighten one up all the way and then the other one all the way. Tighten one up some, then tighten the other one some, and switch back and forth until they're nice and firm. Once it's tightened up, make sure that your harness is connected and then you can put your trim back in place, the side panels, all the buttons push on, put your rear panel in and your tire cover.
We hope this helps you out, brought to you by www.1AAuto.com, your source for quality replacement parts and the best service on the Internet. Please feel free to call us at toll free 888-844-3393. We're the company that's here for you on the Internet and in person.