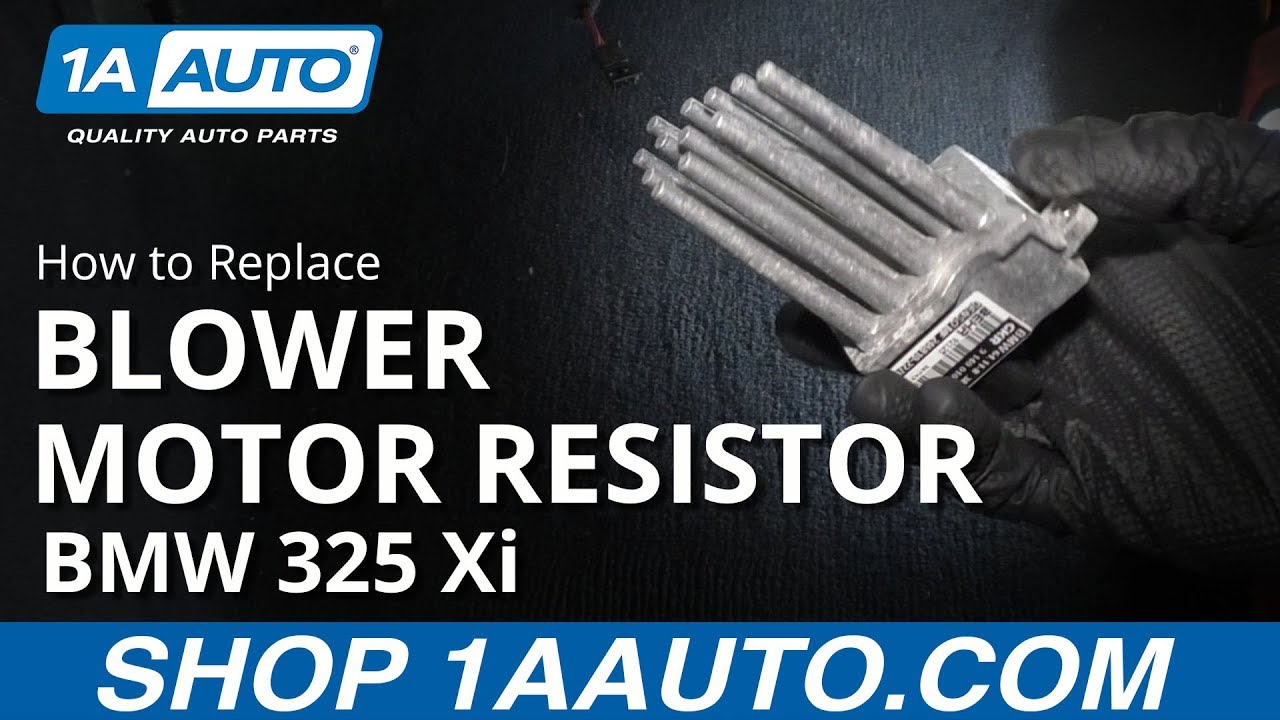
What's up, guys? I'm Andy from 1A Auto. In this video I'm going to show you how to replace the blower motor resistor on this 2001 BMW 325xi. If you need this part or other parts for your vehicle, click the link in the description, head over to 1AAuto.com.
All right. We're going to remove the glove box. Open the glove box up, take a Phillips head screwdriver, take these Phillips head screws out right here. One, two, three. Let's start with those. Now you close the glove box. Underneath there's some more screws. I'm going to take this screw out right here. And then there's some more screws underneath here. Take these out. And over here, there's a couple more screws and a bracket that's going to come off, as well. Take that off. Grab this, slide this part of the glove box out. There's a pin on this side. Just use a trim tool, try to remove the pin, push it that way and slide it out. Set the pen aside. And then on the other side there's a pin as well. Just push the pin out from the inside and then pop it off. Just like that. And you can slide this part of the glove box aside. Take a Phillips head screwdriver, take this screw out here. There's one on the other side there. Take this one out as well.
And I'm just going to grab it just like that. Slide it out. There's a connector right here. Disconnect this connector. Pull that off right there. And there's another wire that goes over here. Disconnect this wire. Push those two tabs on that, slide that off. And you can slide this out of the way. You want to remove this panel. Just grab it over here, slide it towards you, and then you got to twist it down a little bit. It's hooked on over here. Twist it down, and twist it. And we'll take this piece off right here. Just slide it up. Disconnect the connector.
Sometimes it's easier to just disconnect the whole light. Pull the connector off just like that. Set that aside. What I need to do next is take out this actuator. It actually moves one of the actual doors for the HVAC control. What I'm going to use is a driver. I'm going to use a T20 driver. There's two screws, there's one on the top and one on the bottom. You have to use a driver because you can't use a socket and an extension because the socket won't fit down there. So you definitely need a T driver.
Loosen that top one. The bottom one, you could use the socket, but not the top one. I need to grab this. There's a little rod. I'm going to pop the rod off. I'm actually going to use a pick to take the rod off, slide under it, try to get it to slide out. All right, so I was able to pop this off. Now this is one of the actuators for the door. You're going to have to disconnect the connector right there, and then there's a rod that goes through. So this sits like this, and the rod goes through there. What I did was take a pick, just get underneath the rod right here and carefully pry it out. You want to be careful, you don't want to break this. Pull that out of the way.
Now we can access the resistor. There's a connector on the resistor. There's two tabs, one on the top, one on the bottom. Squeeze the tabs and you should be able to pull the connector out. There we go. That's the connector. So the resistor is right here. It's really not that easy to get to, but with that actuator out of the way you can push on this little tab, little retainer right there holds it in. There we go.
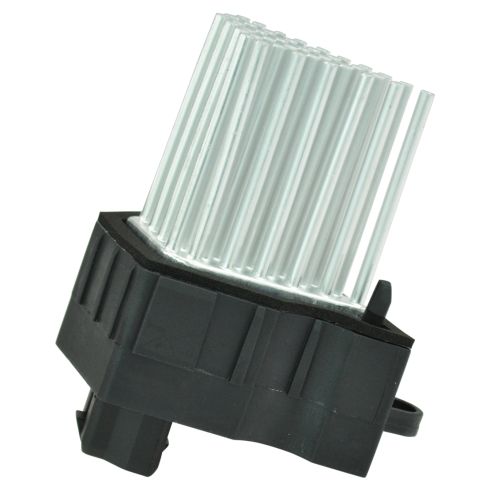
Once you get that out of the way, should be able to grab it, slide it up. There we go. And just slide it out just like that. Here's the old part. Here's the new resistor from 1AAuto.com. As you can see, the parts are similar. This is an updated design, has the same connector, has the same mounting position. Get yours 1AAuto.com and you'll be ready to rock and roll.
And take the new resistor, slide it in position. There we go. All right, that's locked in place. Make sure that clip holds that on. And we can take the connector, line the connector up, and lock it in place. There we go. It's locked in.
Now I'm going to reinstall this door actuator. I want to slide the rod back into it first. Okay, so we got that rod back in. It's a little bit tricky to get that in. Now I'll just connect the connector. Line that up right here. Lock that in place. Slide this whole actuator in place, right there. Now we'll take these screws and the T20 driver, and get these screws back in.
So I'm trying to get the top screw in. I'm having a little bit of trouble, because when I put it on my Torx driver it just falls off. So what you can do is take a little piece of masking tape, and there's many different ways you can do this, but you can basically tape the screw to the masking tape just like that. And then you can get this in. Just slide this down here. Got to line this up first. There we go. Now we'll tighten that down. That's snug. And then you just pull it out and the tape is still there. Now I'll just go back and tighten the lower one. And just snug it up.
Now, before I go any further, I actually just want to test it, make sure it's working. Put the key on. Pretty confident it's going to work, but we'll give it a try. Turn the blower up. I can hear the blower going. And it's working on all speeds. Perfect. Shut it down. Now I can put the rest of it together.
First, we're going to slide this into position. Just move the wires out of the way, and remember this is going to slide onto the back of here. We'll line that up first. Slide up. And slide the clip on there, and then right there. We're going to pop this light back in. Line the connector up. And this is going to go over here through there. Pop through like this, just like that. Keep the wires out of the way. Then this is the cover. The cover is going to line up just like that. And lock in place.
Now we're going to reinstall this piece. Just going to take the wires. We want to line the wires up in the correct locations. Plug the bulb back in. This wire is going to go all along here. Just like that. Then this wire is going over to where they have that flashlight charger. So we'll plug this in. And it goes on one way. Connect that. And then line these wires up in that location, like that. Just make sure they're out of the way. Oops, these slipped out. You could use some tape or something to help secure these from popping out. All right, those look like they're secure right there. Line this up, up here. Right there. That looks good. I have six screws that I want to screw in. I took these out before I popped the glove box part of it out, but installing it is a little bit easier with the glove box out.
So there's six of these style screws, not these style. So there is a difference. They're a little bit longer. These ones are for plastic, so those are going to hold the glove box on. So let's take these and use a Phillips head screwdriver. So we'll put these three in up top, and then the other three go further down right here. There's another one. And then there's two on this side. One goes right here, and then one also goes underneath here, right here. So get those all on. Snug those up.
Now I'll take the glove box door, slide this over this bar in the back. Right there. Then we're going to install these pushpins first. Probably easier to put this one on first. So you're going to slide that rod out. So you want to get the hole lined up first, and then slide the pin through. And there we go. And I'll do the same on the outside. And just slide it in. Perfect. I'm going to take and we'll actually close the glove box, that'll make it easier. We have these brackets. These are going to go on right here. I'm just going to get these started. Once they're all started, then I can snug them down. We'll just double check, make sure the glove box works. Perfect.
Thanks for watching. Visit 1AAuto.com for quality auto parts shipped to your door, the place for DIY auto repair. And if you enjoyed this video, please click the subscribe button.








 WARNING: This product can expose you to chemicals including Lead and Lead Compounds, which are known to the State of California to cause cancer, and birth defects or other reproductive harm. For more information, go to www.P65Warnings.ca.gov.