

★★★★★
August 27, 2023
Loud
Very loud ,sounds like a jet every time you drive off. ended up buying oem

Replaces





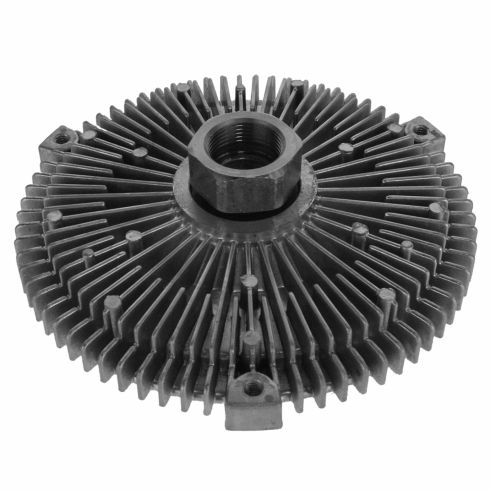


About TRQ:
TRQ is a trusted brand dedicated to making every repair a success story by combining premium parts with easy installation. Each TRQ part is engineered by a team of automotive experts to meet or exceed OEM standards, delivering enhanced performance and maximum longevity. With rigorous in-house testing, the brand ensures superior fit and function across every product line. TRQ also provides customers with best-in-class, step-by-step installation videos—so you can complete repairs with confidence, whether you're a first-time DIYer or an industry professional.
Attention California Customers:
 WARNING: Cancer and Reproductive Harm - www.P65Warnings.ca.gov.
This part fits 42 vehicles spanning 1988-2006.
| Year | Make | Model | Description |
|---|---|---|---|
| 2001-2003 | Audi | Allroad Quattro | Audi Allroad Quattro Radiator Fan Clutch TRQ RCA91843 |
| 2004-2005 | Audi | Allroad Quattro | Audi Allroad Quattro V6 2.7L Radiator Fan Clutch TRQ RCA91843 |
| 2000 | BMW | 323Ci | BMW 323Ci Radiator Fan Clutch TRQ RCA91843 |
| 1998-2000 | BMW | 323i | BMW 323i Radiator Fan Clutch TRQ RCA91843 |
| 1998-1999 | BMW | 323iS | BMW 323iS Radiator Fan Clutch TRQ RCA91843 |
| 2001-2006 | BMW | 325Ci | BMW 325Ci Radiator Fan Clutch TRQ RCA91843 |
| 2001-2005 | BMW | 325Xi | BMW 325Xi Radiator Fan Clutch TRQ RCA91843 |
| 1992-1993 | BMW | 325i | BMW 325i L6 2.5L DOHC Radiator Fan Clutch TRQ RCA91843 |
| 1994-1995 | BMW | 325i | BMW 325i Radiator Fan Clutch TRQ RCA91843 |
| 2001-2005 | BMW | 325i | BMW 325i Radiator Fan Clutch TRQ RCA91843 |
| 1992-1995 | BMW | 325is | BMW 325is Radiator Fan Clutch TRQ RCA91843 |
| 2000 | BMW | 328Ci | BMW 328Ci Radiator Fan Clutch TRQ RCA91843 |
| 1996-2000 | BMW | 328i | BMW 328i Radiator Fan Clutch TRQ RCA91843 |
| 1996-1999 | BMW | 328iS | BMW 328iS Radiator Fan Clutch TRQ RCA91843 |
| 2001-2006 | BMW | 330Ci | BMW 330Ci Radiator Fan Clutch TRQ RCA91843 |
| 2001-2005 | BMW | 330Xi | BMW 330Xi Radiator Fan Clutch TRQ RCA91843 |
| 2001-2005 | BMW | 330i | BMW 330i Radiator Fan Clutch TRQ RCA91843 |
| 1991-1995 | BMW | 525i | BMW 525i Radiator Fan Clutch TRQ RCA91843 |
| 2001-2003 | BMW | 525i | BMW 525i Radiator Fan Clutch TRQ RCA91843 |
| 1997-2000 | BMW | 528i | BMW 528i Radiator Fan Clutch TRQ RCA91843 |
| 1994-1995 | BMW | 530i | BMW 530i Radiator Fan Clutch TRQ RCA91843 |
| 2001-2003 | BMW | 530i | BMW 530i Radiator Fan Clutch TRQ RCA91843 |
| 1989-1993 | BMW | 535i | BMW 535i Radiator Fan Clutch TRQ RCA91843 |
| 1994-1995 | BMW | 540i | BMW 540i Radiator Fan Clutch TRQ RCA91843 |
| 1997-2003 | BMW | 540i | BMW 540i Radiator Fan Clutch TRQ RCA91843 |
| 1988-1992 | BMW | 735i | BMW 735i Radiator Fan Clutch TRQ RCA91843 |
| 1988-1992 | BMW | 735iL | BMW 735iL Radiator Fan Clutch TRQ RCA91843 |
| 1993-1995 | BMW | 740i | BMW 740i Radiator Fan Clutch TRQ RCA91843 |
| 1997-2001 | BMW | 740i | BMW 740i Radiator Fan Clutch TRQ RCA91843 |
| 1993-2001 | BMW | 740iL | BMW 740iL Radiator Fan Clutch TRQ RCA91843 |
| 1988-2001 | BMW | 750iL | BMW 750iL Radiator Fan Clutch TRQ RCA91843 |
| 1994-1997 | BMW | 840Ci | BMW 840Ci Radiator Fan Clutch TRQ RCA91843 |
| 1994-1995 | BMW | 850CSi | BMW 850CSi Radiator Fan Clutch TRQ RCA91843 |
| 1993-1997 | BMW | 850Ci | BMW 850Ci Radiator Fan Clutch TRQ RCA91843 |
| 1991-1992 | BMW | 850i | BMW 850i Radiator Fan Clutch TRQ RCA91843 |
| 1995-1999 | BMW | M3 | BMW M3 Radiator Fan Clutch TRQ RCA91843 |
| 2001-2006 | BMW | M3 | BMW M3 Radiator Fan Clutch TRQ RCA91843 |
| 1991-1993 | BMW | M5 | BMW M5 Radiator Fan Clutch TRQ RCA91843 |
| 2001-2006 | BMW | X5 | BMW X5 3.0i Radiator Fan Clutch TRQ RCA91843 |
| 1997-1998 | BMW | Z3 | BMW Z3 L6 2.8L Radiator Fan Clutch TRQ RCA91843 |
| 1998 | BMW | Z3 | BMW Z3 L6 3.2L Radiator Fan Clutch TRQ RCA91843 |
| 1999-2002 | BMW | Z3 | BMW Z3 Radiator Fan Clutch TRQ RCA91843 |
| Brand Label | Part Number |
|---|---|
| DIY Solutions | HVA02448 |
| Hollander | 326-58205 |
| BMW | 11527505302 |
| US Motor Works | 22099 |
This item may be interchangeable with parts from other brands with the above part numbers. This information is provided only for reference and does not guarantee that the item you are purchasing is identical to parts with part numbers from the brands listed above. To confirm that this item fits your vehicle, use the above "Check Vehicle Fit" option.
Lifetime Warranty
This item is backed by our limited lifetime warranty. In the event that this item should fail due to manufacturing defects during intended use, we will replace the part free of charge. This warranty covers the cost of the part only.
FREE Shipping is standard on orders shipped to the lower 48 States (Contiguous United States). Standard shipping charges apply to Hawaii and Alaska.
Shipping is not available to a P.O. Box, APO/FPO/DPO addresses, US Territories, or Canada for this item.
Expedited is available on checkout to the United States, excluding Alaska, Hawaii.
Final shipping costs are available at checkout.
Created on:
Tools used
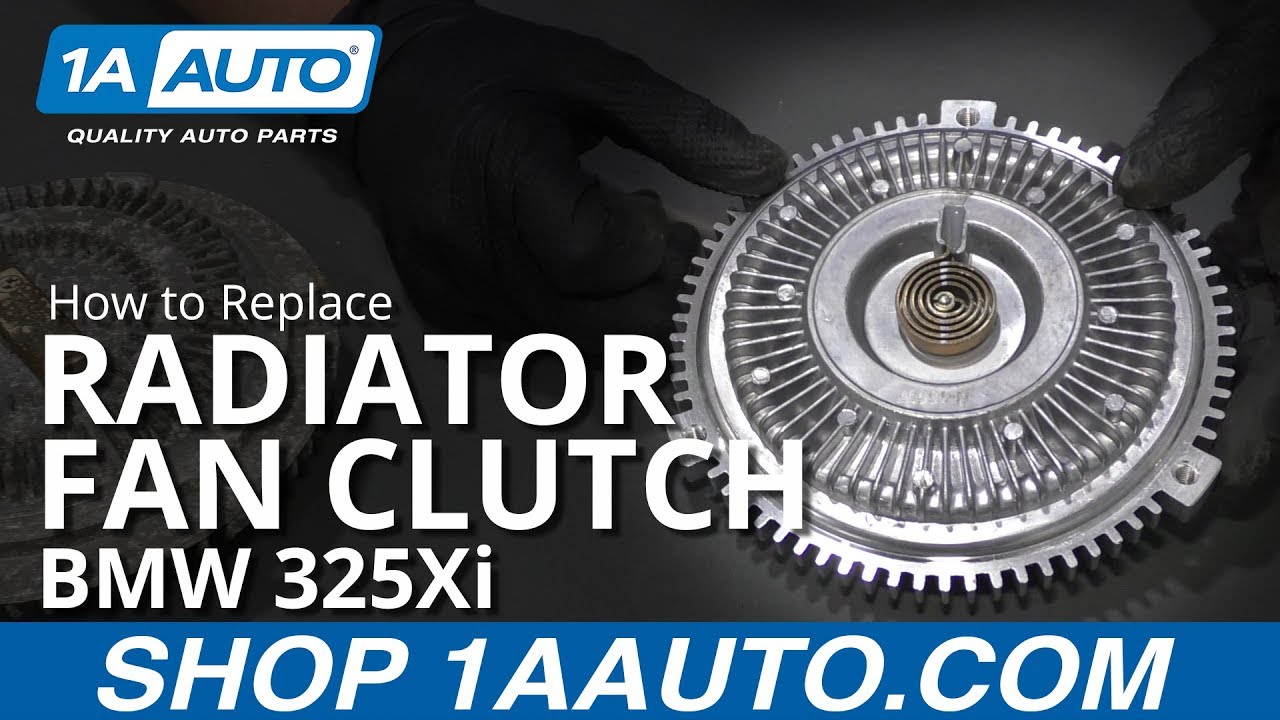
What's up guys? I'm Andy from 1A Auto. In this video I'm going to show you how to replace the radiator fan clutch on this 2001 BMW 325xi. If you need this part or other parts for your vehicle, click the link in the description, head over to 1aauto.com.
With the trunk open over on the right side or the passenger's side, there should be a cover that goes right here. This vehicle doesn't have one, but you don't want to remove that cover. Battery is located right here. First thing I'm going to do is take a 10 millimeter socket and ratchet. Loosen up this nut for the negative terminal. That's loose. Slide off the cable, slide it out of the way.
I'm going to take these push pins out right here. Just going to use some side cutters. Get this center pin. Pull that up, and then slide it out. Be careful not to cut it. Get those out. Let's grab this piece, slide it out. We're going to disconnect this connector right here. Just push down on that. Slide that out. Another connector right here. I'm going to slide the wiring out first just like that, and then the connector will come out. Just slide that to the side like that. I'm going to take a T25 and a ratchet. Take this screw out right here.
I'm just going to use this trim tool from 1aauto.com. Take this push clip out. Get in there. Pull that out. All right, now that is loose. But what we need to do is we need to take the fan off because the fan has to come out with the shroud as one. What we need to do to take the fan off is we need to disconnect the fan clutch from the engine side. This is attached to one of the pulleys right there. Sometimes these are somewhat difficult to get off. So what we're going to do is use this tool. We actually sell this at 1aauto.com with many different sizes. This happens to be the 32 millimeter. That's going to slide on there and then we slide this on. And with a pneumatic air hammer we're going to give it a couple of bumps and it's going to loosen up that nut and we should be able to get it off.
All right, so now I'm going to take the tool. This fan clutch happens to be on their reverse thread, so it's going to seem like you're tightening it, but you're actually loosening it. We'll go like that. Put our air hammer on there. Make sure you wear hearing protection and eye protection.
All right, so that's loose. Took a little bit of effort but I got it. Now you can slide the tool off. I'll just move it a little bit. There we go. You should be able to just spin it off like that. You might need the tool once in a while. Or you could use a wrench that fits, 32 millimeter wrench.
All right, now I'm just going to keep loosening this up. Be careful. You don't want the fan to fall. You don't want it to smash into the radiator. Especially if you're going to reuse the radiator. If you're replacing it, it's not a big deal. As I get closer to the end, I'll just move the fan and just grab the blade. There we go. Now I can slide this right up, just like that.
I want to separate this fan from the fan clutch. I'm going to use a five millimeter hex socket. Line this up. I'm just going to take a hammer and tap it in a little bit. These screws are a little bit rusty. Just use a socket, I mean a ratchet to loosen this up, just like that. All right, take this last screw out. And I'm going to hold the fan up a little bit. Try not to have it hitting on anything and just give it a tap with the hammer, and separate.
Here's the old part. Here's the new radiator fan clutch from 1aauto.com. The design is similar and the function is going to be the same. The screw holes are in the same positions. That thermostat part of the clutch is in the same position. Flip it over. The attachment screw is the same. Get yours at 1aauto.com and you'd be ready to rock and roll.
Take the fan. You want to make sure you install this the correct way. Don't install it backwards. Slide it in position, just like that. Take the bolts. I'll get these all started. Now I'm going to tighten these down with a five millimeter hex bit and a ratchet.
Then I'm going to tighten these bolts down to 89 inch-pounds. Make sure you're on inch-pounds, not foot-pounds. These have to go on together. Just slide this in position. Once you get this close, I'm going to start to tighten up the fan. Now these fan blades are ... The fan clutch is reverse thread, so it's almost like you're going to be loosening it. There's really no easy way to do this. Just do it carefully. To get it started it's a little bit easier. Make sure the fan shroud is in properly. That's good.
All right. If you have the ability to torque this nut for the fan, you're going to torque that between 22 and 29 foot-pounds. I don't really have that ability, so I'm just going to put this tool on there and just give it a little tap. That should be good.
Right here there's a push pin. That's going to go back in here. Slide that in position and lock it down.
On this side we're going to put this screw right here. Then I'm going to use a T25 and a electric ratchet, tighten this down. Just snug. I'll position this wiring harness right here, and we'll plug the connector in, right here, lock that in place.
Take this piece, slide this into the air box, just like that. And there's retainers right here. Take those push pins, lock them down.
Then we can take the negative side, connect the negative side. Take the same 10 millimeter socket and ratchet to tighten it up. That's good. At this point, if you had that cover, you're going to want to put the cover back where it goes.
Thanks for watching. Visit 1aauto.com for quality auto parts shipped to your door, the place for DIY auto repair. And if you enjoyed this video, please click the Subscribe button.
Very loud ,sounds like a jet every time you drive off. ended up buying oem
Good
Good
Just like OEM with out the big price tag. As always shipping was fast and free.
OEM standards or better. Direct fitment. No issues with this product.
Very good service every time I call they always resolve my issues
great part good fit, thanks will buy more in the futher
The fan clutch arrived quickly. Even though it does not look exactly like the OEM, it fits and seems to do the job. Hard to pay four times more for OEM on a car with 180k.

RCA91843
